
Odroid C2 is a powerful single-board computer that should help you run Ubuntu effortlessly. Today we are going to show you how to install Ubuntu 18.04 LTS on Odroid C2. This version of Ubuntu is code-named “Bionic Beaver”. Canonical’s creator, Mark Shuttleworth, has clarified the significance behind the name. The mascot is a Beaver because it is an energetic, industrious one and an amazing one.
Ubuntu 18.04 is a long term support release that will be supported with security updates and fixes until April 2023. It comes with several new features, primarily Color emojis, GNOME desktop, better PPA support, and faster boot speed. However, the officially released version is Ubuntu Mate, which uses the MATE desktop environment in place of GNOME.
The company behind Odroid C2, Hard Kernel has made sure that Ubuntu 18.04 LTS works without major issues on the Odroid C2. The earlier builds had plenty of problems including Chromium browser GPU acceleration issue that should be enabled manually. With V3.1, there is no need for manual intervention for this issue.
Other new features in V3.1 are as follows:
- Kodi upgraded to 17.6
- Ubuntu to 18.04.3
- OpenGL ES2 enabled Qt5 library
- OpenGL ES2 enabled SDL library
- Chromium with WebGL support
These are enough reasons to install the latest V3.1 image on Odroid C2.
Installing Ubuntu 18.04 LTS (V3.1) on Odroid C2
Step 1) Insert the microSD card into your computer’s port.
Step 2) Download and install Etcher app on your computer. Etcher is available for Linux, macOS, and Windows systems.
Step 3) Download Ubuntu Mate image from the official servers.
Download Ubuntu Mate 18.04 LTS
Step 4) Launch Etcher. If the SD card is mounted correctly, you should right away see it on the Etcher’s user interface.
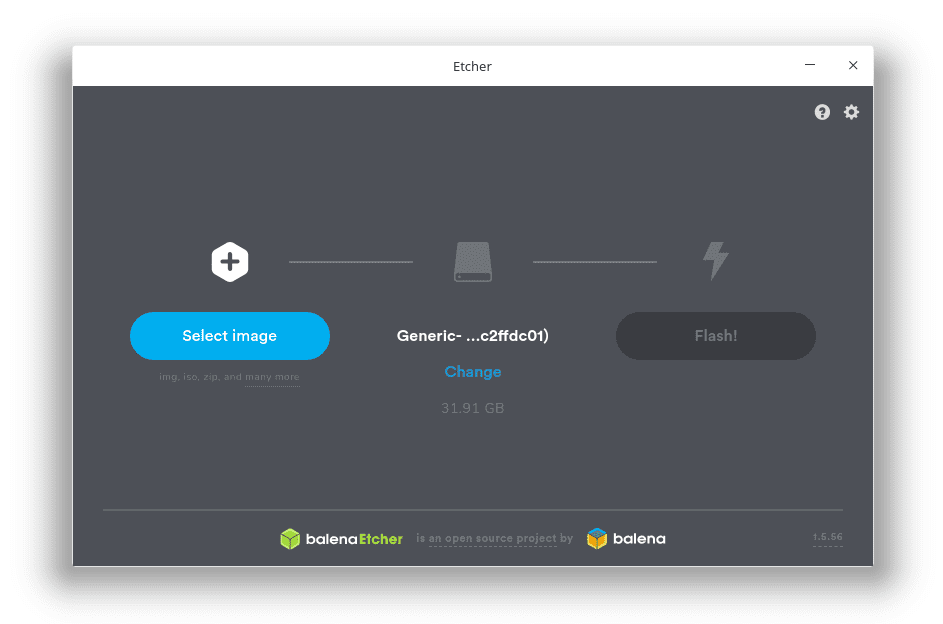
Step 5) Click “Select Image”, browse and select the file ubuntu-18.04-3.16-mate-odroid-c2-20180620.img.xz that you downloaded earlier.
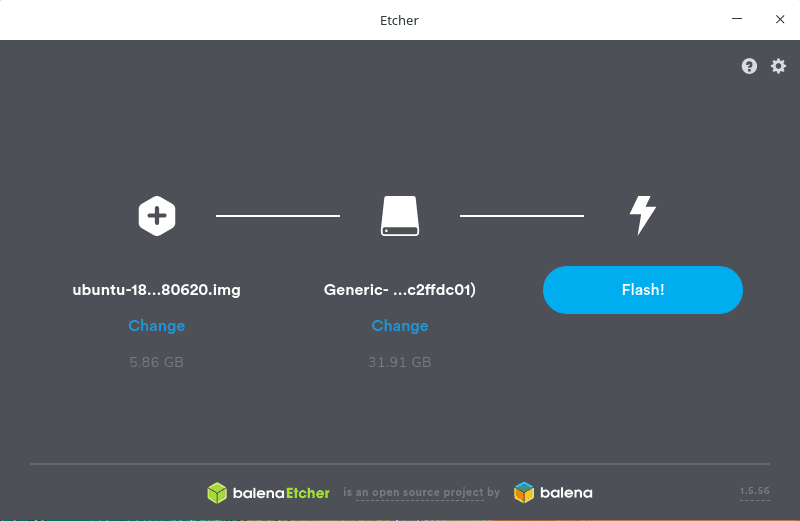
Step 6) Sit back and relax, Etcher should burn the image to the SD card and verify it.
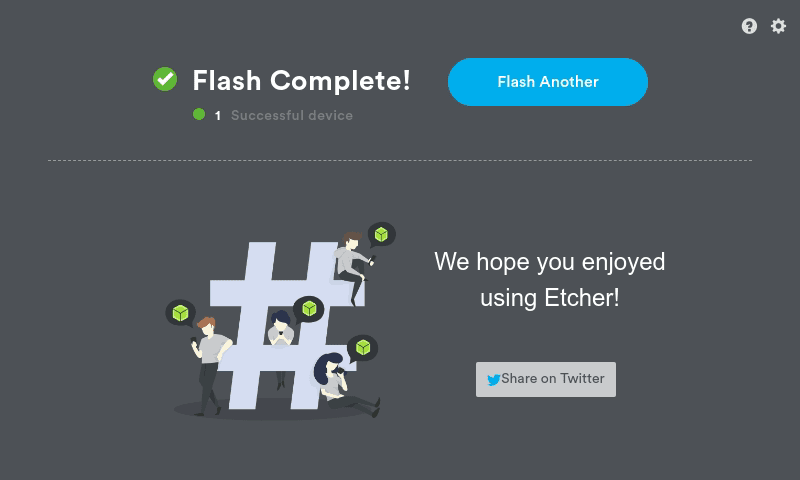
That’s all about installing Ubuntu 18.04 on your Odroid C2.
You can now go ahead and insert the SD card into your C2. After powering on, your Odroid should first undergo RootFS Auto-resizing. In this event, it will boot and show the login screen for a moment and then shut down. Wait for a mine and look for no blue light activity and then power off and power on again. RoofFS resize will happen on background in the first booting process.
How to update the Linux Kernel and the System
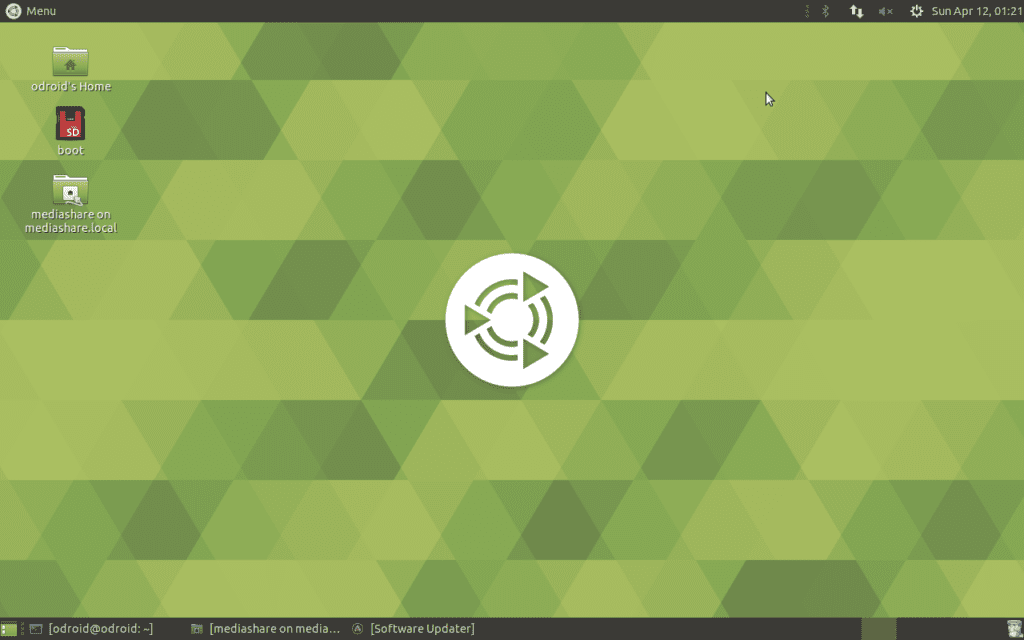
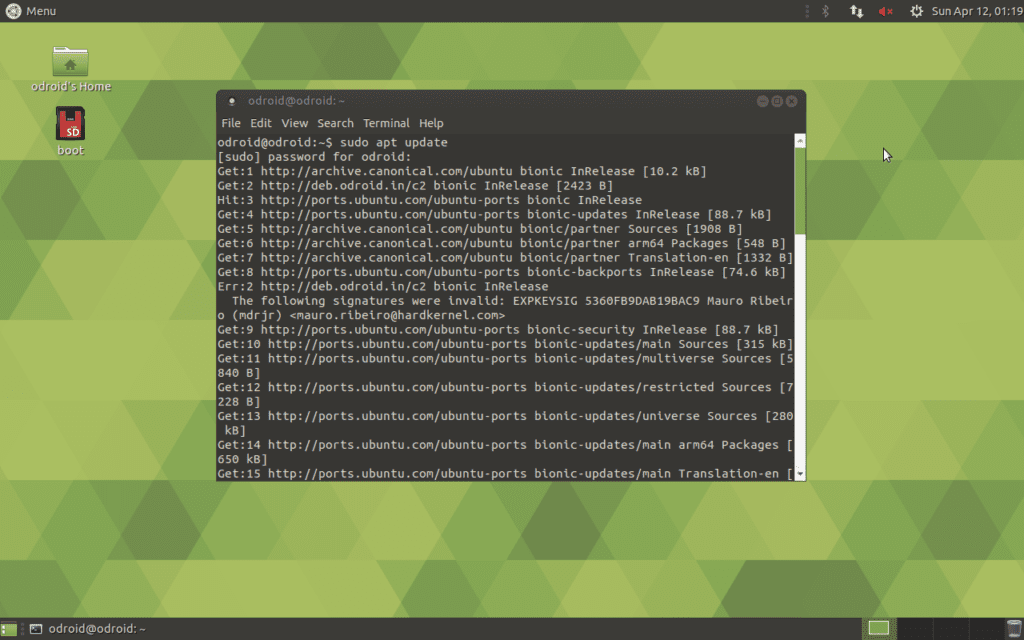
Step 1) Launch the Terminal by going to Menu > System Tools > MATE Terminal
Step 2) Enter the following commands one at a time followed by pressing the enter key.
sudo apt update
sudo apt upgrade
sudo apt dist-upgrade
sudo reboot
Conclusion
That’s all about installing Ubuntu 18.04 LTS on your Odroid C2 and then up updating the system with all updates. We hope you liked this tutorial and if so, do share it with your friends who may also find it useful for their Single-Board Computer projects.