
Welcome to the world of Raspberry Pi exploration at Single-Board Bytes! Today, I’m going to walk you through installing the Raspberry Pi OS on your Raspberry Pi 4. This tiny yet mighty device has always been a favorite of mine for its versatility and affordability. Whether you’re setting up a home server, a media center, or just playing around, the Raspberry Pi 4 is an excellent choice. Let’s dive in!
What you need before starting
Before we get our hands dirty, make sure you have:
- A Raspberry Pi 4 (obviously!).
- A microSD card (8GB or more recommended).
- A microSD card reader.
- A reliable internet connection.
- A power supply for your Raspberry Pi.
- A monitor, keyboard, and mouse for initial setup.
Install Raspberry Pi OS on Raspberry Pi 4
Preparing the microSD card
Step 1: Download Raspberry Pi Imager
First things first, grab the Raspberry Pi Imager software from the Raspberry Pi website. It’s available for Windows, macOS, and Ubuntu. I personally love its simplicity, which makes the initial setup a breeze.
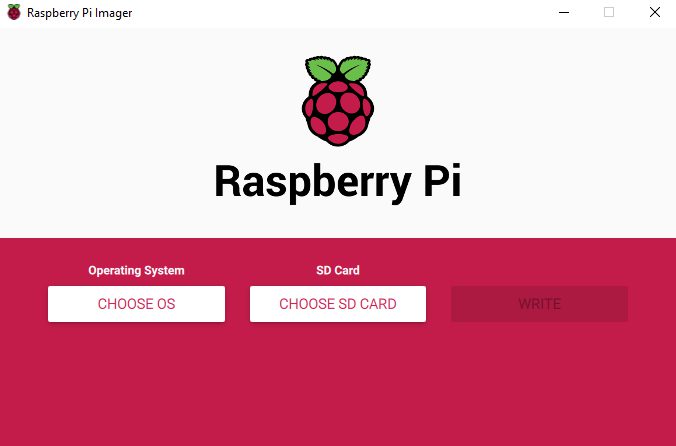
Raspberry Pi Imager
Step 2: Select the OS and SD card
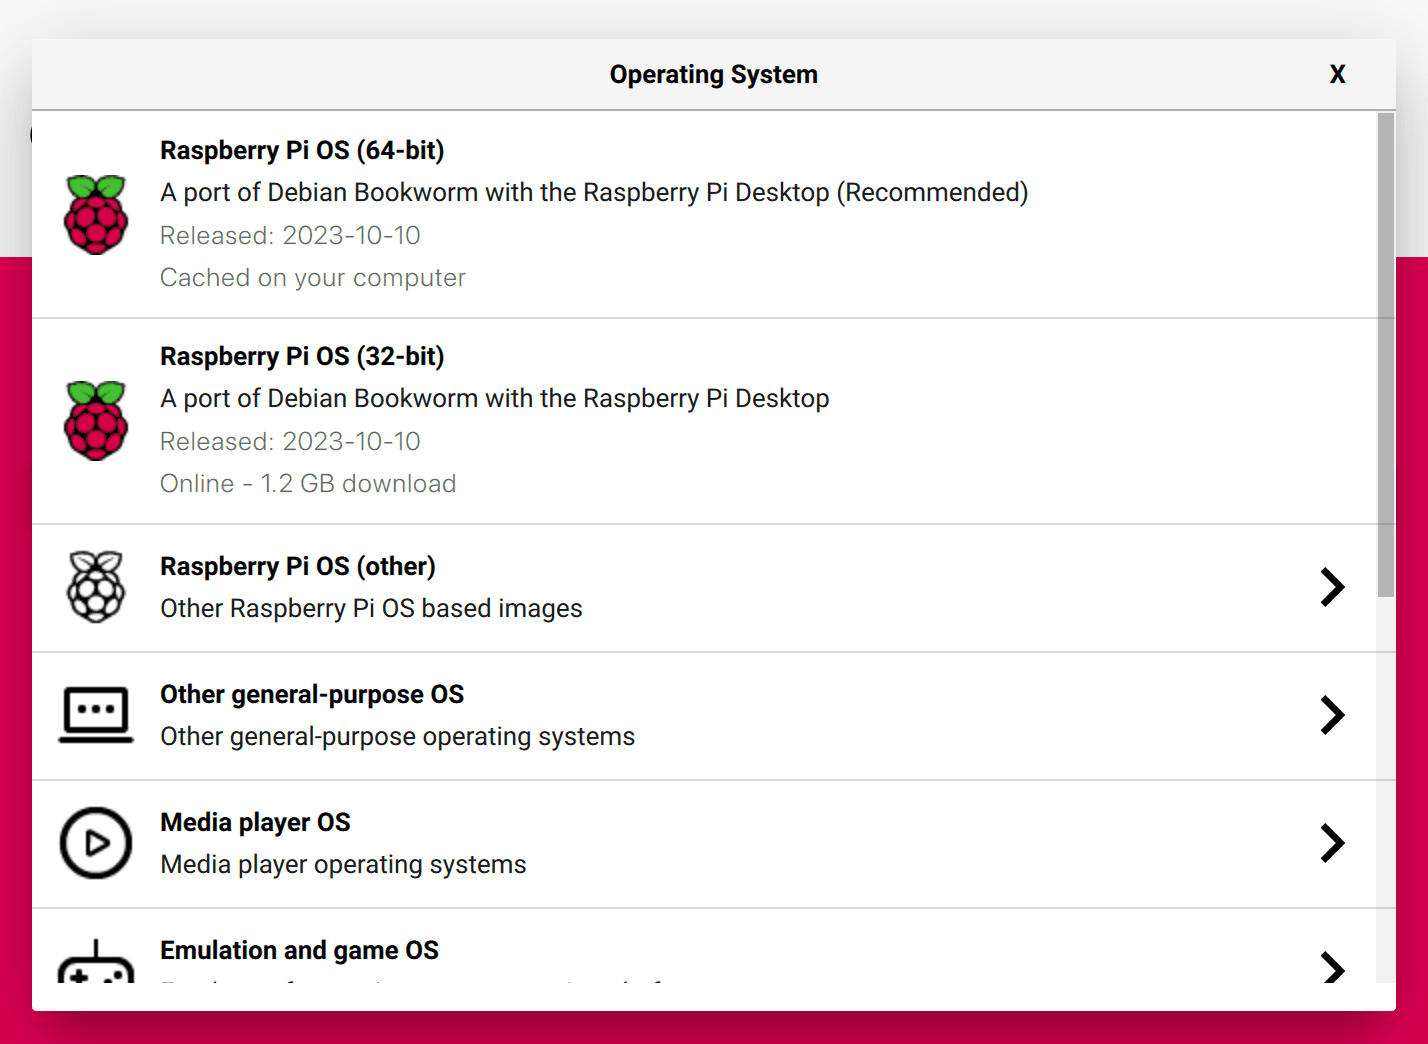
Selecting OS
- Open the Raspberry Pi Imager.
- Click on “CHOOSE OS” and select “Raspberry Pi OS (other)”.
- Then, click on “CHOOSE SD CARD” and select your microSD card.
Step 3: Write the image
- Click on “WRITE” and wait for the process to complete.
- Once done, eject the microSD card safely.
Booting up your Raspberry Pi 4
Insert the microSD card into your Raspberry Pi 4. Connect the keyboard, mouse, and monitor. Finally, plug in the power supply.
Initial setup
Step 1: Welcome wizard
When you first boot up, a welcome wizard will guide you through some basic settings:
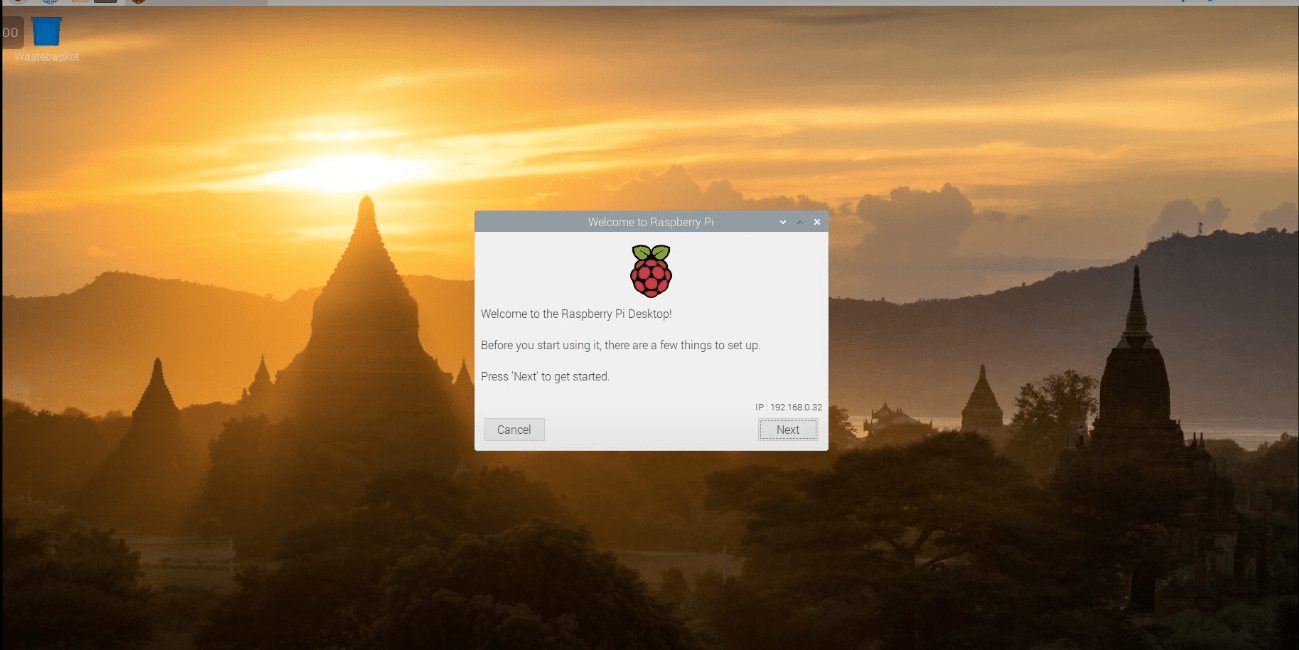
Raspberry Pi OS Desktop
- Set Country, Language, and Timezone: Crucial for accurate localization.
- Change Password: The default is ‘raspberry’, but please change it for security.
- Connect to WiFi: If you’re not using an Ethernet connection.
- Update Software: This might take some time, but it ensures your Pi is up-to-date.
Step 2: Reboot
After the setup, your Raspberry Pi will reboot. This is a good sign!
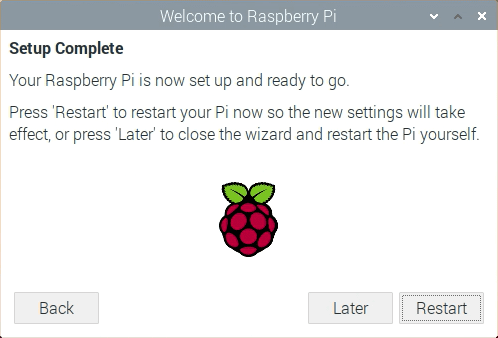
Raspberry Pi Set up Complete
Terminal basics
Let’s check if everything is up to date. Open a terminal and type:
sudo apt update
sudo apt full-upgrade
This will update the package list and upgrade all your software to the latest versions.
Personal tweaks (Optional)
I like to personalize my Raspberry Pi a bit. Here are some optional steps:
Enable SSH
I prefer managing my Pi remotely. To enable SSH:
sudo raspi-config
Navigate to “Interfacing Options”, then “SSH”, and select “Yes”. Now you can SSH into your Pi from another computer.
Install a Web Browser
If you plan to use the desktop environment, installing a web browser like Chromium can be handy:
sudo apt install chromium-browser
FAQs
Q: What if my Raspberry Pi doesn’t boot after installation?
A: Ensure the microSD card is properly inserted and that you’ve written the OS image correctly. Check your power supply too; sometimes, a weak power source can cause boot issues.
Q: Can I use a larger microSD card for more storage?
A: Absolutely! Raspberry Pi 4 supports microSD cards with much larger capacities. More storage is beneficial for projects needing significant data storage, like media servers.
Q: How do I update the Raspberry Pi OS regularly?
A: Regular updates are crucial. Open a terminal and run:
sudo apt update
sudo apt full-upgrade
This will keep your system up to date.
Q: Can I install other operating systems on Raspberry Pi 4?
A: Yes, the Raspberry Pi 4 supports various operating systems like Ubuntu, LibreELEC for Kodi, and even specialized ones like RetroPie for gaming.
Q: Is it possible to set up the Raspberry Pi without a monitor?
A: Definitely. This is known as a headless setup. You can enable SSH and Wi-Fi by placing a file named ‘ssh’ and a ‘wpa_supplicant.conf’ file with your Wi-Fi details on the boot partition of the SD card.
Q: How can I ensure my Raspberry Pi is secure?
A: Always change the default password. Regularly update your software, and if you’re using SSH, consider setting up key-based authentication for added security.
Q: What should I do if I encounter errors during the installation?
A: Double-check each step. If you’re still stuck, the Raspberry Pi forums and communities like Reddit’s r/raspberry_pi are incredibly helpful.
Q: Can I use Raspberry Pi 4 for programming and development?
A: Absolutely! It’s a fantastic tool for learning programming languages like Python, JavaScript, and even web development.
Q: How do I back up my Raspberry Pi system?
A: It’s wise to regularly back up your SD card. You can use the Raspberry Pi Imager to create a backup image of your SD card.
Q: Is Raspberry Pi 4 suitable for kids?
A: Yes, with proper guidance. It’s a great educational tool for teaching programming, electronics, and general computing.
Conclusion
And that’s it! Your Raspberry Pi 4 is now set up with Raspberry Pi OS. This tiny device has endless possibilities. Setting up a Raspberry Pi 4 with Raspberry Pi OS can be a straightforward and rewarding experience, even for beginners. From preparing your microSD card to booting up and configuring your device, each step brings you closer to unlocking a world of possibilities.
Whether you’re into programming, home automation, or just love tinkering with technology, the Raspberry Pi 4 offers a versatile platform to explore and learn. Don’t forget to personalize your setup, stay updated, and dive into the vast, supportive Raspberry Pi community for ideas and troubleshooting. With regular updates and a bit of creativity, your Raspberry Pi 4 can evolve into an essential tool or a fun project. Happy tinkering!