
Raspberry Pi Imager is a new imaging tool developed by the Raspberry Pi team that helps you to write the ISO image to the SD card. Until now, we are used to third-party apps such as Balena Etcher, Rufus, MultibootUSB, etc. for burning the Raspbian to the MicroSD card.
Raspberry Pi Imager
Let’s dig into the details of the Imager to let you decide if the new official tool can replace the favorite app you have been using all these days. For those new to Raspberry Pi projects, of course, you don’t need to worry about which to use, as this tool is enough to get you started with your Raspberry Pi project.
Installing Raspberry Pi Imager
The tool is available for Ubuntu Linux, Windows, and macOS operating systems. All the files are directly executable. Hence, download the tool using the links below and install it just by double-clicking on it.
For Linux For Windows For macOSHow to use Raspberry Pi Imager to write to the SD card
Step 1) Insert the SD card into your computer’s port and make sure it is mounted.
Step 2) Launch the Imager application.
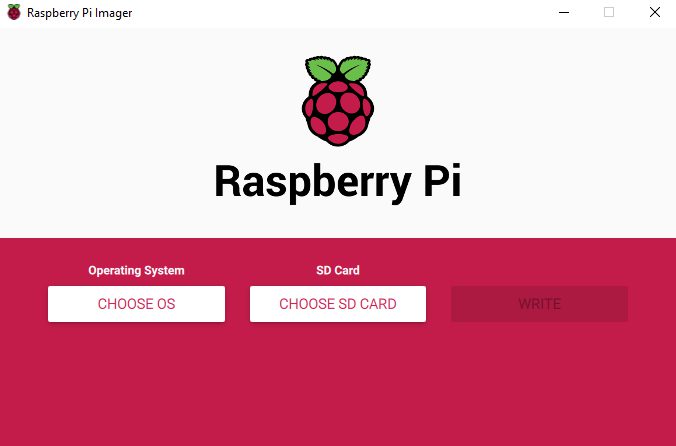
Step 3) On the Raspberry Pi Imager user interface, you have two choices to choose from, initially. Click on the CHOOSE OS button.
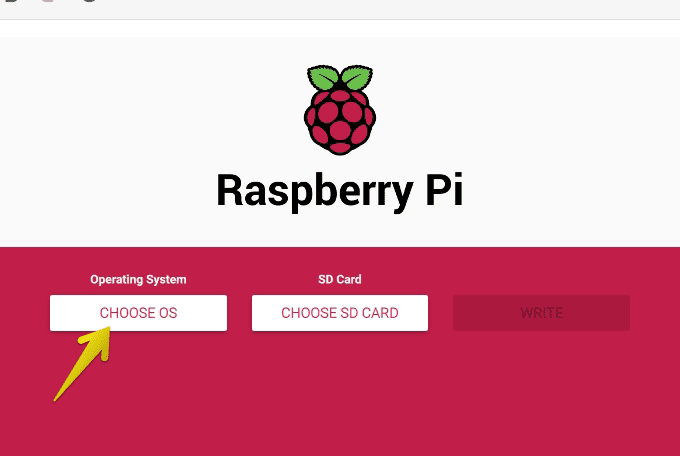
Imager UI
Step 4) The tool shows you several options. Let’s check each one on what it can do for you.
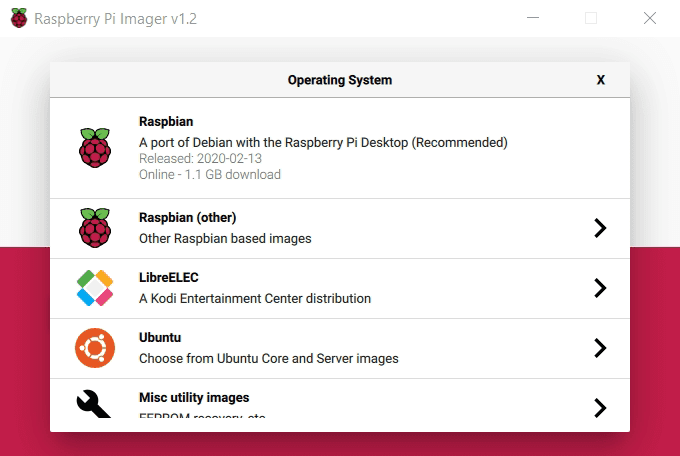
OS options
- Raspbian: This option downloads the latest stable Raspbian Desktop image from the official servers. This is the option which most of you should be interested in if you are here to create the latest Raspbian MicroSD card.
- Raspbian (other): Use this option for installing other Raspbian images, including the Lite and the Full versions.
- LibreELEC: Using this option, you can write the latest stable LibreELEC image for the available Raspberry Pi products. As of when this article was written, we would see images for Pi 4, Pi 2/ 3, and Pi Zero,1.
- Ubuntu: It can’t get easier than this to install Ubuntu on your Raspberry Pi. Select this option to choose from Ubuntu and Ubuntu Core ARM images for both 32-bit and 64-bit systems.
- Misc Utility Images: The dev team has added this category to add special-purpose images. As of today, you can create the Pi 4 EEPROM boot recovery disk.
- Erase: Use this tool to format your SD card to the FAT32 format, which is standard for the SD cards.
- Use custom: This is where the Imager expands the features, where not only can write Raspbian images, but it can be used with other images too meant for any other single-board computers such as Odroid, Tinker Board, Arduino, and so on.
For the article’s purpose, we shall use the Raspbian option to create the latest Raspbian SD card.
Step 4) Click on the CHOOSE SD CARD button and select the SD card.
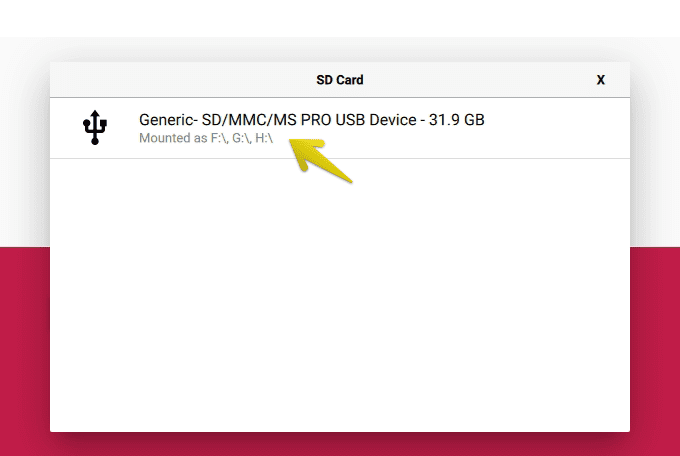
Select the SD card
Step 5) Finally, click on the WRITE button to start the process.
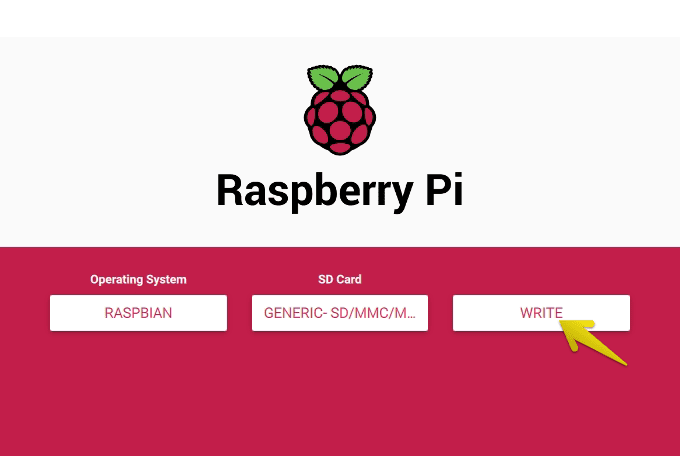
Write the image
Imager should start downloading the latest Raspbian Desktop image and then concurrently write it to the SD card as well.
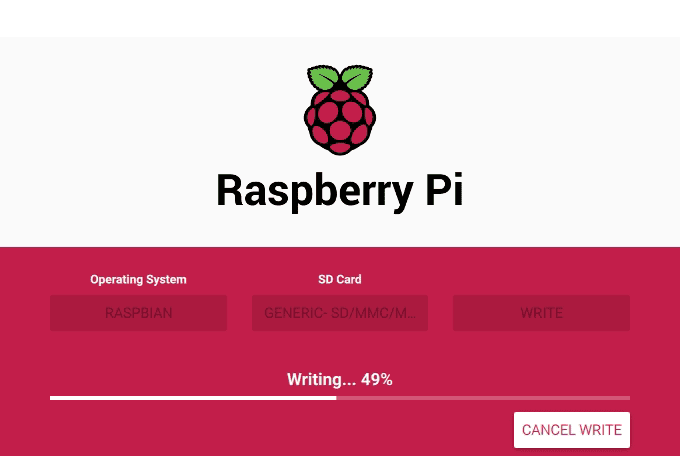
Writing Process
The tool then verifies the SD card to make sure everything is OK. Your shiny Raspbian SD card should be ready!
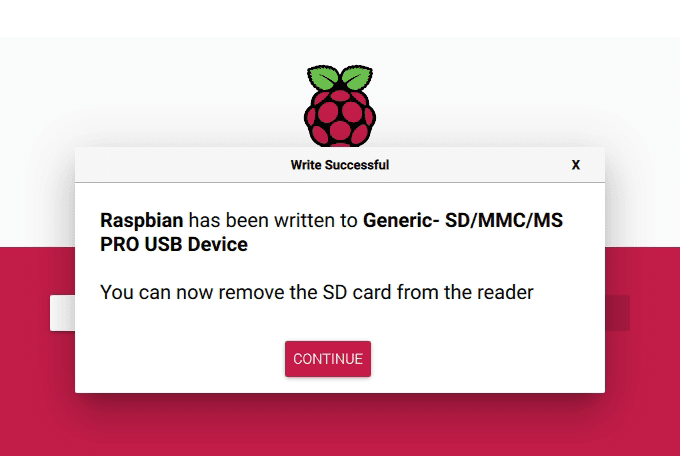
Writing Complete
Conclusion
That’s all about how to use Raspberry Pi Imager to create a Raspbian SD card. The process is straight-forward and saves a lot of time as there is no need first to download the image. The tool downloads and writes it to the SD card on the fly. Imager not only burns Raspbian images, but it can also be used to create bootable SD cards for other devices too. Moreover, it can also format the SD card. Finally, it looks like the Etcher killer is born!