
Nextcloud is a versatile open-source cloud storage and file-sharing solution that can be installed on your own server. It’s also known for its privacy-focused approach, making it a popular choice for users who want complete control over their data.
If you’re using DietPi as your server operating system, you’ll be happy to know that Nextcloud is one of the many pre-installed apps and is ready to go. In this guide, we’ll walk you through the process of setting up a Nextcloud server on DietPi, including installing and configuring the necessary software.
What is NextCloud?
NextCloud is an open-source cloud storage and file-sharing solution that allows storing your data, contacts, and calendar events on your own server or in a public cloud. It offers features like file synchronization, collaboration tools, and security features like two-factor authentication, encryption, and more.
It is an excellent alternative to commercial cloud storage services like Google Drive, Dropbox, or iCloud. Unlike those services, Nextcloud is self-hosted, meaning you have complete control over your data and can customize it to meet your needs. It’s also highly extensible, with hundreds of apps available to add new functionality to your Nextcloud installation.
When you combine Nextcloud with DietPi, you get a powerful cloud storage solution that can be run on a low-power, low-cost SBC. This makes it an ideal solution for individuals, families, or small businesses who want to store and share their data without relying on commercial cloud storage services.
Setting up a Nextcloud server on DietPi
This post will give you a detailed guide on setting up the NextCloud server on your Dietpi system.
Pre-requisites
Before setting up a Nextcloud server on DietPi, there are some prerequisites and requirements that you need to meet. These include:
- Network Connectivity: You’ll need a network connection to access the Nextcloud server and allow clients to connect. This can either be a wired or wireless connection.
- Operating System: You’ll need to install DietPi on your SBC. DietPi supports various SBCs, including Raspberry Pi, Odroid, and Banana Pi.
- Basic knowledge of the Linux command line: You should also have some basic understanding of the Linux command line to install and configure Nextcloud on DietPi. However, if you do not, worry not because plenty of online tutorials are available to guide you through the process, so do your research well.
Step 1: Install the LAMP server on DietPi
Tip: We faced a lot of errors when we tried to install LAMP using the Dietpi-Software utility. Therefore, this post will show you how to install and set up LAMP on your Dietpi system manually.
Nextcloud is a web-based application built using PHP scripting language and requires a web server, database, and PHP to operate. The LAMP stack provides an all-in-one solution for web development, including the Apache web server, MySQL or MariaDB database engine, and PHP scripting language, which are all needed to run Nextcloud.
LAMP provides an efficient, reliable, and cost-effective way to host web applications. It is a popular choice for hosting web applications such as Nextcloud because it is open-source and easily customizable. The combination of the Apache web server, MySQL or MariaDB database engine, and PHP scripting language provides a robust platform for hosting web applications.
Below is a step-by-step guide on how to install the LAMP server on DietPi:
1. Use the following command to install Apache, MySQL (or MariaDB), and PHP:
sudo apt install apache2 libapache2-mod-php php mariadb-server

Install Apache, Install MySQL (or MariaDB), and PHP
2. Next, install the additional PHP modules required for Nextcloud installation to proceed. These include php-gd, php-mysql, php-curl, php-json, php-gmp, php-bcmath, php-xml, php-mbstring, php-intl, php-imagick, and php-zip. Use the following command to install all the required modules:
sudo apt install php-gd php-mysql php-curl php-json php-gmp php-bcmath php-xml php-mbstring php-intl php-imagick php-zip bzip2
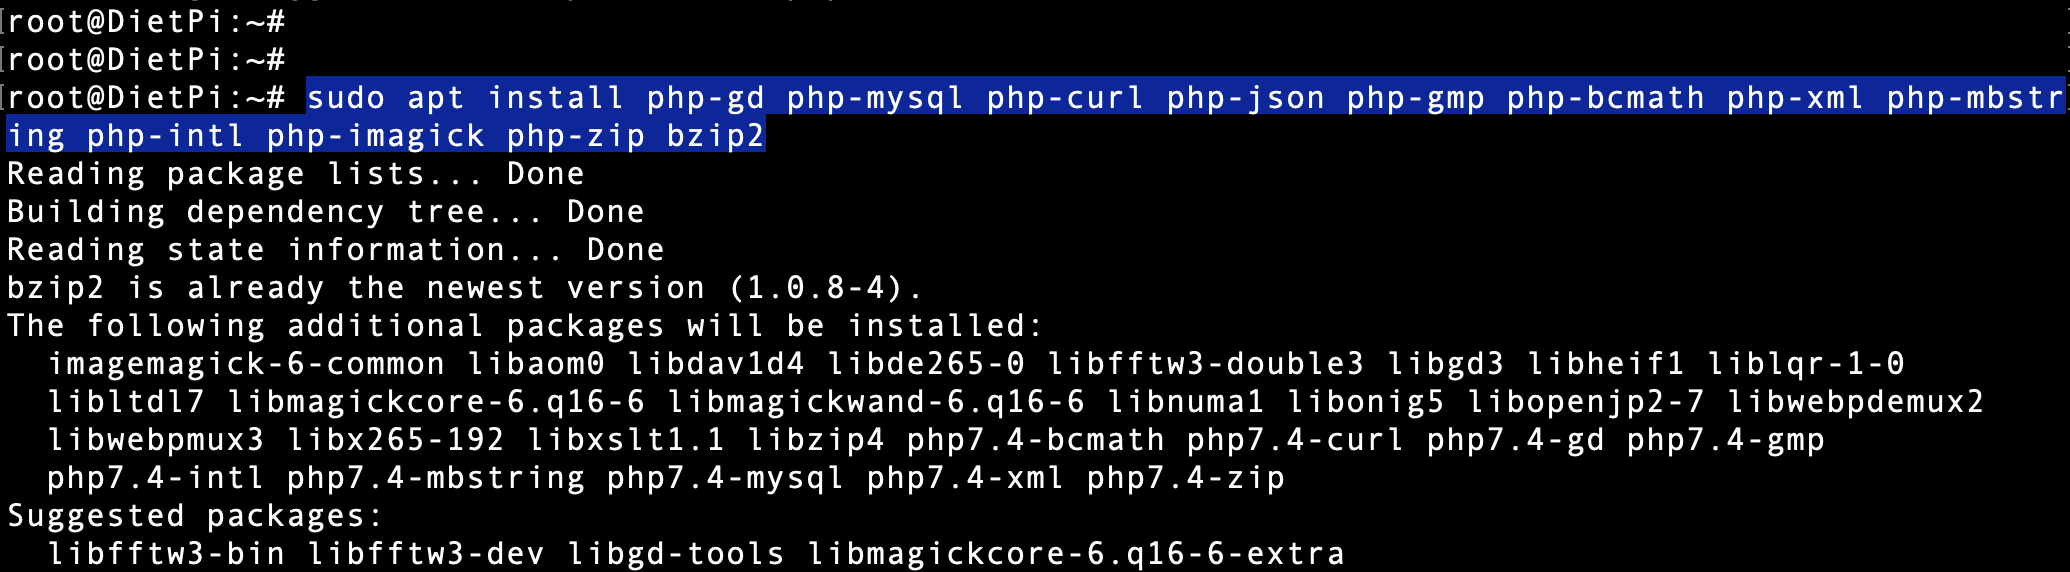
Install PHP modules
3. Once the installation is complete, it’s necessary to tweak the php.ini file, which contains the PHP settings or configurations. Use the following command to open the php.ini file in the Vim editor:
sudo nano /etc/php/7.4/apache2/php.ini
4. In the php.ini file, set the memory limit to 512M by changing the default value to the following:
memory_limit = 512M
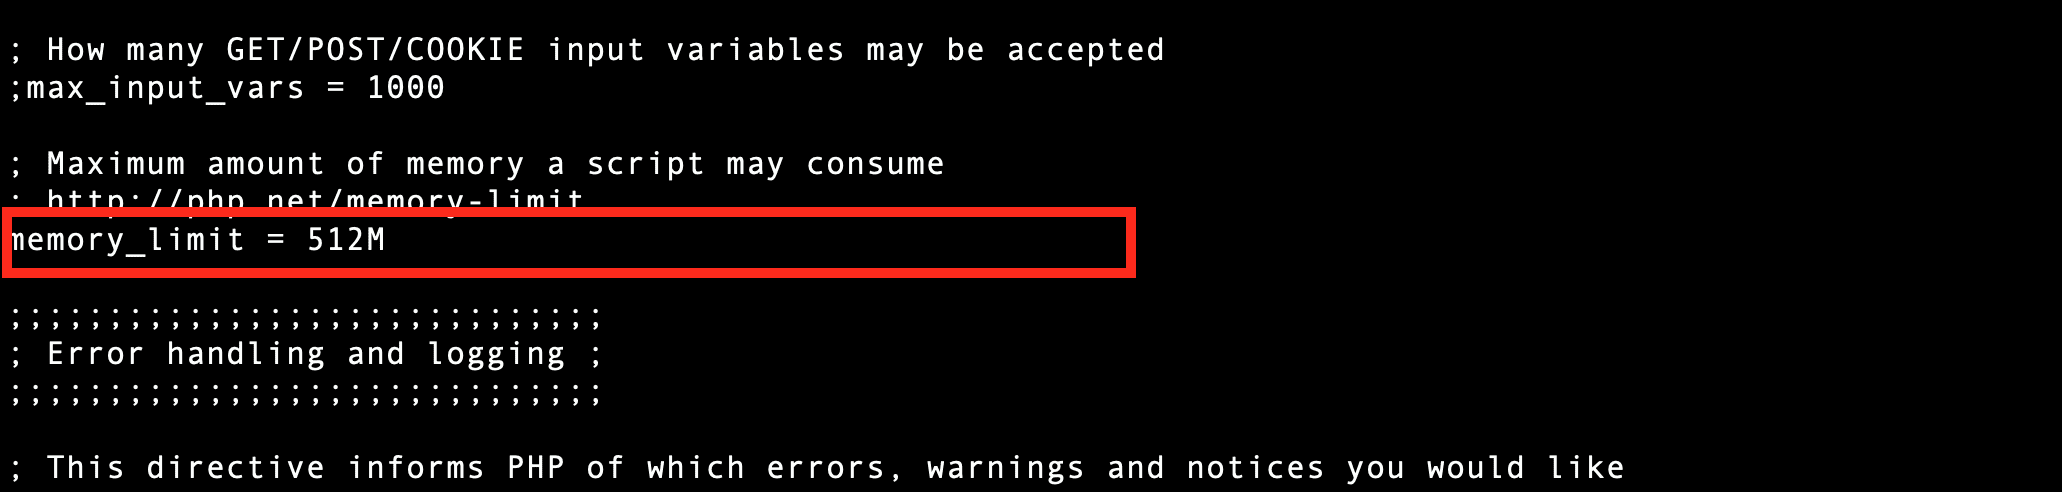
Set memory limit
5. Set your timezone by locating the “date.timezone” setting and changing it to your timezone. For example, if your timezone is America/Denver, change the setting as follows:
date.timezone = America/Denver
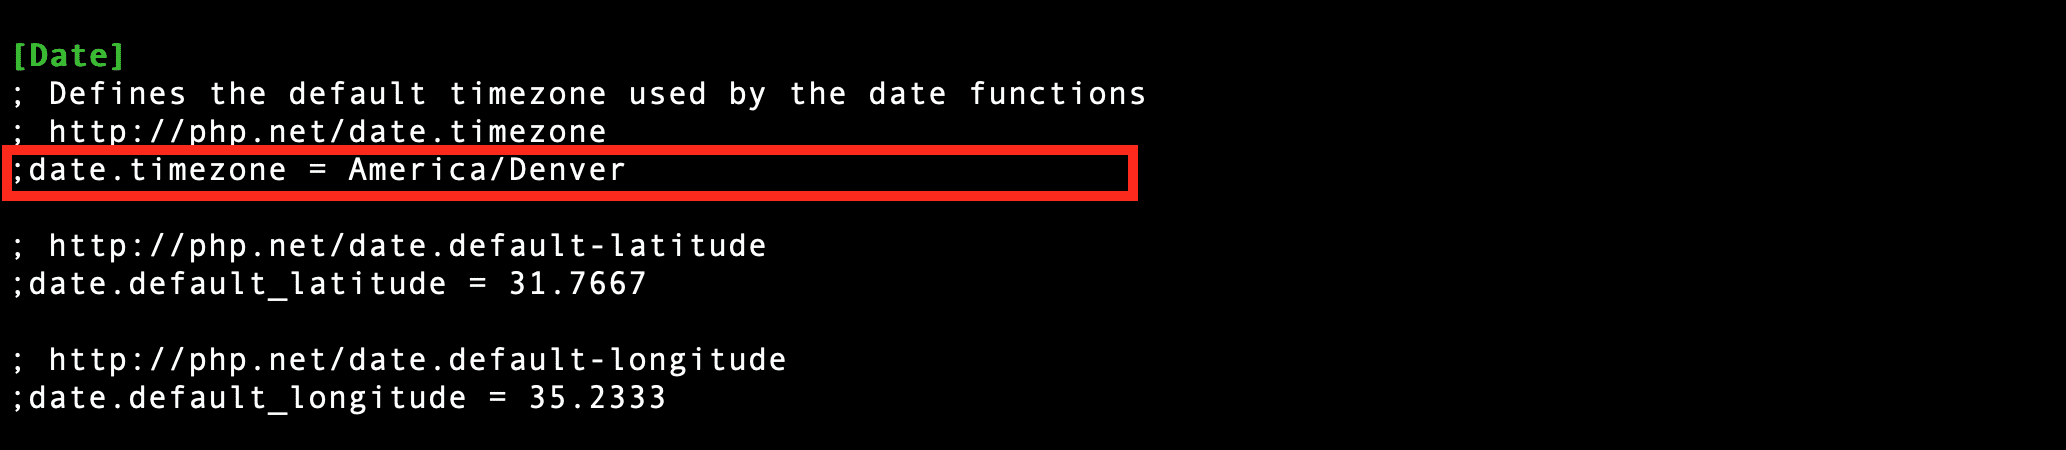
Set timezone
6. Save the changes (Ctrl + O, then, Enter) and close (Ctrl + X) the file.
Restart the Apache webserver for the changes to be applied:
sudo systemctl restart apache2
7. Finally, confirm that the web server is up and running by using the following command:
sudo systemctl status apache2

Apache service
That’s it! You have successfully installed the LAMP server on DietPi. Now you can proceed with installing and configuring Nextcloud on your server.
Step 2: Create a database for NextCloud
Follow the steps below to create a database for Nextcloud on DietPi. This section assumes you have already installed the LAMP server on your system.
Step 1: Access the MariaDB database engine
To create a database for Nextcloud, you will first need to access the MariaDB database engine. You can do this by running the following command:
sudo mysql -u root -p
This will prompt you to enter your MySQL root password.
Step 2: Create the Nextcloud database and user
Once you have accessed the MariaDB database engine, you can create the Nextcloud database and user. To do this, run the following commands:
CREATE DATABASE nextcloud_db;
GRANT ALL ON nextcloud_db.* to 'nextcloud_user'@'localhost' IDENTIFIED BY 'userpassword';
The first command creates a new database called “nextcloud_db”. The second command creates a new user called “nextcloud_user” with the password “userpassword” and grants them full access to the “nextcloud_db” database.
Step 3: Save the changes to the database engine
After creating the database and user, you must save the changes to the database engine. To do this, run the following command:
FLUSH PRIVILEGES;
This command tells the database engine to reload the grant tables and apply the changes that you have made.
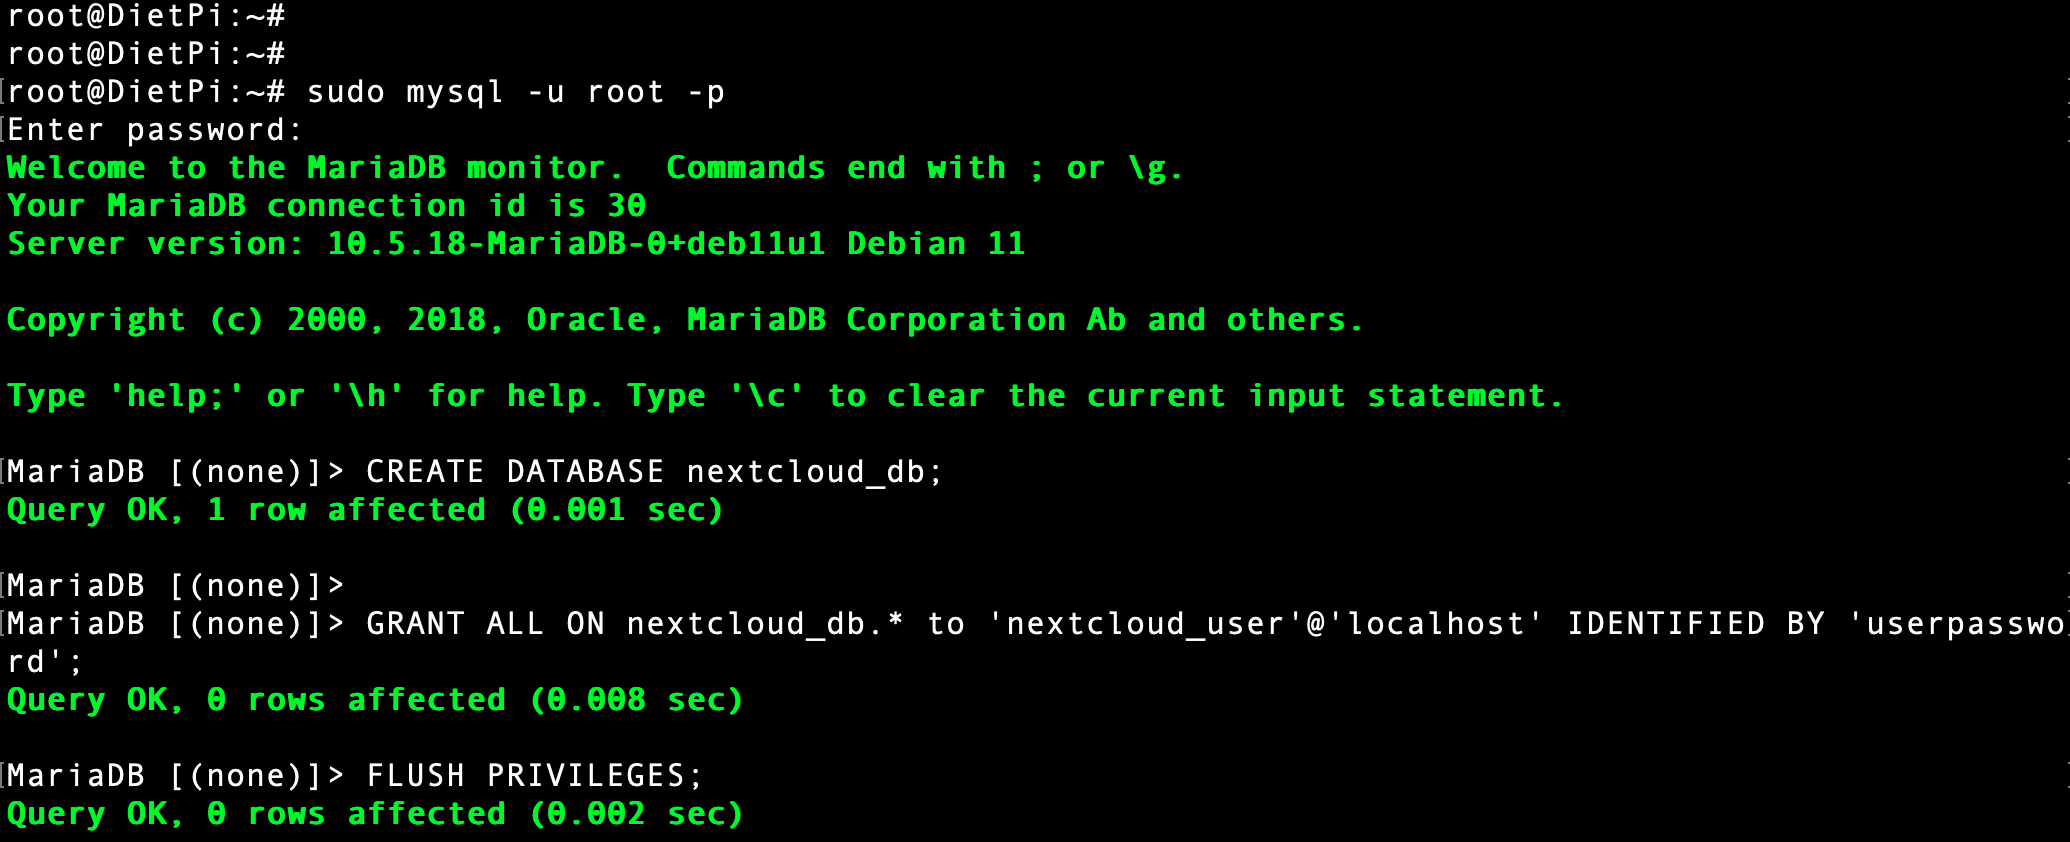
Setup NextCloud database
Step 4: Exit the database engine
Finally, you can exit the database engine by running the following command:
EXIT
Congratulations! You have now created a database for Nextcloud on DietPi. This will allow you to store files and other data in a secure and organized manner. You can now proceed to download and configure Nextcloud.
Step 3: Download and configure NextCloud
NextCloud has various installation packages for different platforms, including Windows, Linux, macOS, Android, and iOS. It is also available as a docker or virtualization image. However, for this particular post, we will download the latest NextCloud zip file and use it to set up NextCloud on our Dietpi system.
As of writing this post, the latest version of NextCloud is 25.
Execute the command below to download the zip file on your Dietpi system.
wget https://download.nextcloud.com/server/releases/nextcloud-21.0.1.zip
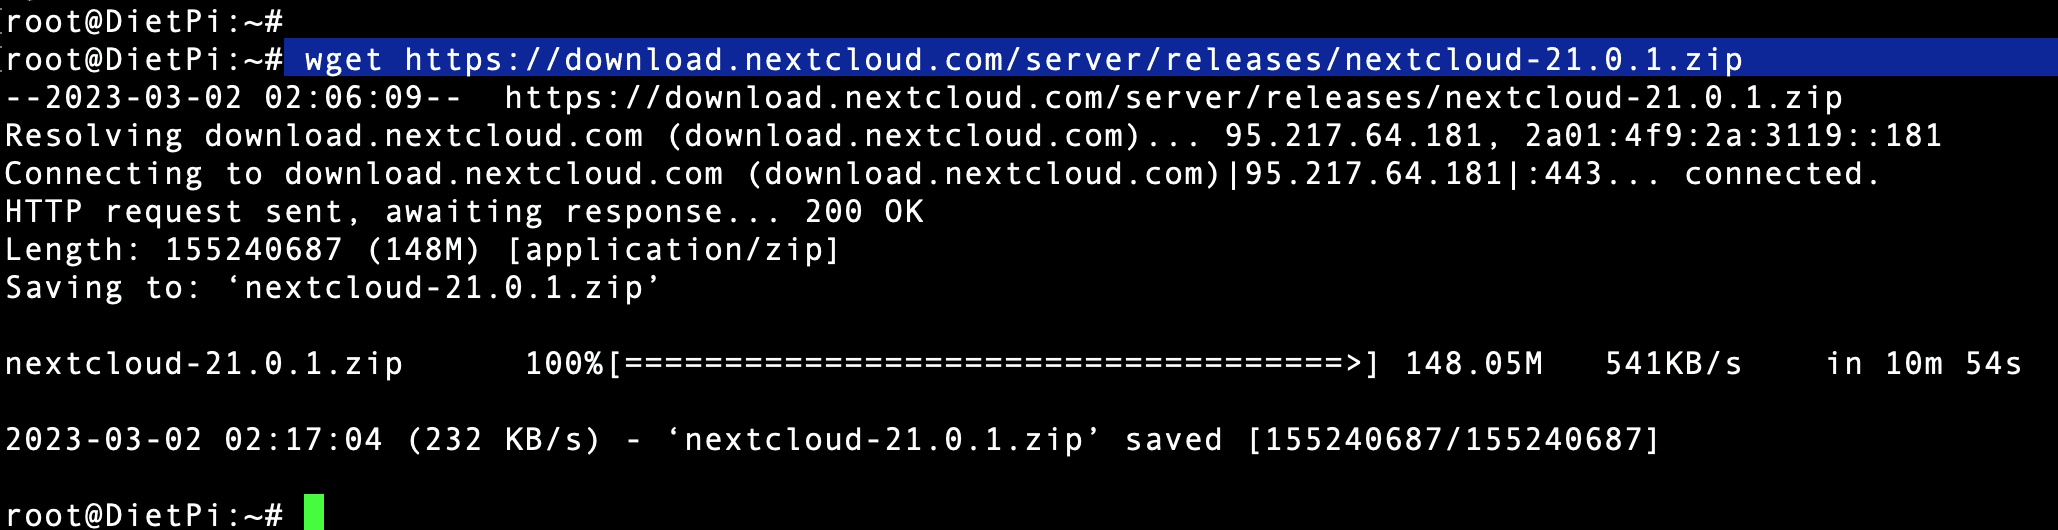
Download the NextCloud zip file
Next, use the unzip command to extract the content of the zip file you downloaded.
unzip nextcloud-21.0.1.zip
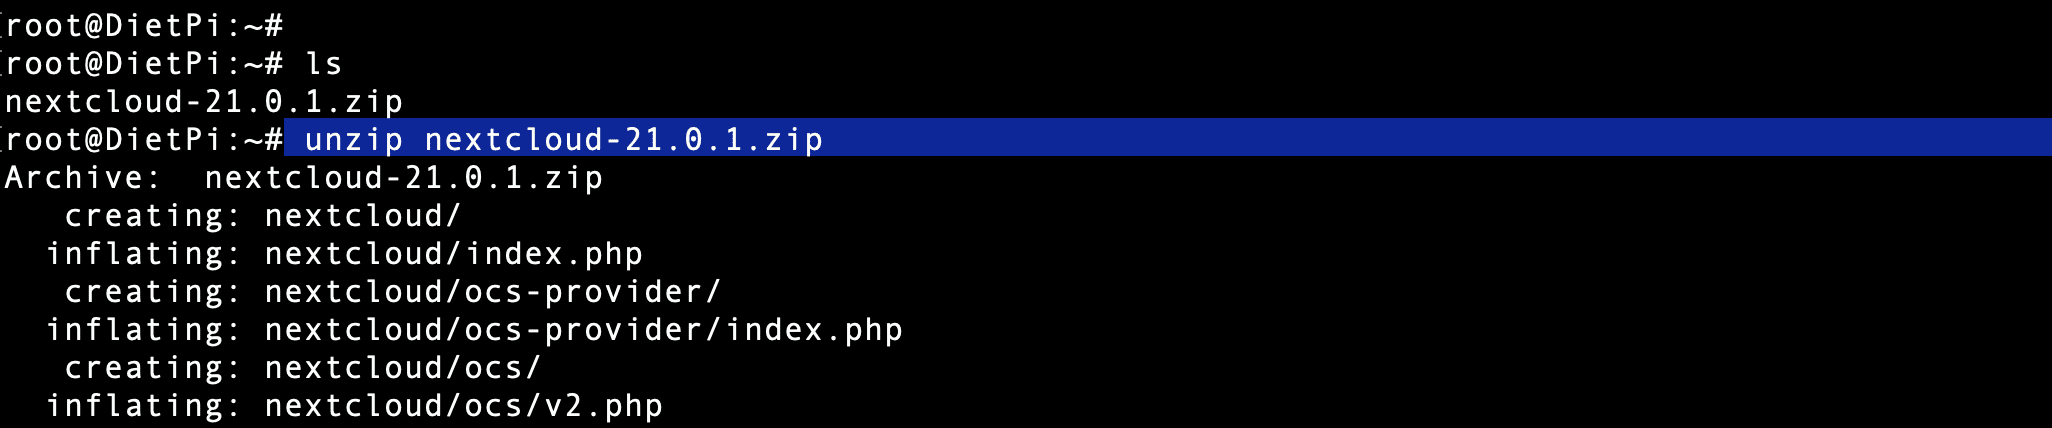
Unzip NextCloud
After successfully extracting the files, a new folder named “nextcloud” will be created in your working directory. Use the command below to move this folder to the /var/www directory.

Setup NextCloud
Next, you must change the ownership of the “/var/www/html/nextcloud” directory and all its contents to the user and group “www-data”. The user “www-data” is the user under which the Apache web server runs on Debian-based systems such as DietPi.
sudo chown -R www-data:www-data /var/www/nextcloud

Set permissions
After changing the ownership of the “/var/www/nextcloud” directory to the “www-data” user and group, the next step is to set the correct permissions to the directory to ensure that the web server and the Nextcloud application can read, write and execute the files inside it. To set the correct permissions for the Nextcloud directory and its contents, you can run the following command:
sudo chmod -R 775 /var/www/nextcloud
This command sets the file permissions recursively (-R) for the “nextcloud” directory and all its contents to 775.

Set permissions
Step 4: Create a configuration file for NextCloud
Follow the steps below to create and enable the Nextcloud configuration file in Apache2:
1. Navigate to the Apache2 sites-available directory with the cd command as shown below:
cd /etc/apache2/sites-available
2. Create a new configuration file for Nextcloud:
sudo nano nextcloud.conf
3. Paste the following code in the file:
<VirtualHost *:80>
ServerName 192.168.1.4
#ServerAlias www.example.com
#ServerAdmin webmaster@example.com
DocumentRoot /var/www/nextcloud

<Directory /var/www/nextcloud>
Options FollowSymLinks MultiViews
AllowOverride All
</Directory>

ErrorLog ${APACHE_LOG_DIR}/example.com-error.log
CustomLog ${APACHE_LOG_DIR}/example.com-access.log combined

SetEnv HOME /var/www/html/nextcloud
SetEnv HTTP_HOME /var/www/nextcloud
</VirtualHost>
Note: Make sure to replace the IP address with the IP address of your server.
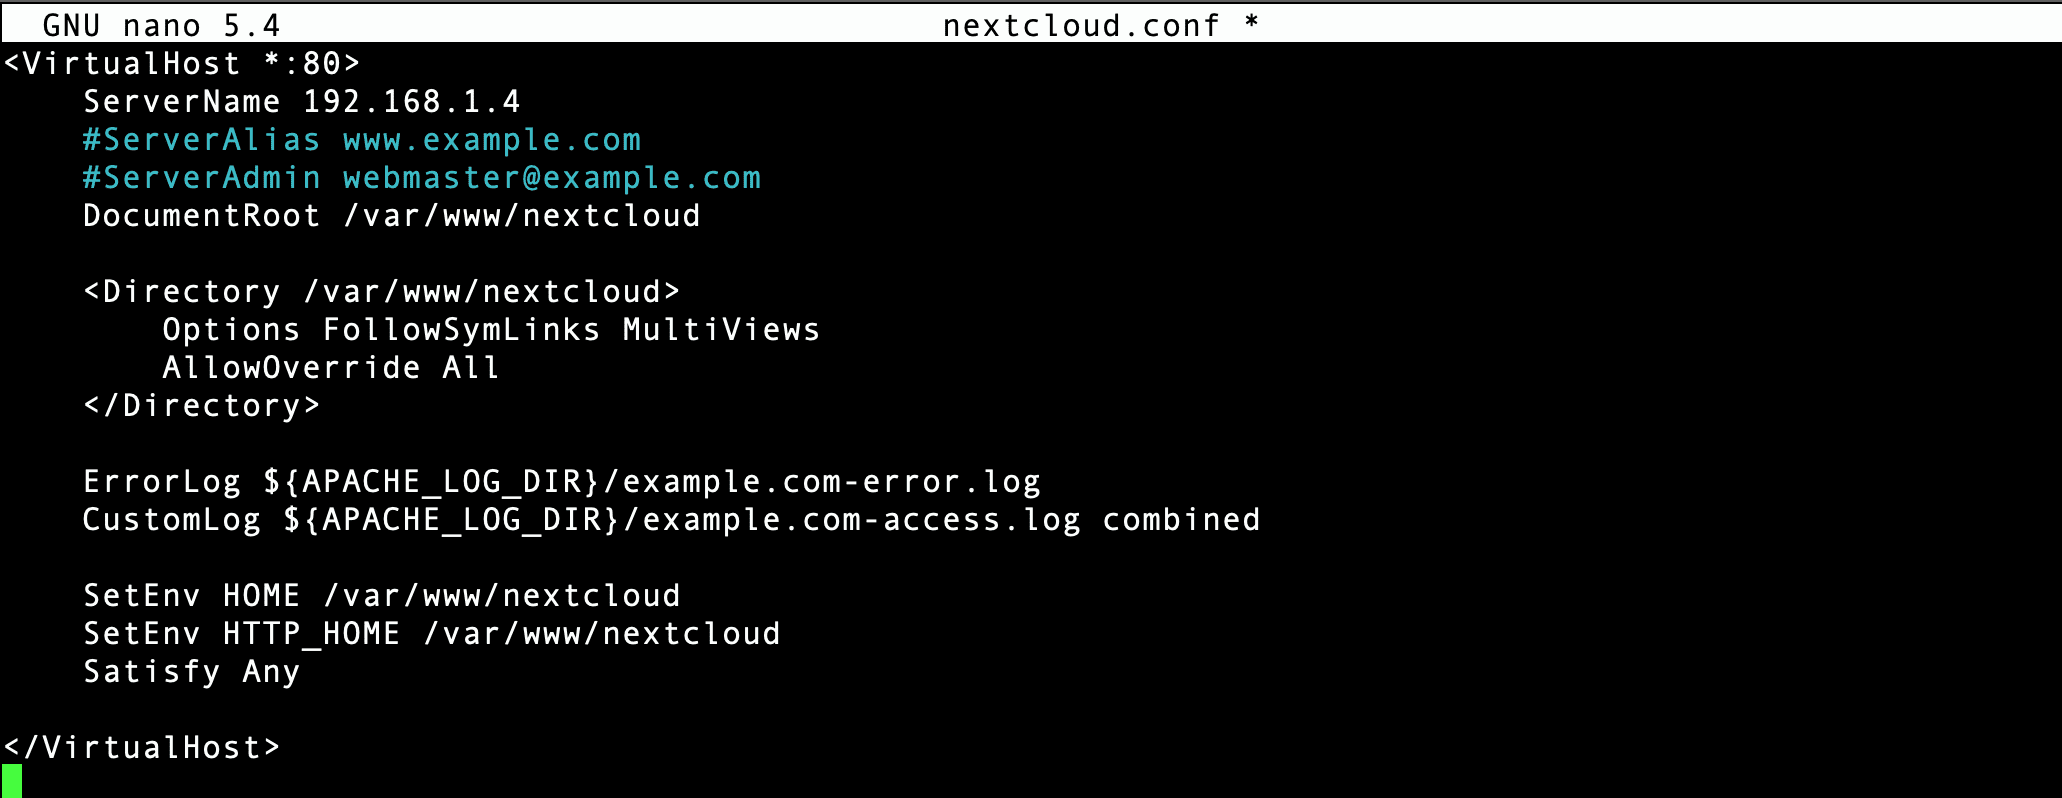
NextCloud configuration
4. Save the configuration file (Ctrl + O, then Enter) and close the file (Ctrl + X).
5. Next, you need to enable the new configuration file by executing the command below:
sudo a2ensite nextcloud.conf
6. Reload the Apache2 service:
sudo systemctl reload apache2

Enable Apache service
The new configuration file should now be enabled, and the Apache2 server should be serving Nextcloud.
Step 5. Test the NextCloud setup
Up to this point, you have successfully created a Database for NextCloud and set up the NextCloud configuration file. Now, launch your browser and type the IP address of your Dietpi system.
http://<dietpi-IP>
e.g.,
http://192.168.1.4
You will see a webpage similar to the image below. At the top section, you must set up a username and password. At the bottom section, enter the details of the database you created in “Step 2” above.
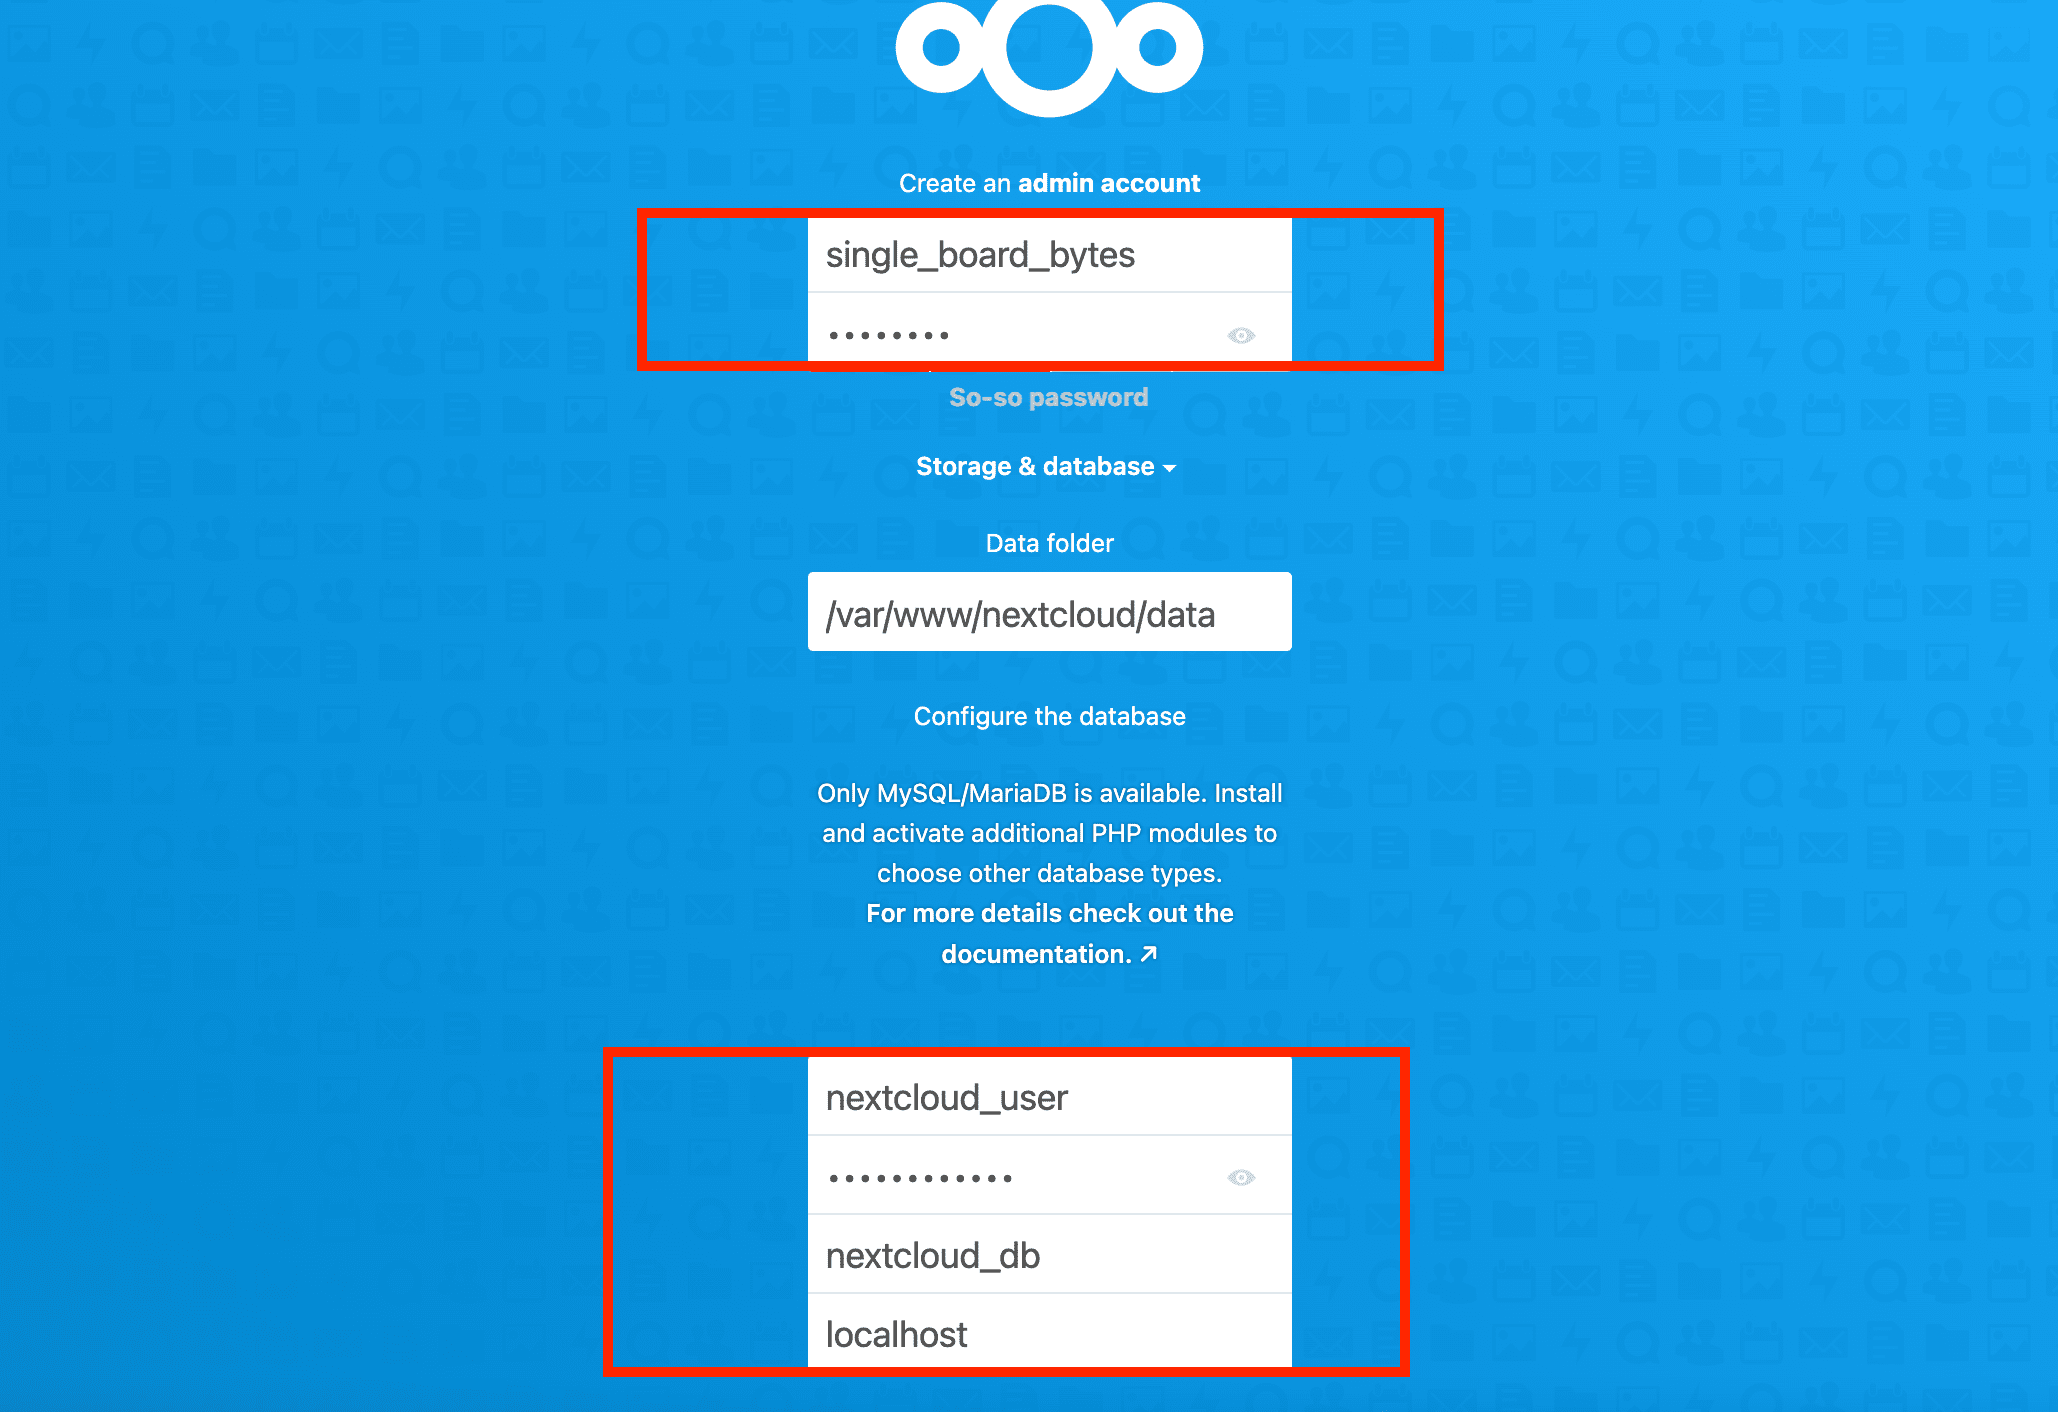
Setup NextCloud account
After filling in the proper credentials, click the “Finish Setup” button at the bottom of the page to finish setting up NextCloud on DietPi. You will be redirected to the NextCloud main page, as when in the image below.
Tip: If you get an error like “page not found” after a while, manually type the URL below on your browser.
http://<Your-IP>/index.php/apps/dashboard/
e.g.,
http://192.168.1.4/index.php/apps/dashboard/
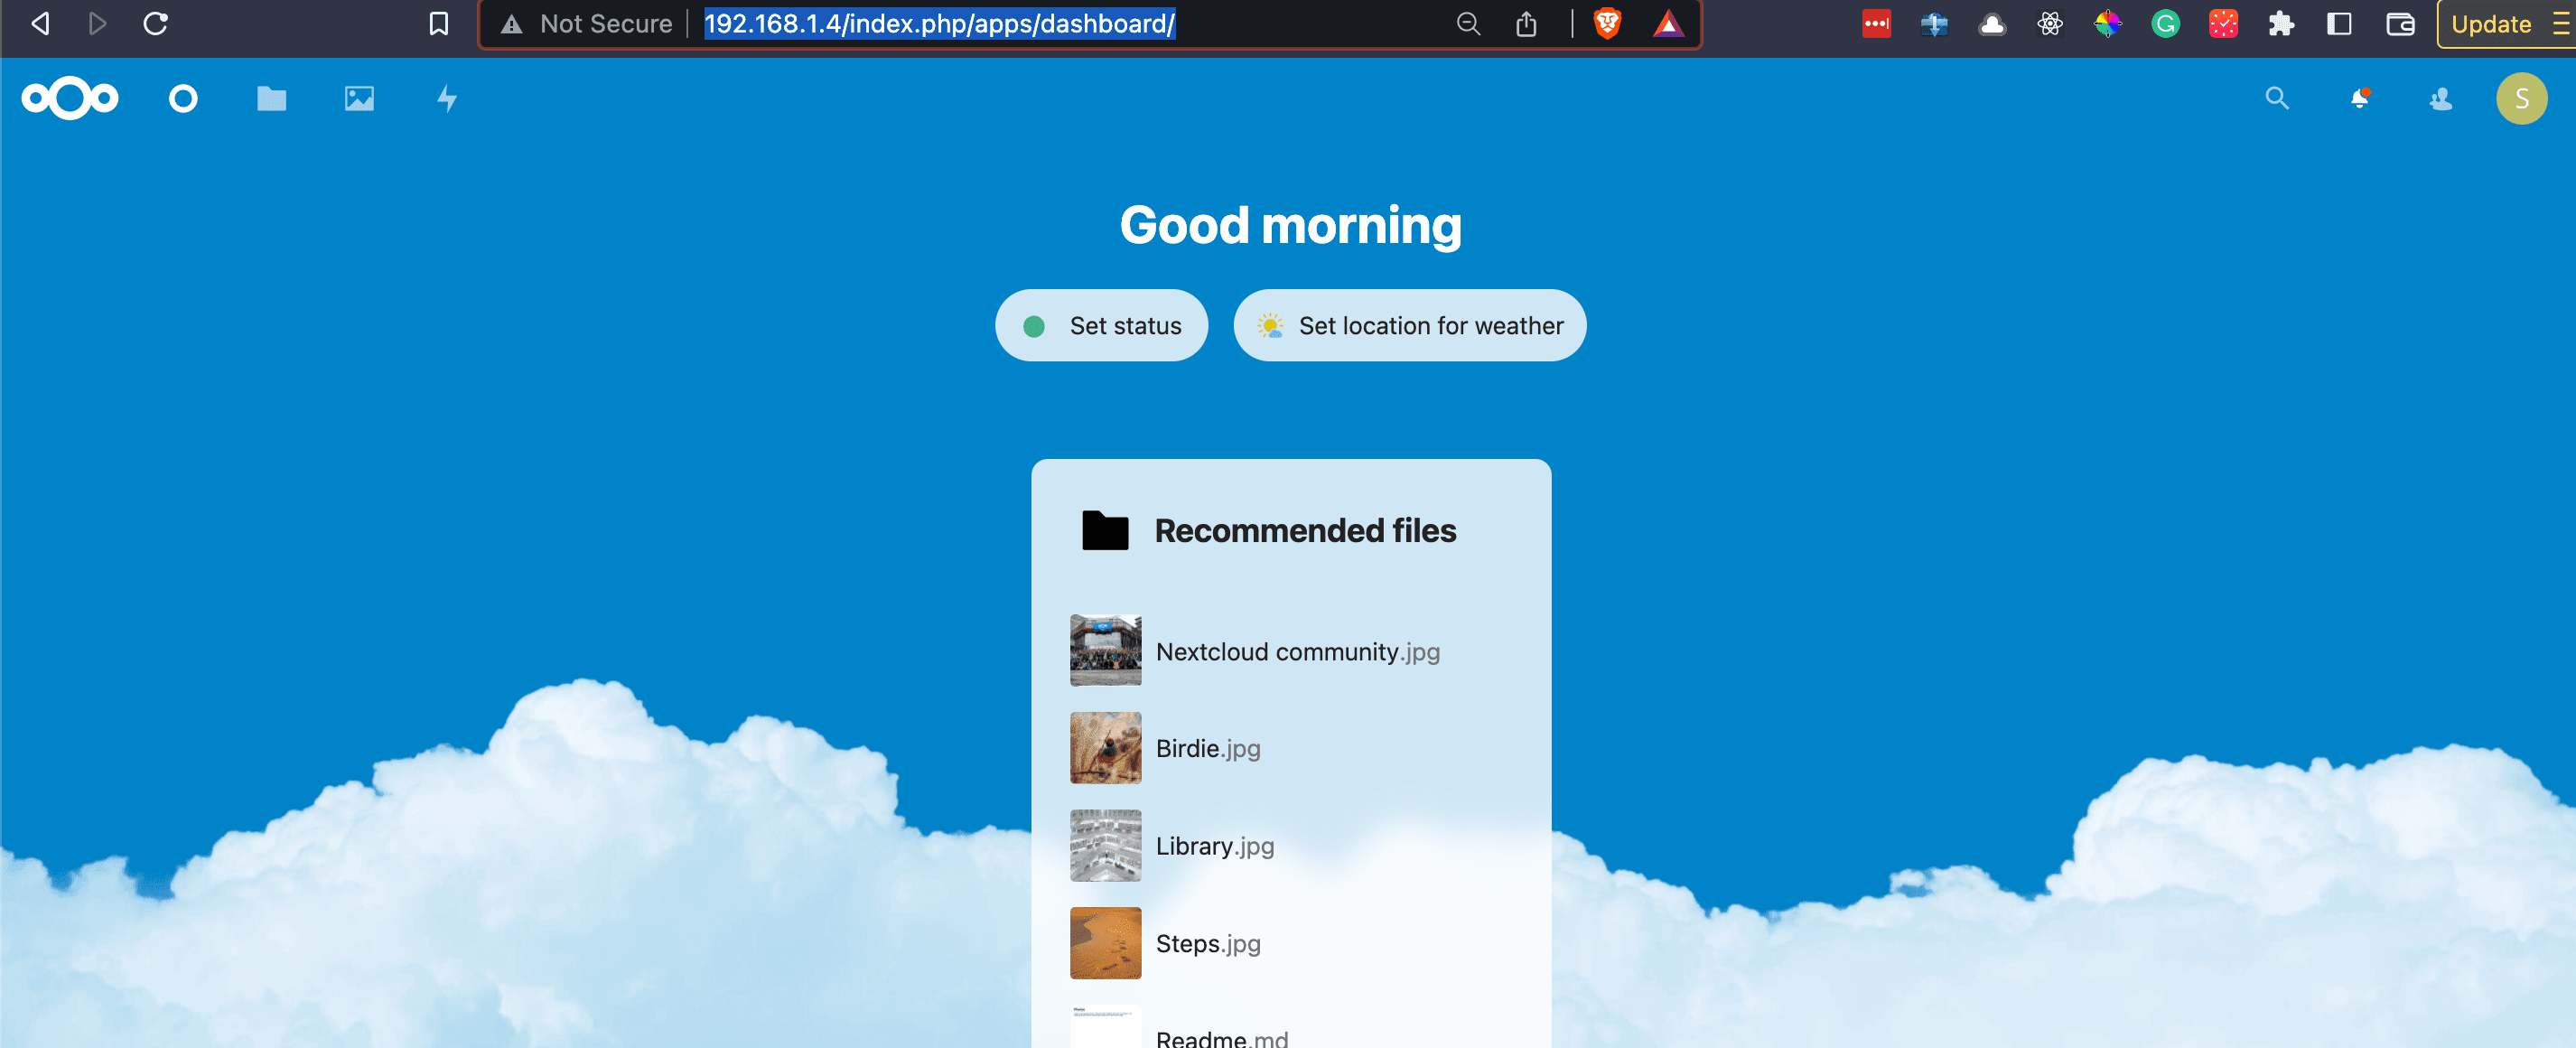
NextCloud
That’s it! You have successfully set up NextCloud on DietPi.
Conclusion
Nextcloud is an excellent alternative to commercial cloud storage services that allows you to store and share your data, contacts, and calendar events on your own server or in a public cloud. When you combine Nextcloud with DietPi, you get a powerful cloud storage solution that can be run on a low-power, low-cost SBC. Following the steps outlined in this guide, you can set up your own Nextcloud server on your DietPi system, giving you complete control over your data and the ability to customize it to meet your needs.
1 comment
Some extra work is needed – disable the default page for Apache2:
sudo a2dissite 000-default.conf
followed by:
sudo a2dissite 000-default.conf