
DietPi is a lightweight and optimized operating system for single-board computers like the Raspberry Pi. It’s designed to be highly efficient and customizable, making it a popular choice for various projects, including home automation, media centers, and servers. However, like any other operating system, DietPi is also prone to data loss or corruption due to hardware failure, user errors, or software bugs. That’s why it’s essential to create regular backups of your DietPi installation to ensure you can recover your data and settings in case of an unexpected event.
Backing up your DietPi installation
Fortunately, DietPi includes a built-in backup utility to help you easily create full system backups. In this article, we’ll guide you through the steps to use DietPi-Backup to back up your whole DietPi installation, including your installed packages, user data, and configuration files.
Step 1: Install DietPi-Backup
DietPi-Backup is included in the DietPi operating system, so you will not have to install anything. However, you will need to enable it by running the following command:
sudo dietpi-backup
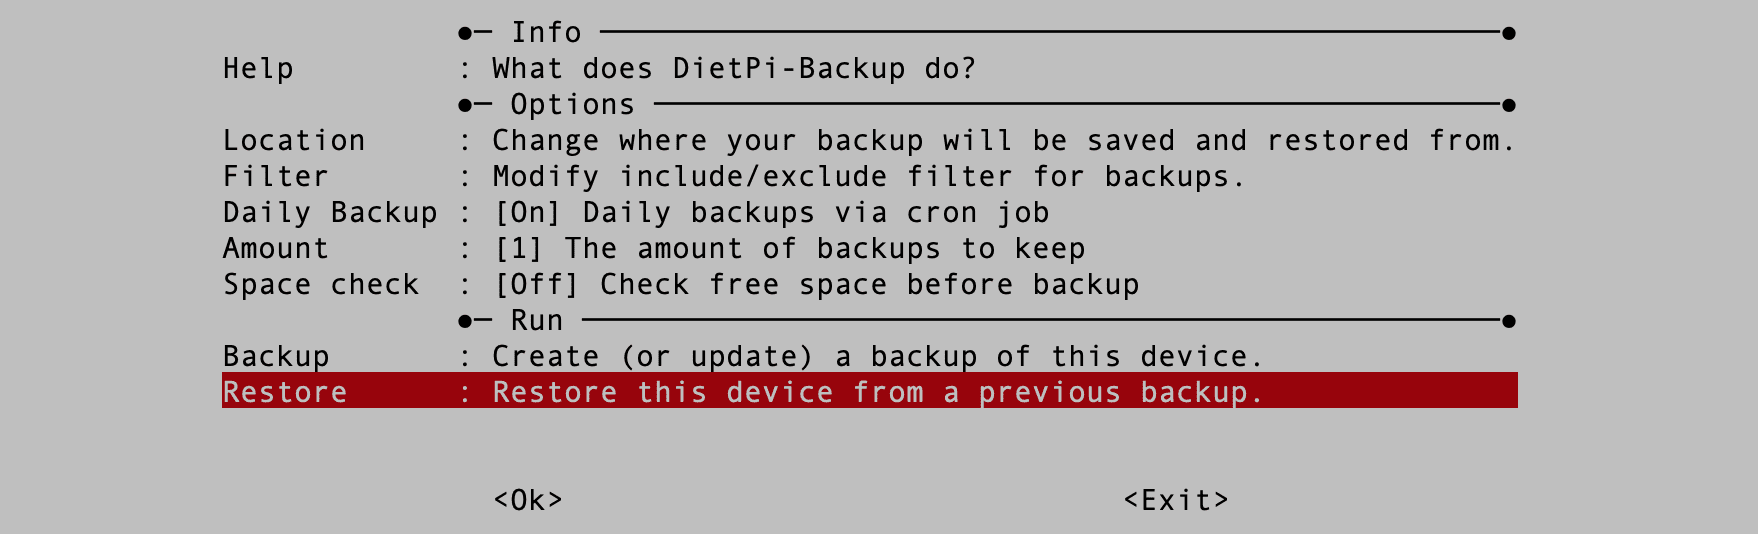
The command will then open the DietPi-Backup configuration menu, where you can select various options for your backup, such as the backup method, destination, and schedule. See the image below;
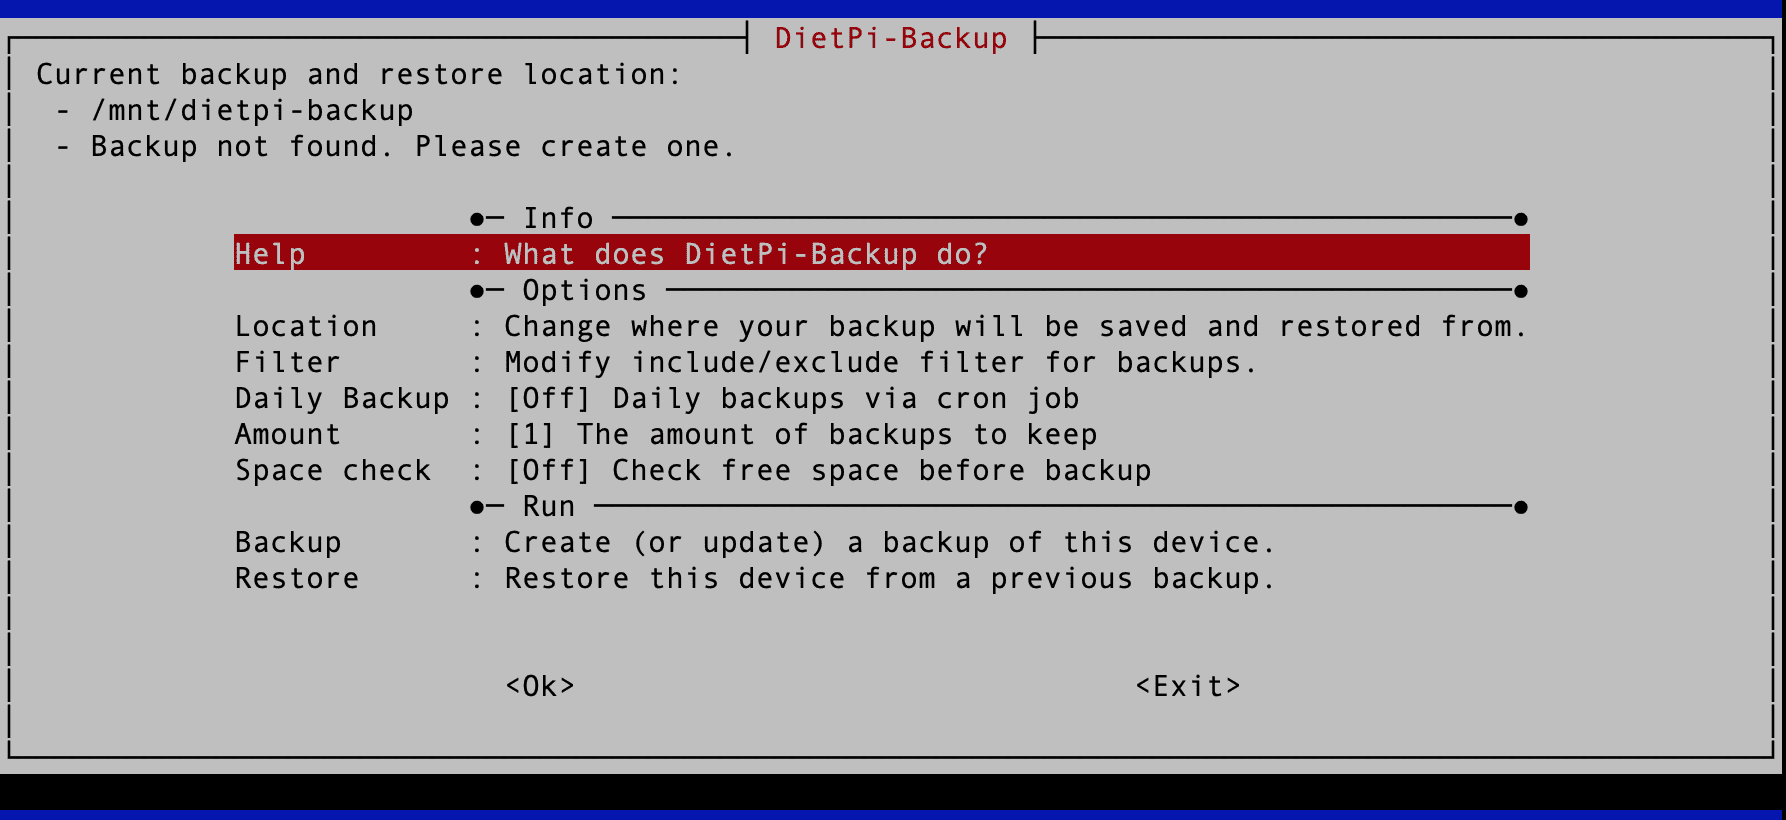
Dietpi backup utility
Step 2: Set the location to save the backup
One of the options that you will see in the dietpi -backup screen is “Location.” Use this option to set where you want the backup to be stored. Follow the steps below.
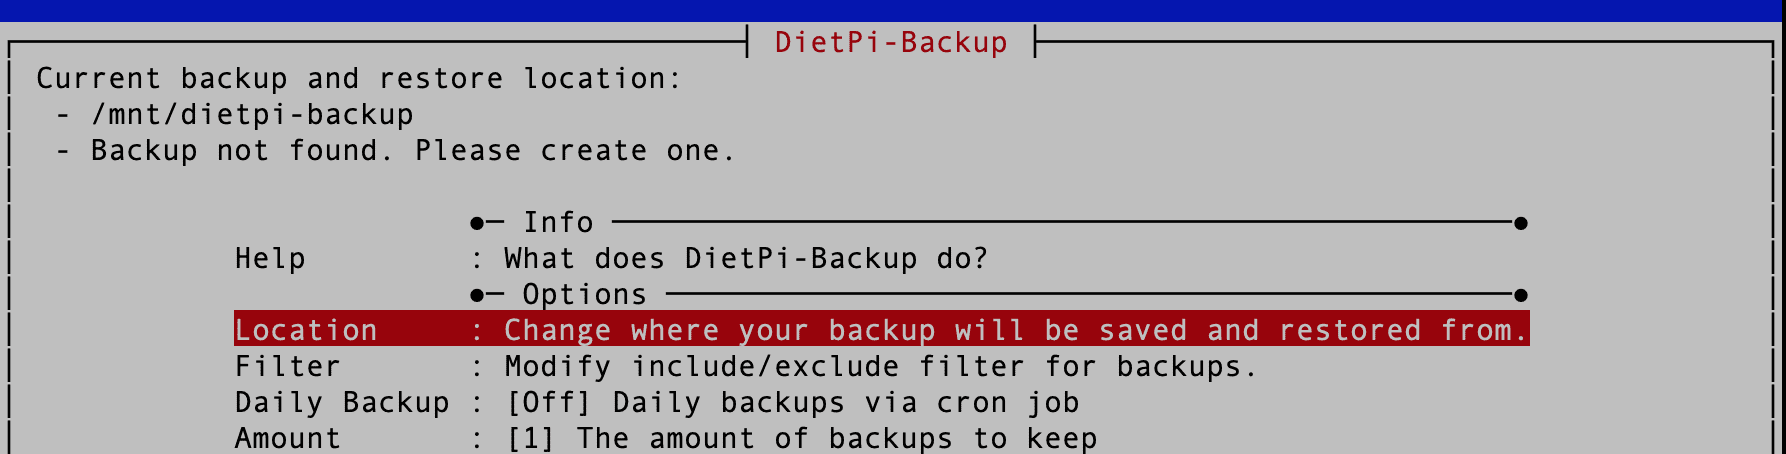
Set location
1. Select the “Location” option in the DietPi-Backup utility and hit “Enter.” When you do that, you will see the option to set and select where you want to save the backup.
2. By default, the backup will be saved in the directory /mnt/dietpi-backup. However, if you want to change the backup location, you can select from the following options:
- Search – It is the very first option that you will see. This option will allow you to search for previous backups that you may have made and choose one of them as your backup location.
- List – The next location is the list. This option will provide you with a list of available mounts and drives on your system, and you can choose the one where you want to save your backup.
- Manual – The last one is manual. This option allows you to manually type the directory path where you want to save your backup. Again, ensure you have written permissions to the directory you choose.

Select the location to save backup
A quick tip is to remember to choose a location that is easily accessible and secure. Additionally, maintain regular backups to ensure the safety of your data. We highly recommend storing the backup in an external drive instead of saving it in one of the directories on your Dietpi system.
3. After setting the location, use the “Tab” to select “Ok” and hit “Enter.”
Step 3. Select files to include or exclude (filters)
The “Filter” option in the DietPi-Backup utility allows you to modify the include and exclude filters for your backups, as shown in the image below.
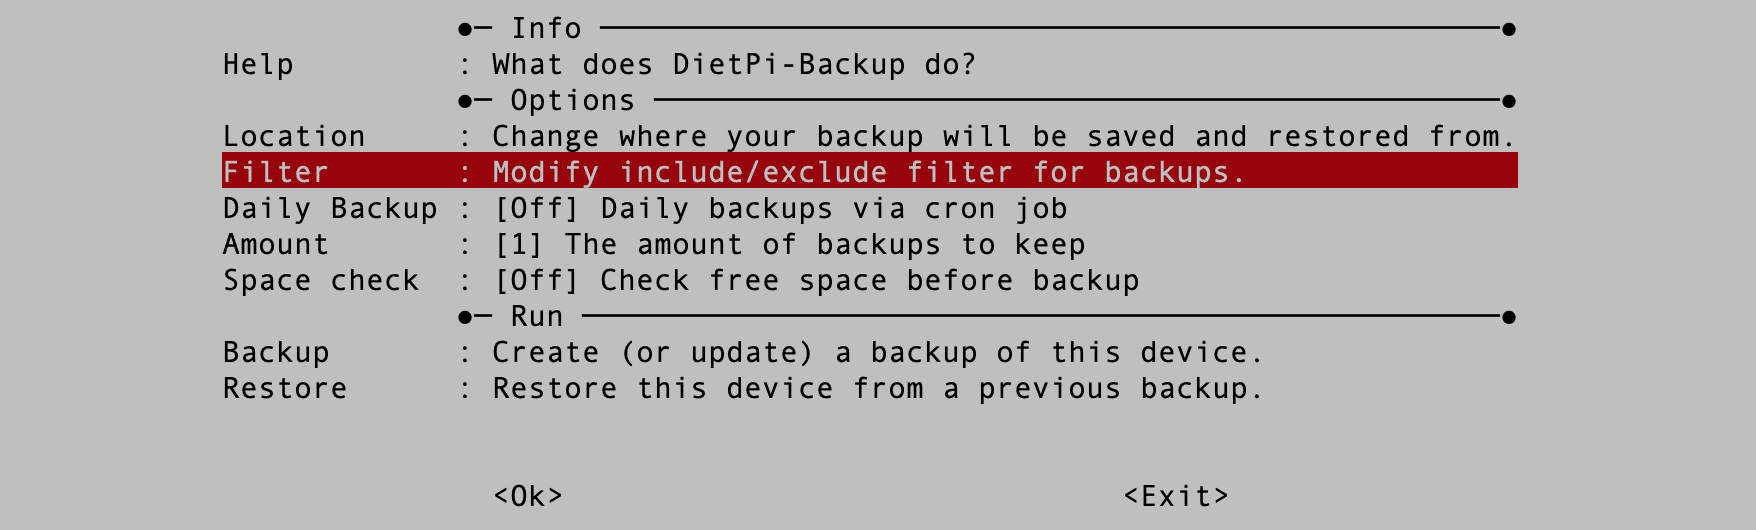
Filter
When you select this option and hit “Enter,” it will open a nano editor with the default information shown in your message. This information represents the include and excludes rules that determine which directories and files will be included or excluded from your backups.
The “#” symbol at the beginning of the line indicates that it’s a comment and will be ignored by the system. The lines starting with “+” indicate which directories or files should be included in the backup. In contrast, the lines beginning with “-” indicate which directories or files should be excluded from the backup.
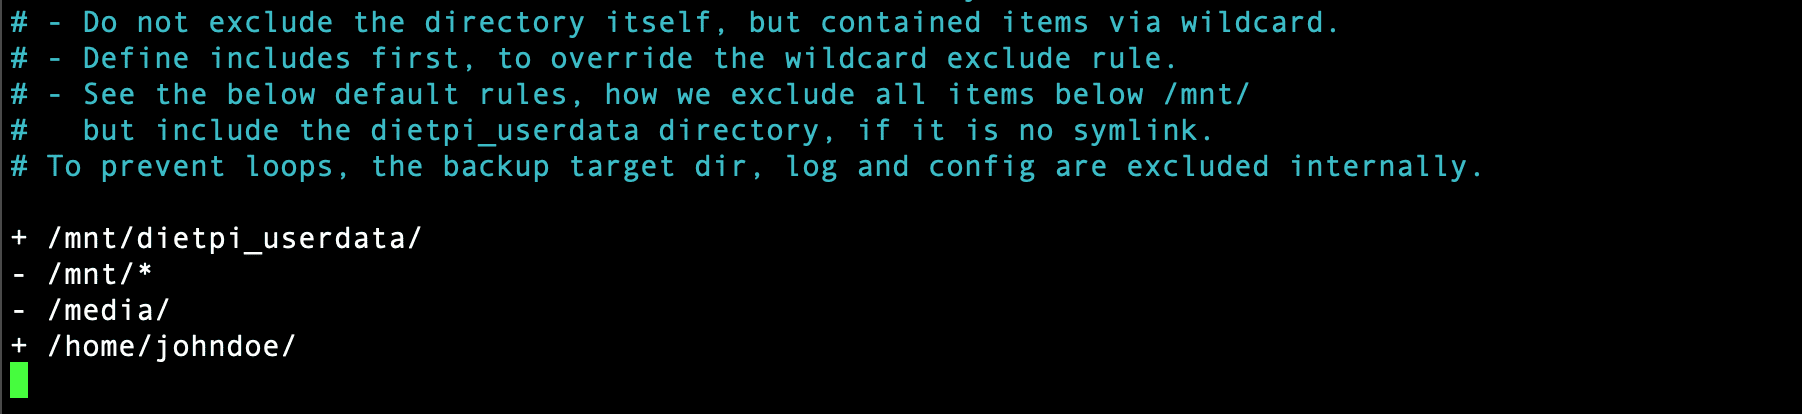
Filter files and directories
You can modify these rules by adding, removing, or changing the existing lines according to your backup requirements. For example, if you want to exclude a directory from the backup, add a line starting with “-” followed by the directory path. Conversely, if you include a directory or file currently excluded, you can add a line starting with “+” followed by the path, and so on.
+ /home/johndoe/
#means that the directory "/home/johndoe/" and its contents will be included in the backup.
- /mnt/*
#means that all directories and files under the "/mnt/" directory will be excluded from the backup.
After making the necessary changes, save the file using the keys (Ctrl + O, then Enter) and exit (Ctrl + X) the nano editor. After that, the new include and exclude rules will be applied to your next backup.
Step 4. Set daily backups
The “Daily Backup” option in the DietPi-Backup utility allows you to schedule daily backups via a cron job. When you select this option and hit “Enter,” the value will change from “Off” to “On,” indicating that daily backups have been enabled.
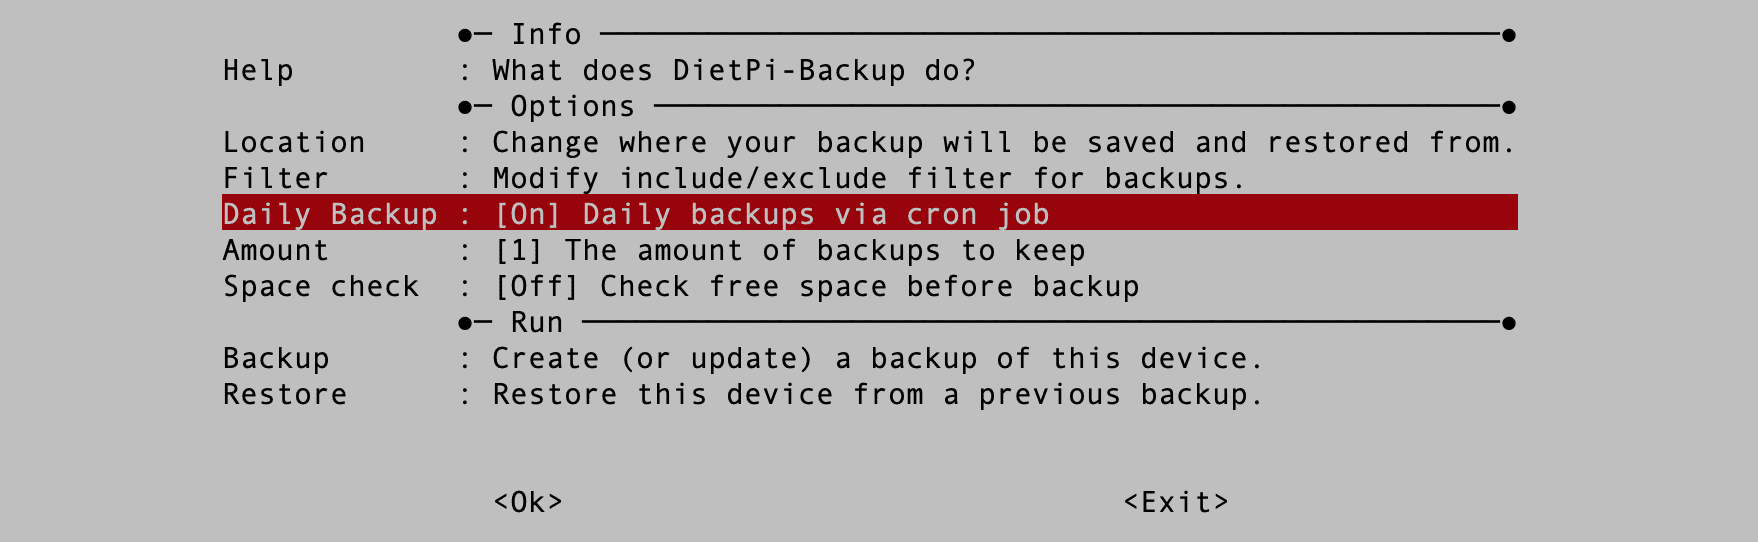
Daily backup
By enabling this option, the DietPi-Backup utility will automatically create a backup of your system daily at a specific time set by the cron job. This can be useful for users who want to maintain regular backups without manually running the backup utility each time.
Note that when you enable the daily backup option, you should also ensure that the backup location and include/exclude filters are correctly set up to ensure that only the necessary data is backed up and saved in the correct location. Additionally, you should periodically check your backups to ensure they are working correctly and that your data is successfully backed up.
Step 5. Set backup amount
The “Amount” option in the DietPi-Backup utility allows you to set the number of backups retained in the backup location.
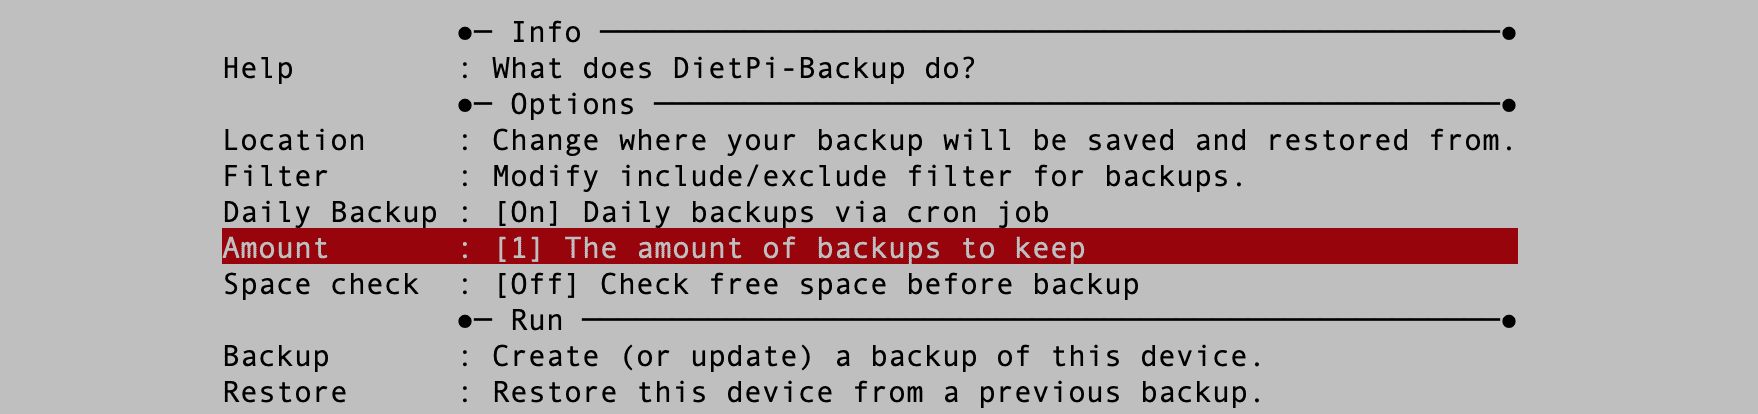
Set backup amount
When you select this option and hit “Enter,” you will be prompted to enter the number of backups you want to keep. The default value is 1, meaning only one backup will be retained in the backup location.
You can set the amount to any number greater than or equal to 1, depending on your backup needs and available storage space. For example, if you have a lot of storage space, you may want to set the amount to a higher value to retain multiple backups over a longer period.
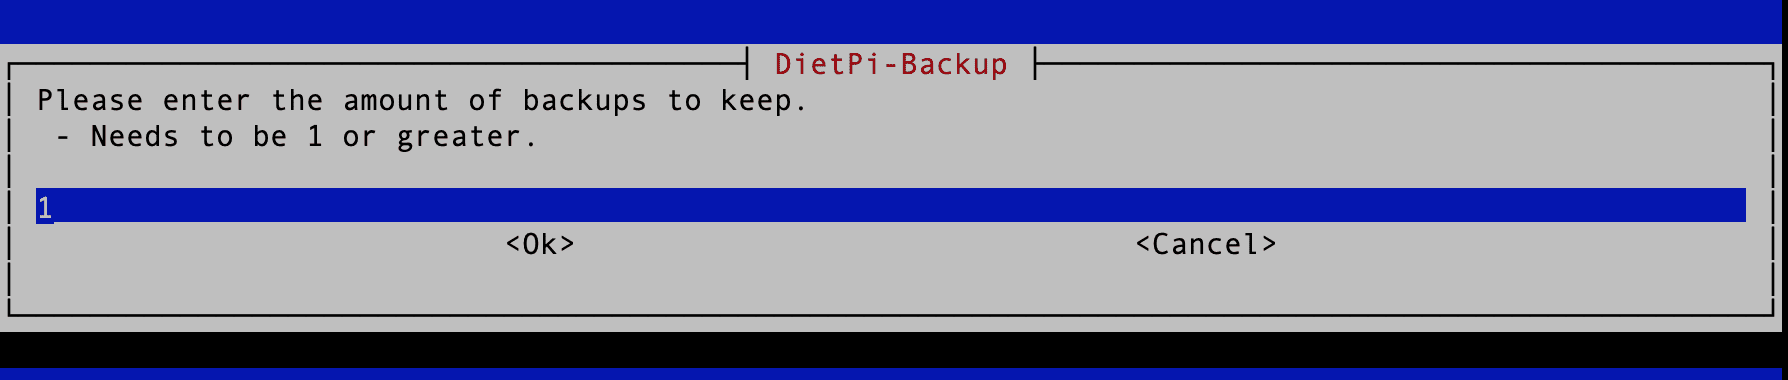
Backup amount
It’s important to note that increasing the number of backups retained will also increase the amount of storage space required. Therefore, it’s recommended that you balance your backup needs with the available storage space to ensure that you can retain the necessary number of backups without running out of storage space.
Step 6. Space check
The “Space check” option in the DietPi-Backup utility allows you to check the free space available on the target backup location before starting a backup.
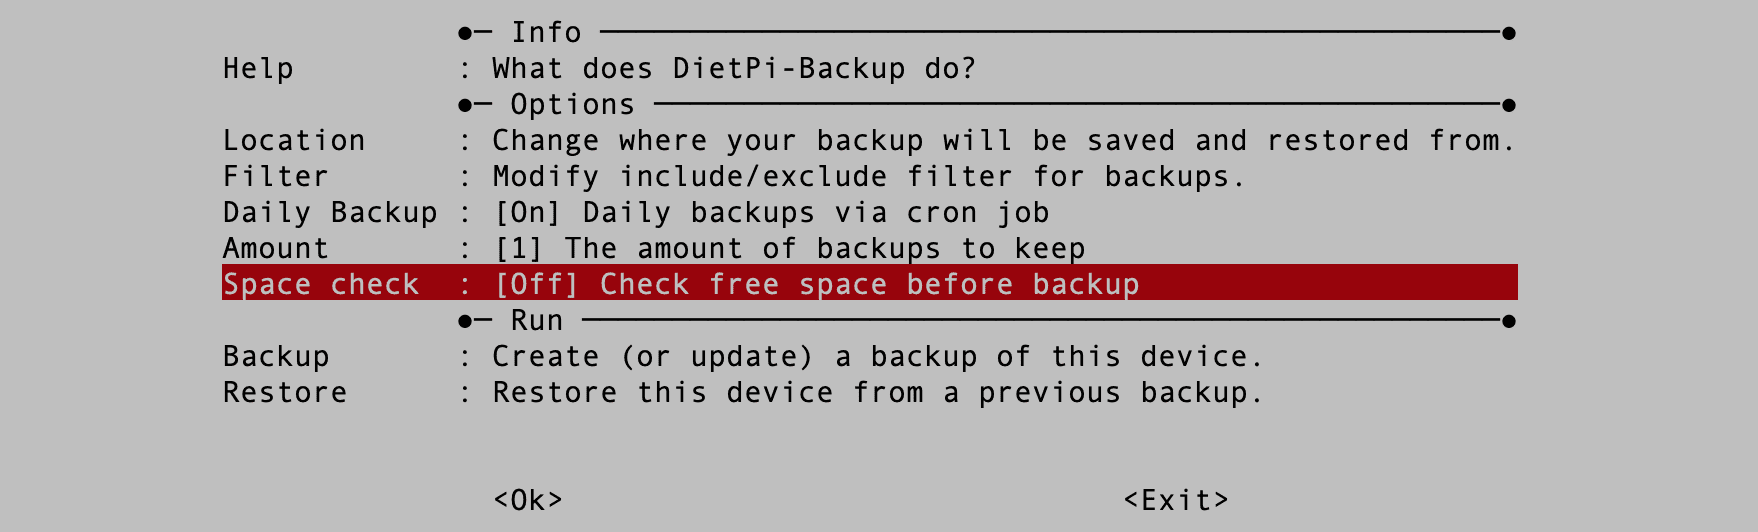
Space Check
When you select this option and hit “Enter,” the value will change from “Off” to “On,” indicating that the space check has been enabled.
By enabling this option, the DietPi-Backup utility will check the free space available on the target backup location before starting a backup. If there is insufficient free space, the backup will not proceed, and an error message will be displayed to notify you of the situation. This can help prevent backup failures and ensure you have enough space to save your backup data.
Note: Enabling the space check option may add time to the backup process, as the utility needs to check the available space before proceeding. However, it’s a valuable feature to ensure that your backups are successful and that you don’t run out of space in your backup location. The rule of thumb is to remain patient if you want a successful backup.
Step 7. Backup
The “Backup” option in the DietPi-Config menu allows you to create or update a backup of your DietPi device. When you select this option, you will see a message indicating the backup location to which the system will be backed up.

Backup
If you want to continue with the backup, use the “Tab” key to select “OK” and hit “Enter.” If you wish to cancel the backup, choose “Cancel.”
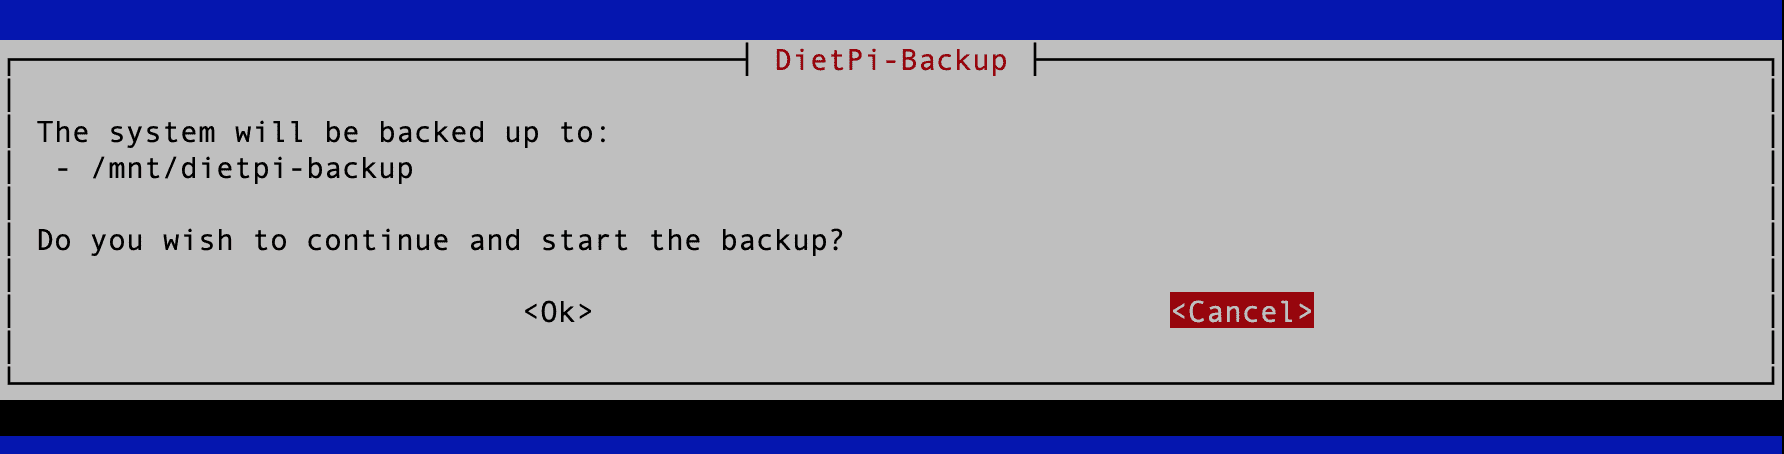
Confirm backup
Once you confirm that you want to proceed with the backup, the DietPi-Backup utility will start the backup process and save a copy of your system to the designated backup location. The time it takes to complete the backup will depend on the size of your system and the speed of your storage device.
Step 8. Restore
The “Restore” option in the DietPi-Config menu allows you to restore your DietPi device from a previous backup.
Restore
When you select this option, you will see a message that indicates the backup location from where the system will be restored. See the image below;
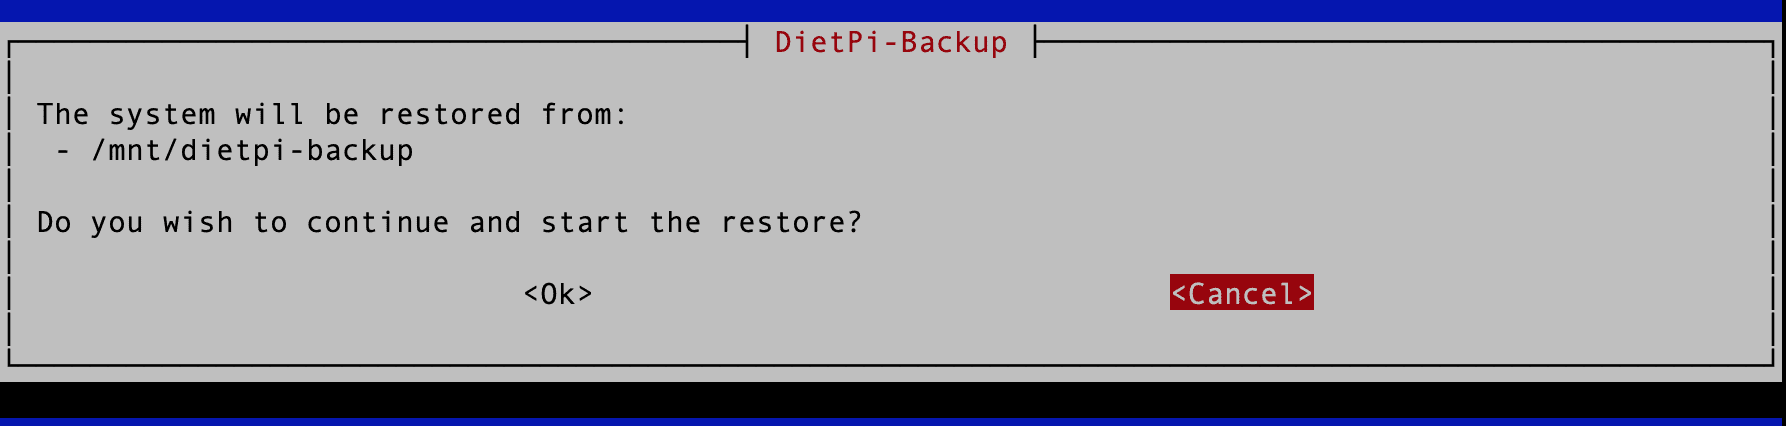
Confirm restore
If you want to continue with the backup, use the “Tab” key to select “OK” and hit “Enter.” If you wish to cancel the backup, choose “Cancel.” But because our post is about backing up DietPi installation, we shall press “OK”.
Once you confirm that you want to proceed with the restore, the DietPi-Backup utility will start the restore process and copy the backup contents to your system. The time it takes to complete the restore will depend on the size of your backup and the speed of your storage device.
Note: Restoring from a backup will overwrite any existing data on your device. For this reason, you should only restore from a backup if you are sure you want to replace all the current data on your system with the contents of the backup.
Conclusion
DietPi-Backup is an easy-to-use and powerful utility that can help you create full system backups of your DietPi installation. Following the steps outlined in this article, you can ensure that your data and settings are safe and recoverable in case of unexpected events. Remember to maintain regular backups and test them periodically to ensure their usability. With DietPi-Backup, you can focus on your projects and leave the backup worries to the system.