
DietPi is a lightweight operating system designed for single-board computers and other low-resource devices. While it’s designed to be fast and efficient, you can still optimize your DietPi installation further to improve performance and reduce resource usage. In this comprehensive guide, we will share valuable tips for optimizing your DietPi installation for low-resource devices. We’ll cover topics such as disabling unnecessary services, optimizing swap usage, and configuring CPU and memory usage.
Optimizing DietPi for low-resource devices
In this article, we will explore how to optimize DietPi for low-resource devices to improve performance, reduce resource usage, and extend your device’s lifespan.
1. Choose the right DietPi image and desktop environment.
The first step in optimizing DietPi is to choose the right image for your specific device. DietPi offers optimized images for different single-board computers and models, so select the one that matches your device. Next, you must choose a lightweight Desktop Environment for your system. If you plan on running Dietpi headless (without a graphical display), you don’t need to install a Desktop environment. However, for users who intend to have a desktop environment, it is compulsory to install one.
Below are some lightweight Desktop Environments you can install on your Dietpi.

Desktop Environments
LXDE (Lightweight X11 Desktop Environment): LXDE is a lightweight desktop environment designed to be fast and energy-efficient. It uses a simple and clean user interface and requires minimal system resources, making it ideal for low-powered devices like Raspberry Pi. The software offers great flexibility, allowing users to personalize it to their specific needs. Additionally, it comes equipped with numerous pre-installed programs that can be utilized for a variety of tasks
MATE: MATE is a GNOME 2 desktop environment fork designed to provide a traditional and user-friendly desktop experience. It features a classic layout with a menu bar and taskbar and includes a range of built-in applications such as a file manager, text editor, and media player. While it is not as lightweight as LXDE, it is still relatively light and should run well on most Raspberry Pi models.
XFCE (XForms Common Environment): XFCE is a lightweight and modular desktop environment designed to be fast and responsive. It features a traditional layout with a taskbar and panel and includes a range of built-in applications such as a file manager, terminal emulator, and media player. XFCE is more resource-intensive than LXDE but is still relatively lightweight compared to other desktop environments.
GNUstep: GNUstep is a free and open-source desktop environment based on the Objective-C language and the NeXTSTEP user interface. It features a simple and elegant design and includes a range of built-in applications such as a file manager, web browser, and multimedia player. While it is not as well-known or widely used as other desktop environments, it is still lightweight and should run well on most Raspberry Pi models.
LXQT (Lightweight Qt Desktop Environment): LXQT is a lightweight and modern desktop environment designed to be fast and user-friendly. It features a clean and minimal user interface and includes a range of built-in applications such as a file manager, terminal emulator, and media player. While it is still relatively new and not as mature as other desktop environments, it is considered lightweight and should run well on most Raspberry Pi models.
2. Update your system
Once you have installed DietPi on your device, it is essential to keep it up-to-date to ensure you have the latest security patches, bug fixes, and software updates. To update your system, open the terminal and run the following commands:
sudo apt-get update
sudo apt-get upgrade
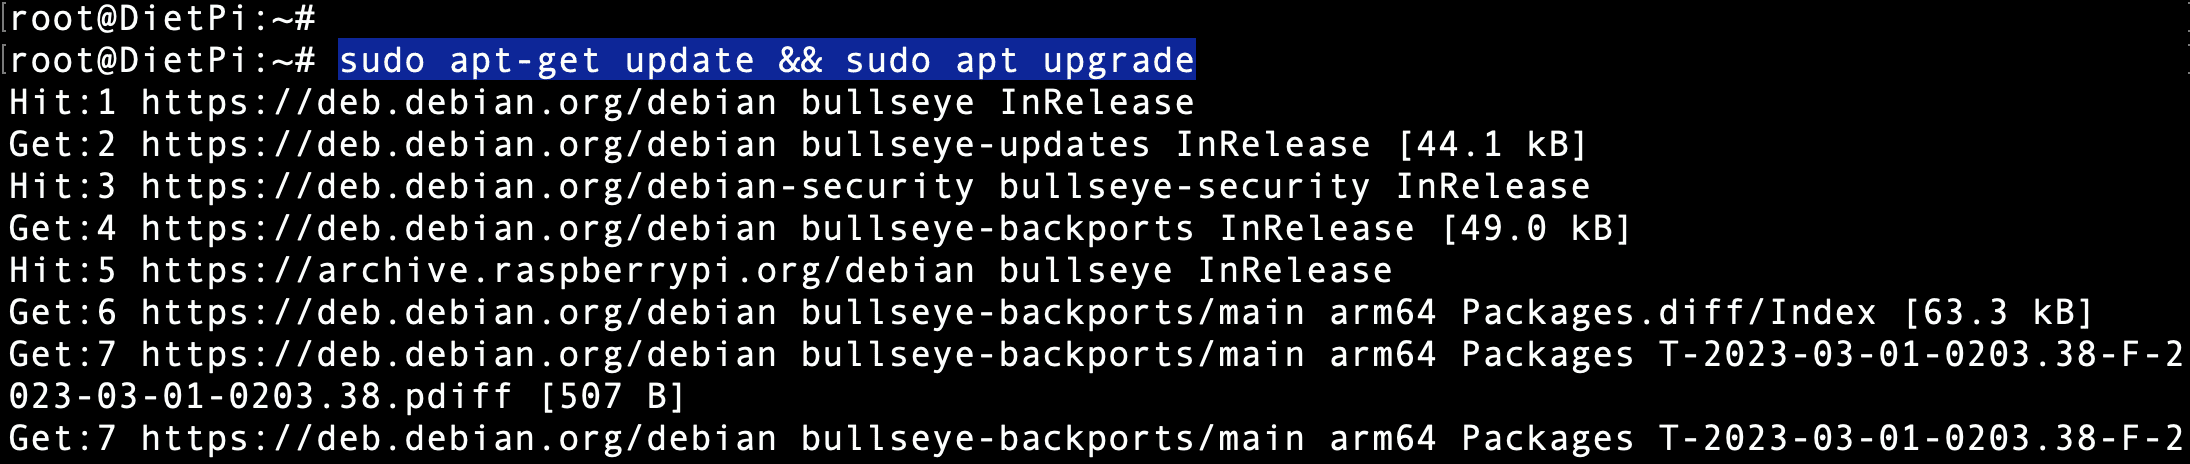
Update and upgrade the system
This will update your system and all the installed packages to the latest version.
3. Disable unnecessary services
DietPi has a range of services and daemons enabled by default to provide various functionalities and features. However, not all of these services are necessary or relevant for every use case, and disabling some can help free up system resources and optimize performance.
Here are some of the unnecessary services and daemons that you can consider disabling on your DietPi to optimize performance:
Bluetooth: If you are not using Bluetooth devices with your DietPi, disable the Bluetooth service to free up system resources. You can accomplish it by running the command:
sudo systemctl disable bluetooth
Avahi-daemon: Avahi-daemon is a service that allows automatic network discovery and address assignment. You can disable the Avahi-daemon to free up system resources if you are not using network discovery or auto-assignment on your DietPi. You can attain this by running the following command:
sudo systemctl disable avahi-daemon
Exim4: Exim4 is a mail transfer agent used to send and receive emails. If you are not using email functionality on your DietPi, you can disable the Exim4 service to free up system resources. You can accomplish this by running the command:
sudo systemctl disable exim4
DHCP server: If you are not using your DietPi as a DHCP server to assign IP addresses to other devices on your network, you can disable the DHCP service to free up system resources. You can attain it by running the command:
sudo systemctl disable dhcpcd
Xrdp: Xrdp is a remote desktop protocol server that allows you to access your DietPi desktop remotely. If you are not using Xrdp, you can disable the service to free up system resources. You can attain it by running the command:
sudo systemctl disable xrdp
FTP server: If you are not using your DietPi as an FTP server to transfer files over the network, you can disable the FTP service to free up system resources. You can attain that by running the command:
sudo systemctl disable proftpd
Note: Disabling certain services may impact the functionality of your DietPi and any applications or services that depend on them. Therefore, before disabling any service, research its purpose and any potential impacts on your system. Additionally, you may want to monitor system performance before and after disabling any service to determine if it has significantly impacted system resources.
4. Optimize the file system
By default, DietPi uses a read-only file system to reduce the risk of file corruption and increase the lifespan of your device’s SD card. However, you can optimize the file system further by disabling unnecessary file systems and mounting directories in tmpfs. To do this, open the terminal and run the following commands:
sudo sed -i 's|^tmpfs.*|tmpfs /var/log tmpfs defaults,noatime,nosuid,mode=0755,size=10m 0 0\n|' /etc/fstab
sudo sed -i 's|^tmpfs.*|tmpfs /tmp tmpfs defaults,noatime,nosuid,nodev 0 0\n|' /etc/fstab
sudo sed -i 's|^tmpfs.*|tmpfs /var/tmp tmpfs defaults,noatime,nosuid,nodev 0 0\n|' /etc/fstab
sudo sed -i 's|^tmpfs.*|tmpfs /var/lib/mysql tmpfs defaults,noatime,nosuid,nodev,mode=0755,size=50m 0 0\n|' /etc/fstab
sudo sed -i 's|^tmpfs.*|tmpfs /var/lib/mosquitto tmpfs defaults,noatime,nosuid,nodev,mode=0755,size=50m 0 0\n|' /etc/fstab

Optimize the File System
These commands will mount the /var/log, /tmp, /var/tmp, /var/lib/mysql, and /var/lib/mosquitto directories in tmpfs, which is a RAM-based file system that is faster and more efficient than an SD card.
5. Optimize your network settings
You can directly install and use systemd-networkd as the lightweight network management daemon on DietPi. Below are the steps to install and use systemd-networkd on your Dietpi system:
Install the systemd-networkd package by running the following command:
sudo apt-get install systemd-networkd
Enable and start the systemd-networkd service by running the following commands:
sudo systemctl enable systemd-networkd
sudo systemctl start systemd-networkd
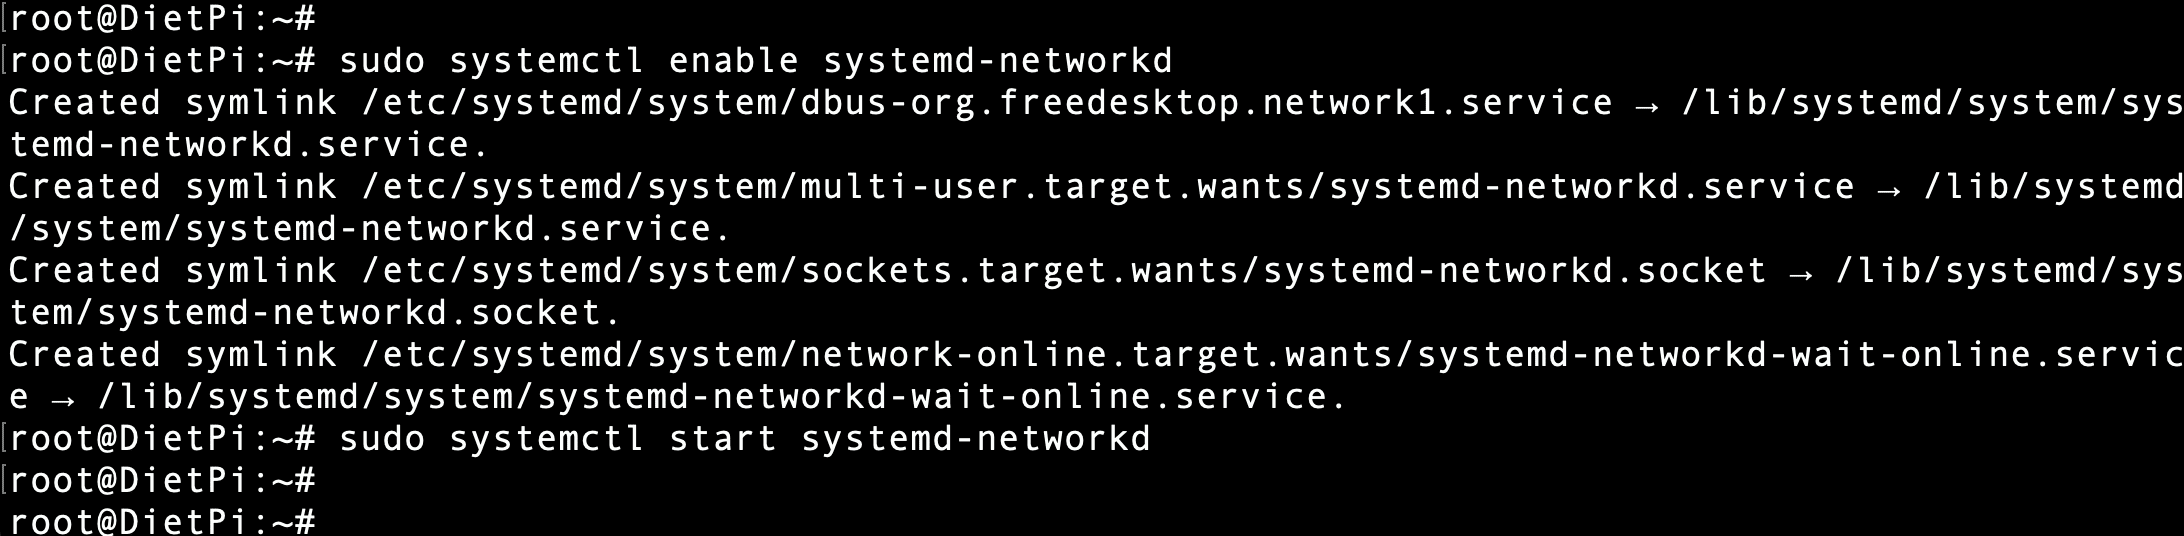
Enable systemd-networkd
Configure your network interfaces by creating the appropriate .network files in the /etc/systemd/network/ directory. For example, to configure a wired Ethernet connection, you can create a file named /etc/systemd/network/eth0.network with the following contents:
[Match]
Name=eth0

[Network]
DHCP=yes

Systemd-networkd configuration
This configuration file tells systemd-networkd to enable DHCP for the eth0 interface. You can adjust the settings according to your network configuration.
Restart the systemd-networkd service by running the following command:
sudo systemctl restart systemd-networkd
By following these steps, you can optimize your network settings on DietPi with the lightweight systemd-networkd daemon and improve the performance and reliability of your network connection.
In addition to systemd-networkd, you can also install the ifplugd package, a daemon that monitors network interface activity and automatically configure network settings when a cable is plugged or unplugged. To install ifplugd, open the terminal, and run the following command:
sudo apt-get install ifplugd
After installing ifplugd, you can configure it by editing the /etc/default/ifplugd file. For example, to enable automatic configuration for the eth0 interface, you can add the following line to the file:
INTERFACES="eth0"
This configuration tells ifplugd to monitor the eth0 interface and execute the /etc/ifplugd/action.d/ifupdown script when the interface is plugged or unplugged. The script can then configure the network settings according to your configuration.
Optimizing your network settings can improve your network connection’s performance and reliability and reduce latency, which is essential for many applications such as web browsing, media streaming, and online gaming.
6. Optimize your swap file
A swap file is a space on your device’s storage used as virtual memory when the physical memory is exhausted. By default, DietPi uses a swap file on the SD card, which can slow down the system and reduce the lifespan of the SD card. To optimize your swap file, you can move it to a USB drive or disable it altogether if you have enough physical memory. To move the swap file to a USB drive, open the terminal and run the following commands:
sudo dphys-swapfile swapoff
sudo sed -i 's|^CONF_SWAPFILE=.*|CONF_SWAPFILE=/media/usb/swapfile|' /etc/dphys-swapfile
sudo dphys-swapfile setup
sudo dphys-swapfile swapon
Note: Replace /media/usb/swapfile with the path to your USB drive and adjust the swap file size according to your needs.
7. Optimize your CPU and GPU settings
DietPi allows you to adjust your CPU and GPU settings to optimize performance and reduce power consumption. You can use the dietpi-config tool, which provides a graphical interface to configure various system settings. Use the command below to launch the Dietpi Config utility.
dietpi-config
From there, you can adjust your CPU and GPU frequencies, enable hardware acceleration, and configure other system settings. First, check our post on how to start with Dietpi and the Dietpi-Config tool.
8. Install only the necessary packages
One of the advantages of DietPi is that it comes with a minimal set of pre-installed packages, which allows you to install only the packages you need and avoid cluttering your system with unnecessary software. Before installing any package, make sure to check whether it is essential for your use case and whether it will have a significant impact on system performance.
9. Monitor your system resources
Finally, monitoring your system resources regularly is essential to identify any performance issues, bottlenecks, or resource usage spikes. DietPi comes with various system monitoring tools such as htop, iotop, nmon, and atop, which you can use to monitor CPU usage, memory usage, disk I/O, and network traffic. To install these tools, open the terminal and run the following command:
sudo apt-get install htop iotop nmon atop
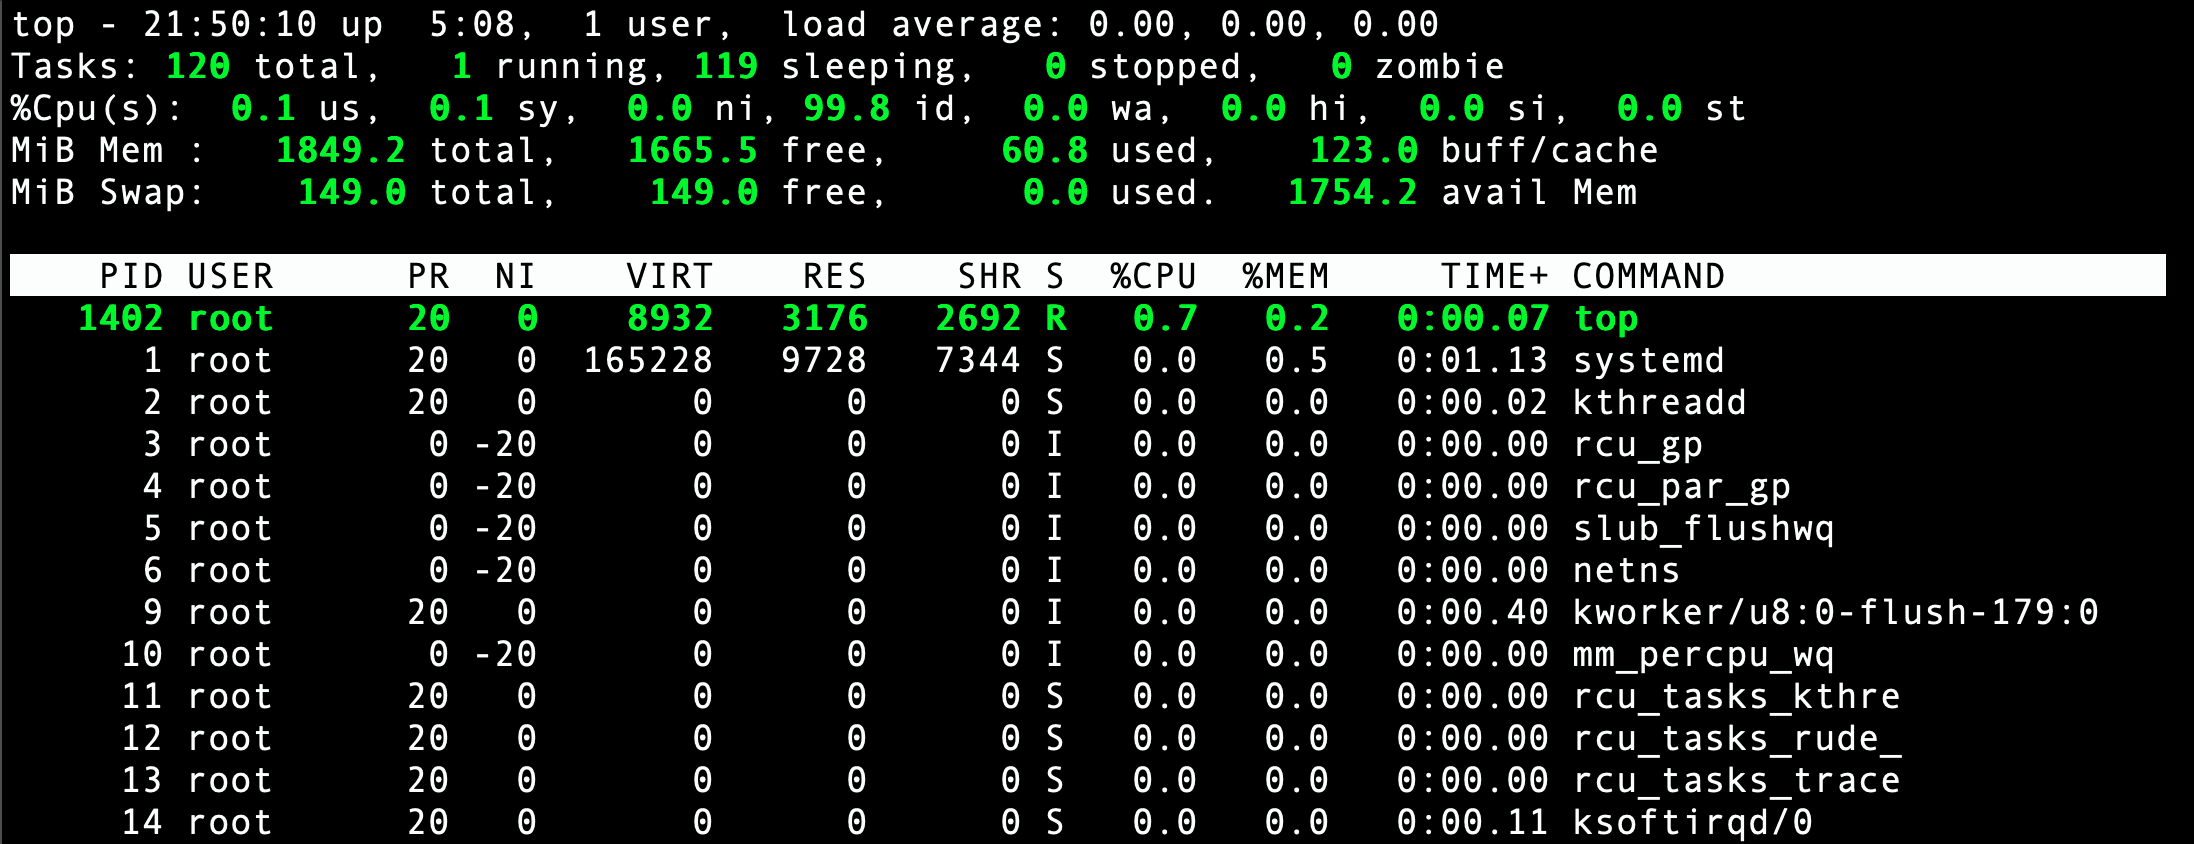
Top Utility
Conclusion
DietPi is a lightweight and optimized operating system that can run on low-resource devices such as Raspberry Pi. By following the above tips, you can further optimize your DietPi installation and improve performance, reduce resource usage, and extend your device’s lifespan. Remember to choose the right image, update your system, disable unnecessary services, optimize your file system, and network settings, swap files and CPU and GPU settings, install only the necessary packages, and monitor your system resources regularly.