
In our post – 20 Best Operating Systems you can run on your Raspberry Pi, OSMC was listed as the second-best OS. This article will give you a step-by-step guide on installing OSMC on your Raspberry Pi board. OSMC (Open Source Media Center) is a media player that enables you to play media files (pictures, audio, and Video) from your local network, attached storage, and the internet. It is a free and open-source operating system based on Linux and the Kodi project.
Installing OSMC on your Raspberry Pi
Requirements
- Raspberry Pi 1, 2, or 3
- Etcher
- Latest OSMC Image
- At least 8GB MicroSD Card
Download OSMC
To download the latest image of OSMC, navigate to their official website. Click on the download menu. Scroll down and click on Disk Images. You will see a long list of the available images. Locate the section for your Raspberry Pi model and download the latest image.
The OSMC image will be downloaded as a compressed file. Navigate to the download location and extract the image file.
Note: As of writing this post, OSMC is not available for Raspberry Pi 4. If you try installing OSMC on Pi 4, you will get stuck on a Rainbow screen. If you only have the Raspberry Pi 4 board available, consider using Kodi.

Osmc Rainbow Screen
Writing the image to the SD card
Once you have the OSMC image downloaded, we will need to write it on our SD card. To do so, we will use a tool called Etcher. You can download Balena Etcher from their official website. To avoid any errors while writing the image, format your SD card. You can use the basic formatting tool available on your operating system or opt for Gparted. Once through, follow the steps below:
Step 1) Launch Etcher from the applications menu. The main window will open, and you will see three main sections – Flash From File/ Flash from URL, Select Target, and Flash.
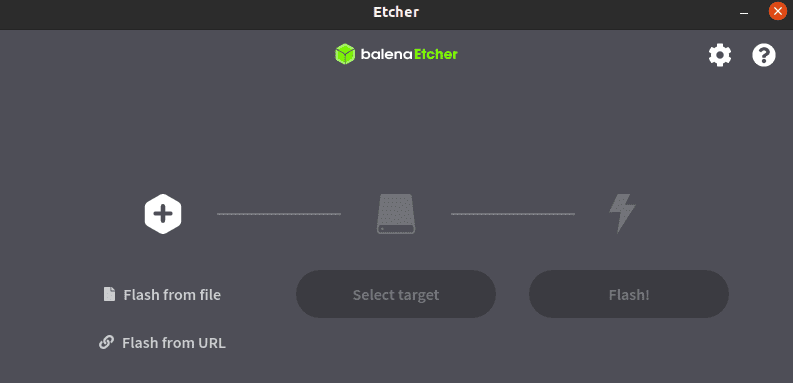
Balena Etcher
Step 2) Click on the Flash from File. The file manager window will open. Choose the OSMC image file that you extracted.
Step 3) Click on the Select Target option and choose your SD card.
Step 4) Once done, click on the Flash button to write the SD card’s image.
Installing OSMC
Once you are done writing the OSMC image on the SD card, eject the SD from your PC and insert it on your Raspberry Pi. Insert the power cable of your Pi to power it up. OSMC will boot and start installing on your SD card. It takes a couple of minutes to install and will reboot several times on the way; please be patient.
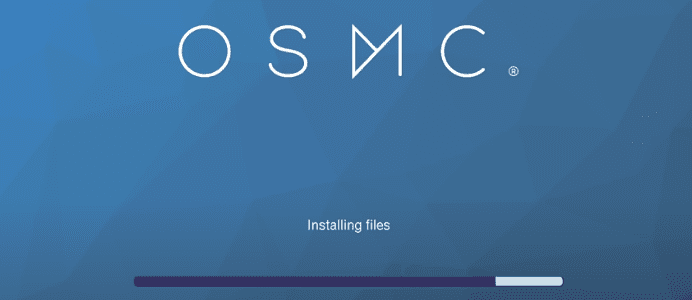
Installing files
When the installation process is complete, you will see a Welcome Screen. Here, you will see an option to select the Language you wish to use on your system. Scroll through the list and select your desired language. You will see a prompt to confirm the language you just selected. Click Yes. A new screen will appear, and you will be required to select your Timezone. Once done, click Next.
In the next screen, you will be required to set the Hostname. By default, it is set to OSMC, but you can change it to whichever name you want. If you don’t want to change, click Accept to continue. A new screen will appear, and you will have an option to Enable or Disable SSH service. If you wish to access your Pi remotely from another PC, consider enabling SSH.

Enable Disable SSH
Next, you will be required to confirm the license agreement. You can go through it; once done, click Continue. On the next screen, you will be required to configure your Network. You will see two options: Setup Networking manually and Set up Networking later. In this post, I will use the option – Setup Networking manually.
You will have several options of connecting to a network, including Wired, Wireless, Bluetooth, and Tethering. In my case, I want to connect to a WIFI network. I will select the Wireless option and enable the adapter. Once done creating a connection, click the Exit at the bottom of the window to proceed to the next step.
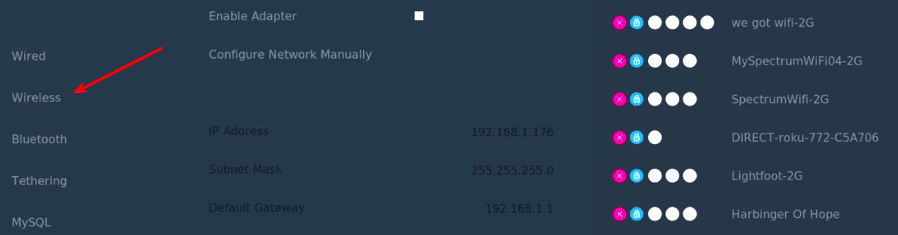
Configure Network
A new window will appear, and you will see the Look + Feel option. Here you will select the Skin you want to use for your system. There are two options; OSMC and Classic. OSMC is the default skin and even used during the installation process up to this step. Classic is the standard Kodi Confluence skin. In this case, I will stick with OSMC.
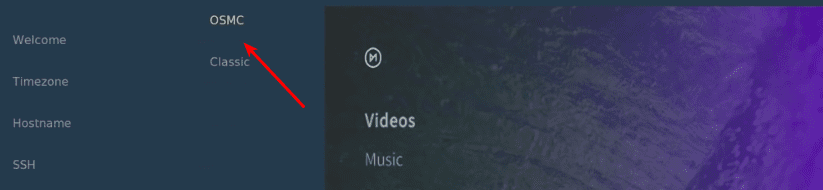
Select Skin
Next, You will see an option to subscribe to their daily newsletter. If you wish to, click on the Sign-up button; if not, click on ‘No thanks .’
That’s it! We now have our OSMC setup and ready to use on our Raspberry Pi. Let’s now go over a few things like installing Video and Music add-ons and playing your videos and audio from external storage (Hard drive, SSD, etc.)
Installing OSMC Music and Video add-ons
1. From the main menu, scroll to the Settings tab and hit Enter.
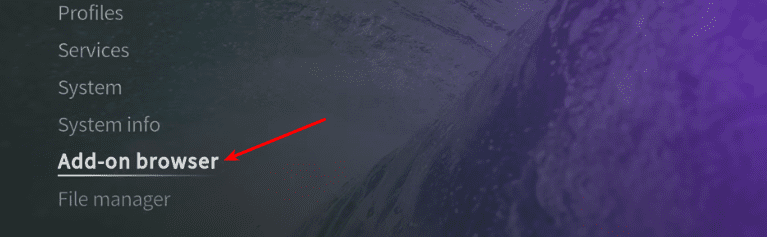
2. From the Settings window, scroll down and select the Add-on browser.
Add-on browser
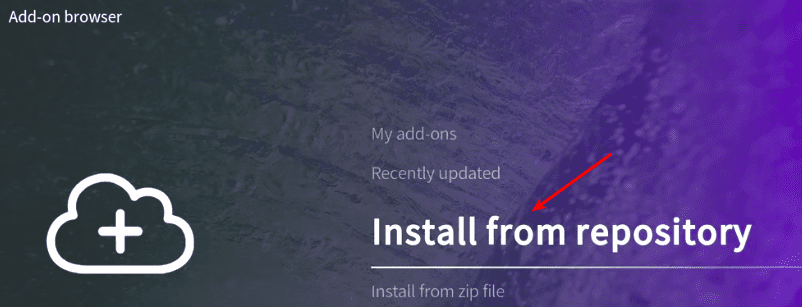
3. On the Add-on browser window, scroll and select the option Install from Repository.
Install from Repository
4. A window will open, and you can select the Add-ons you wish to install. In our case, we will install Music add-ons.

Music Add-ons
There are many Music add-ons available to install. We will only install 100FM Radius Digital and ABC Radio National for this post. Once done with Music add-ons, we will proceed to install Video add-ons. You can use Backspace to go back to the previous window. Just like the Music add-ons, you will also see tonnes of Video add-ons you can install, including YouTube. In this post, we will install ABC Family and Adult Swim.
Now, when you navigate to either Music or Video tabs, you should be able to find the add-ons you just installed.
Playing Media Files from an External drive
To play media files on your external storage media with OSMC is quite easy. Follow the steps below:
- Plugin your hard drive or USB to the Raspberry Pi via the USB port.
- Depending on what you want to play, select the main menu’s appropriate media player. In my case, I want to play video files; I will therefore choose Video from the main menu. If you wanted to play audio files, select Music, and view pictures, select the Picture menu.
- Click on Files

Files
- Select your External Storage media. In my case, it’s the ETA 2TB.
Select Drive


From here, navigate to the directory/folder where you have your video files stored to play them.
Wrapping up
Hopefully, by this point, you have a clear idea of how to get started with OSMC on your Raspberry Pi. OSMC gives you a Kodi experience without the need to switch to another Operating system. You can configure it further by installing the necessary add-ons. If you have any challenges executing any steps above, please leave a comment below.