If you are excited about trying new operating systems on your Raspberry Pi, you should look at the Manjaro Linux distribution. As of writing this post, Manjaro is the second most viewed distribution on Distrowatch. Lucky for us, it is available for both Desktops and Raspberry Pi boards. In this post, we will show you how to install and setup Manjaro on your Raspberry Pi.
Installing Manjaro on Raspberry Pi
Things You Will Need
- A Raspberry Pi 4
- At least 8GB SD Card
- A reliable power supply.
- A micro-HDMI to HDMI cable.
- Monitor/Screen
- A USB keyboard and Mouse
A brief overview of Manjaro
Manjaro is a Linux distribution based on Arch Linux. Unlike other operating systems, Arch Linux is a system we don’t see much about on Raspberry Pi due to installation complexity. Therefore, Manjaro brings quite a sigh of relief for Arch Linux fans. Manjaro was first released in 2011 but was in the Beta state until 2013.
Download Manjaro for Raspberry Pi 4
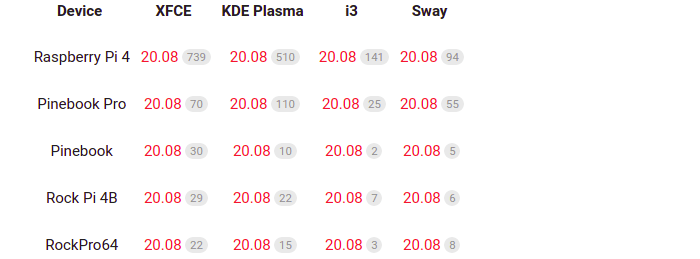
In this post, I am using a Raspberry Pi 4 board (preferred). You can download Manjaro from their official Manjaro ARM Release page. It is available in several Desktop Environments.
- XFCE
- KDE Plasma
- i3
- Sway
I will download the KDE Plasma version.
Download Manjaro
Flash Manjaro on to the SD card
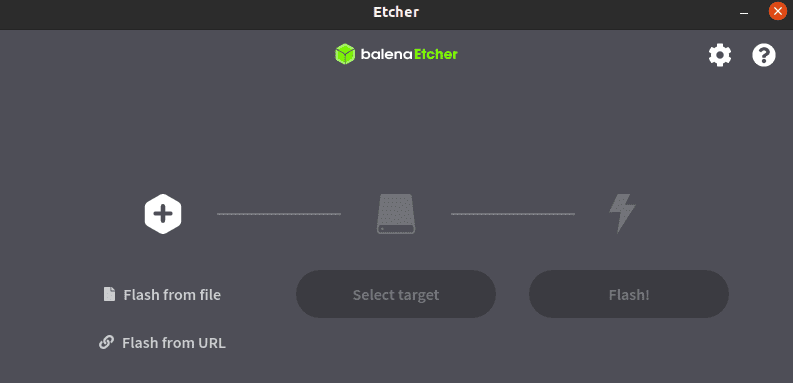
Once you have downloaded the Manjaro setup image, we will need to flash it on our SD card. For that particular task, we will use the Balena Etcher application. It is available for both Linux, Windows, and macOS. Follow the steps below.
Balena Etcher
- Insert the SD card into your PC via the SD card slot or a USB adapter.
- Assuming you have downloaded and installed Balena Etcher, launch it from the applications menu.
- Click “Flash from the file” and select the Manjaro image file you just downloaded.
- Click on “Select Target” and choose the Pi’s SD card.
- Click on “Flash” to start the flashing process. That might take some time. Please be patient.
When done, you will get a notification. Eject the SD card and insert it in the Raspberry Pi.
Booting Manjaro on the Raspberry Pi 4
To start the installation process, ensure you have all the accessories needed to be connected to your Raspberry Pi. That includes the HDMI cable to monitor, Keyboard, and Mouse. Plug-in the power cable to boot your Pi.
The Linux kernel will boot, and you will see lines of code running down the screen. After a few seconds, you will see the window below. Here, you will be required to choose your keyboard layout. Use the Arrow keys to scroll through the various options. When done, use the tab key to select the OK button and hit Enter.

Keyboard Layout
Next, enter the username you wish to use on the system. Please note all characters should be in lower case—press Enter.

Username
You will see an option to enter additional groups in the system. However, you can leave it blank—press Enter.
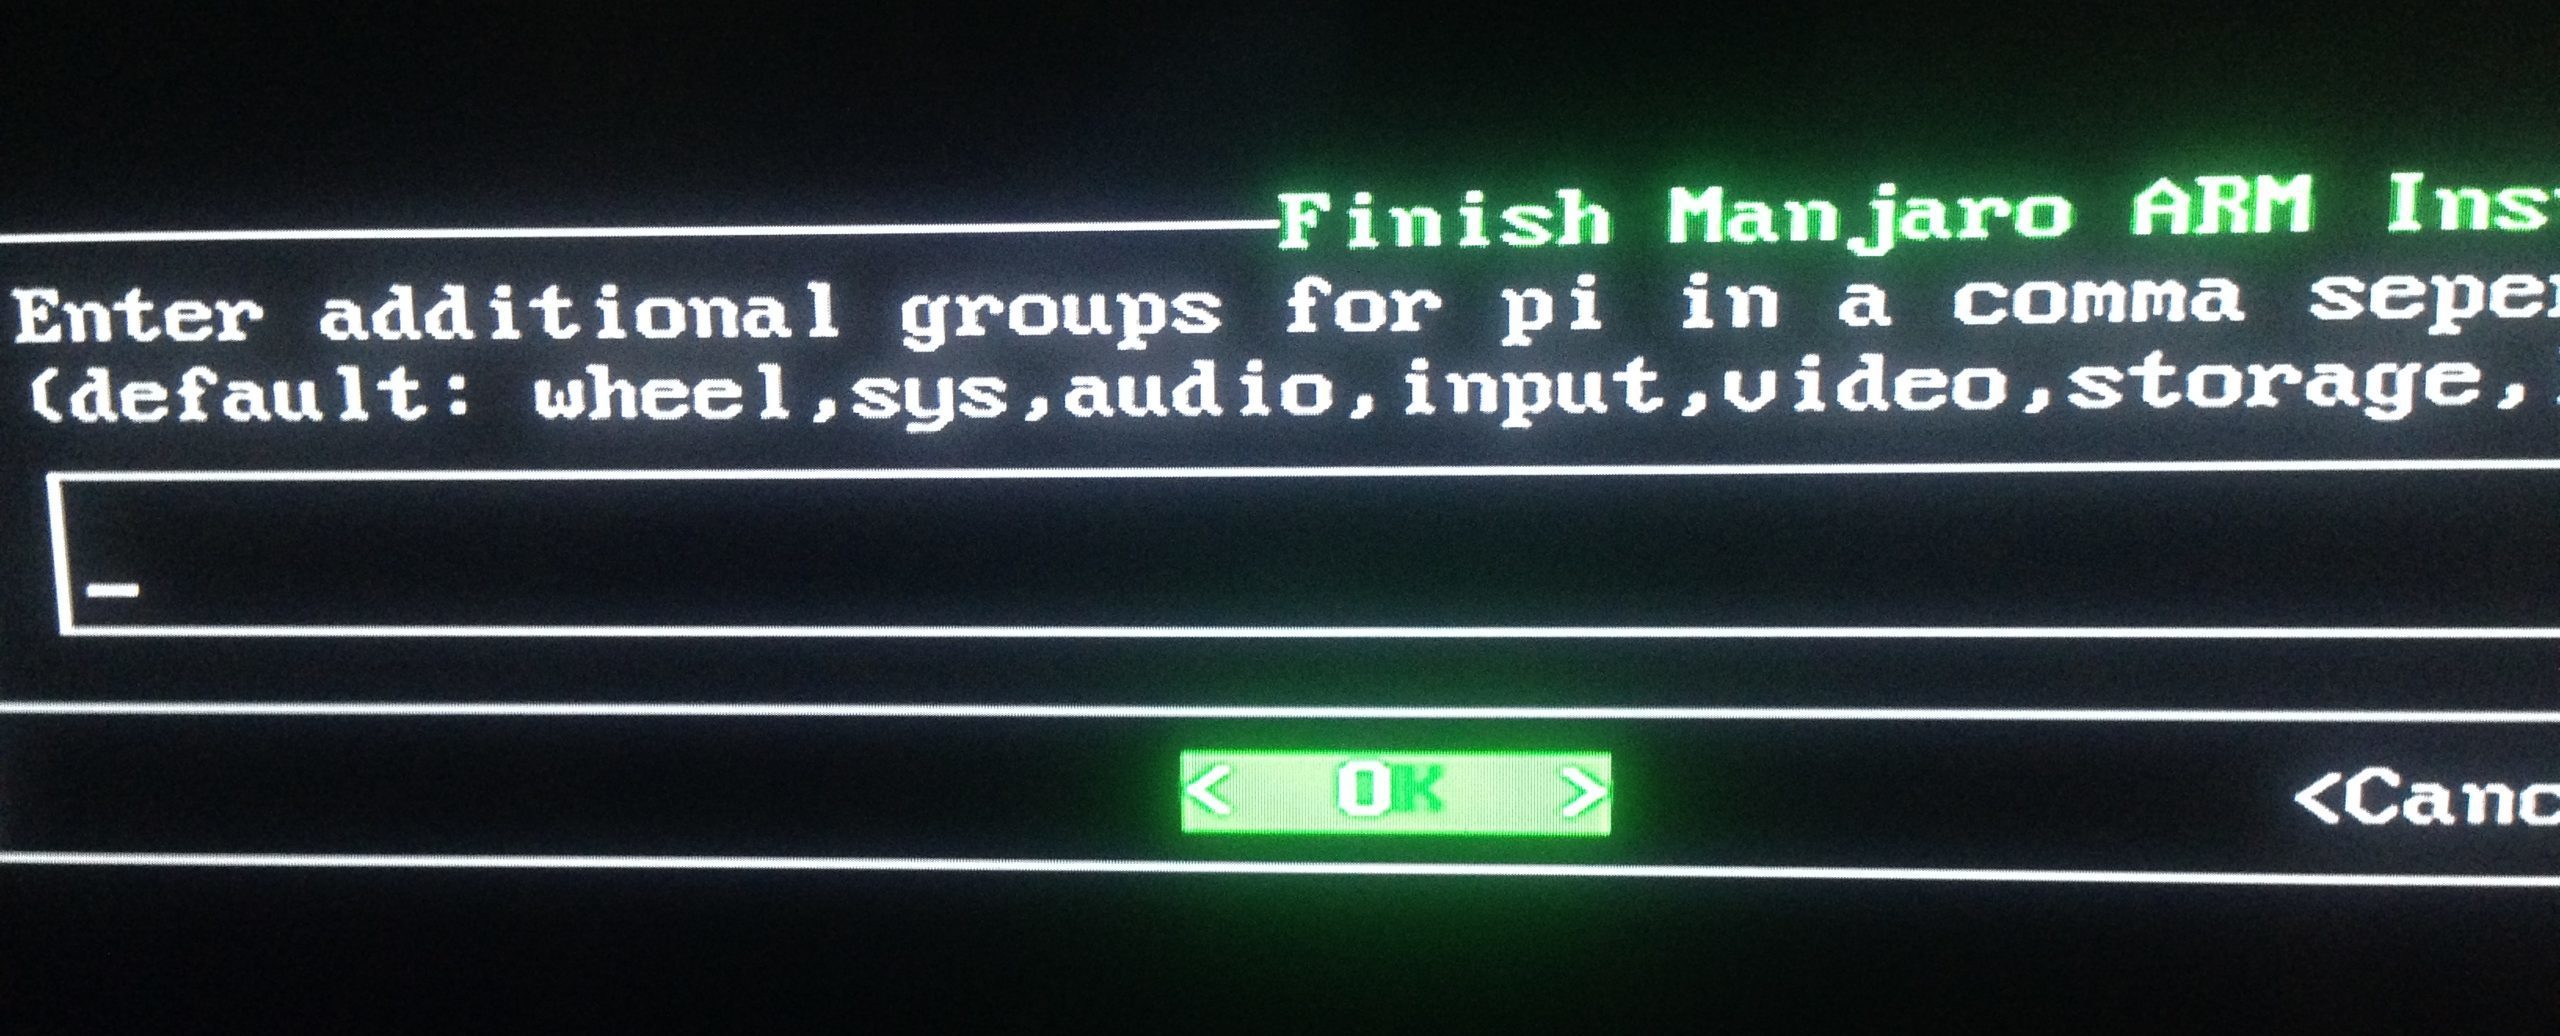
Additional Groups
On the next screen, enter the Full name you want to use and press Enter.
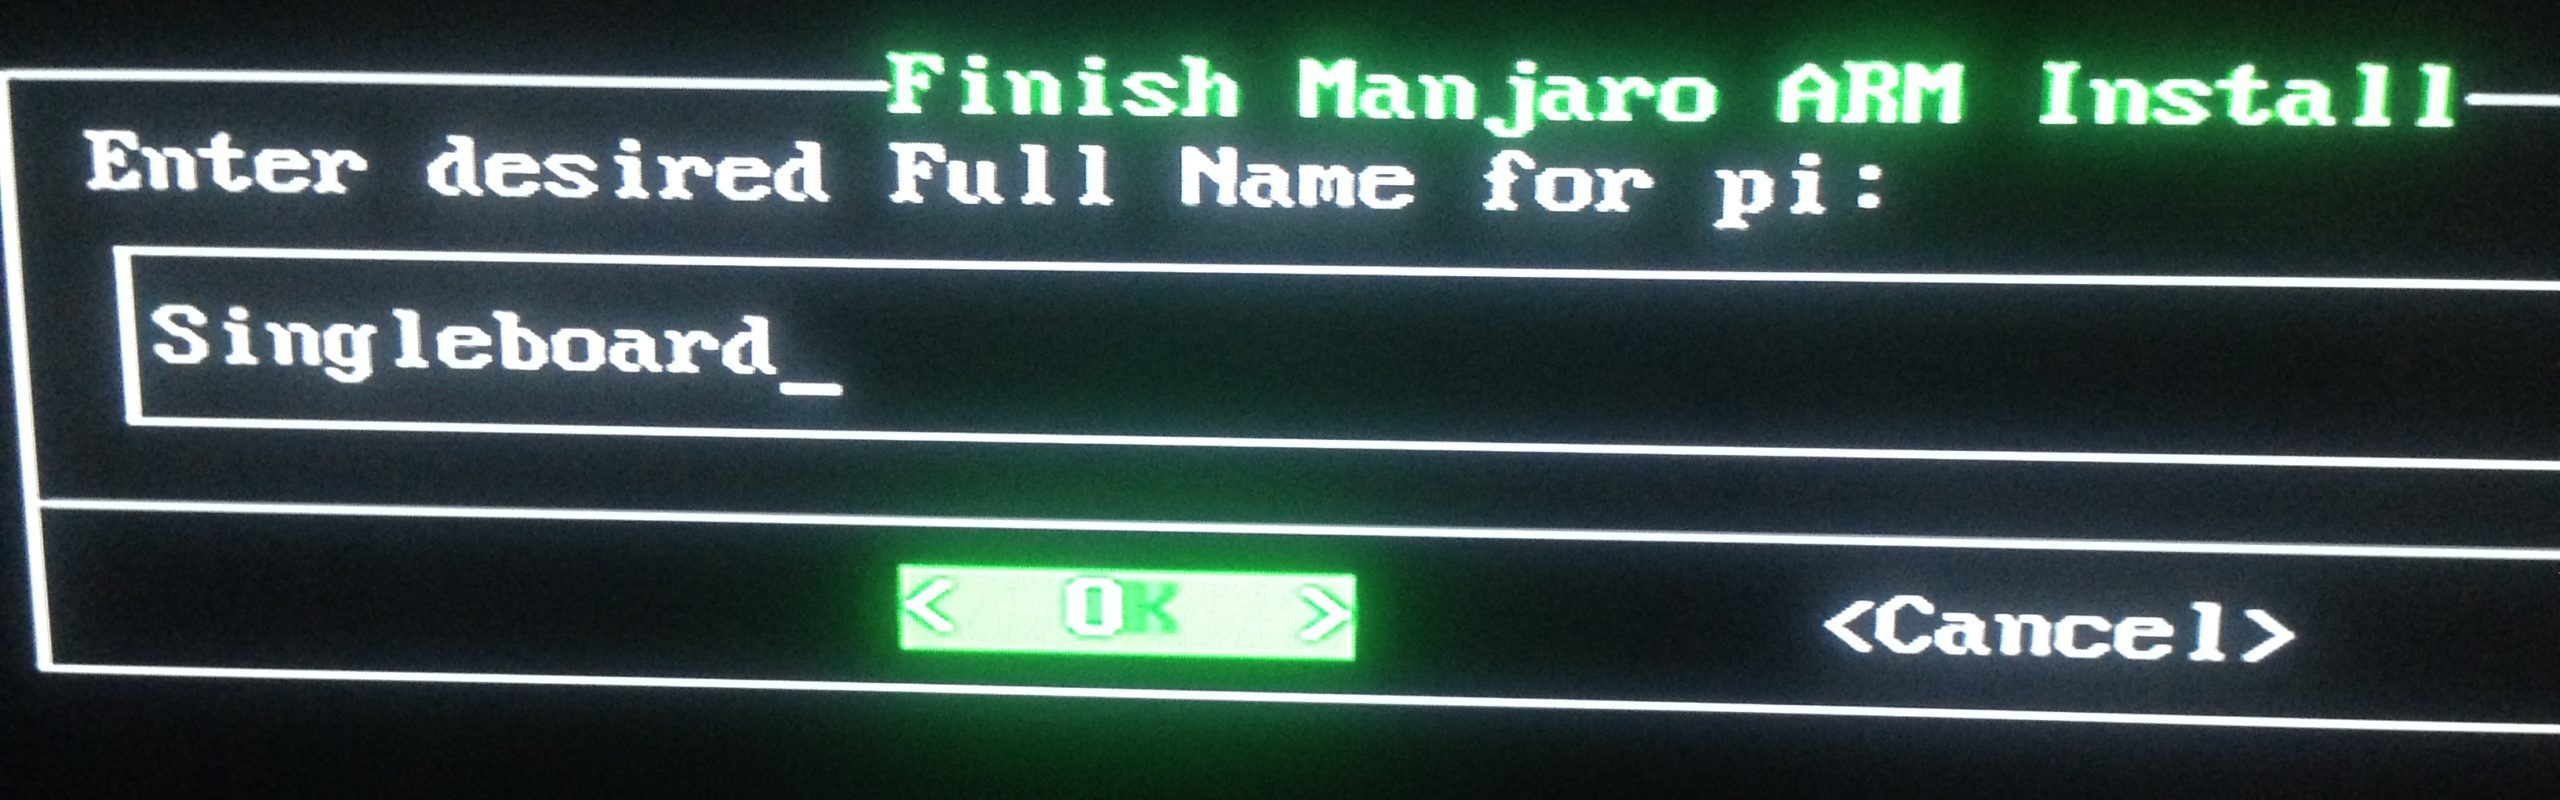
Fullname
You will be required to enter the login password for the user you created. Press Enter when done.
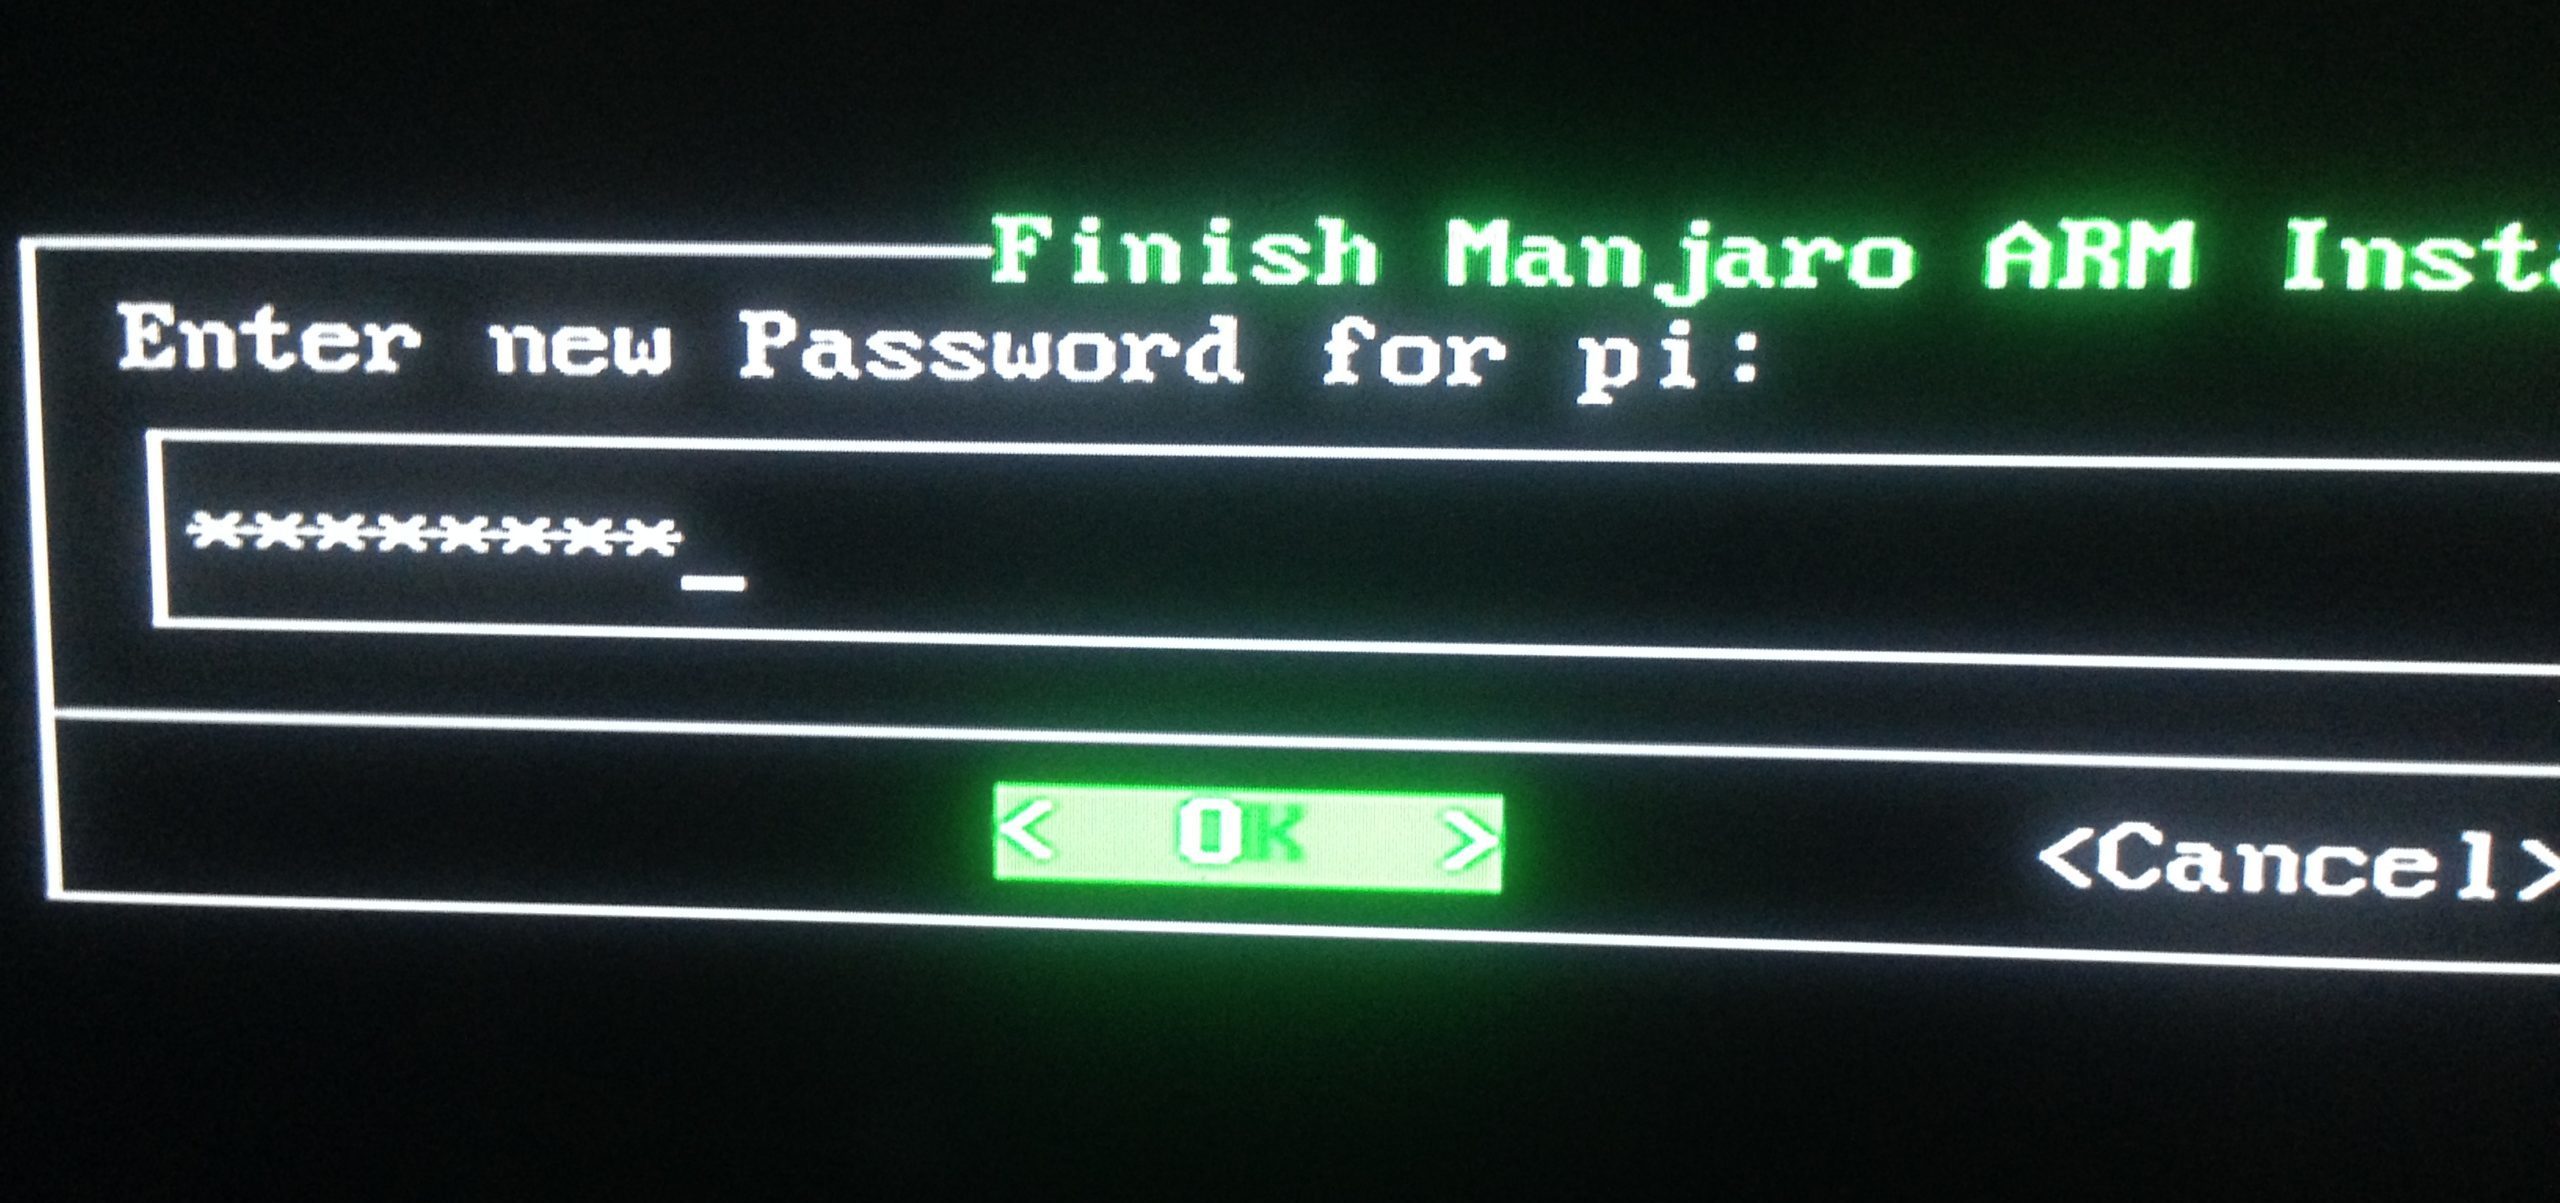
User Password
Next, retype the password to confirm and press Enter.
On the next screen, you will need to set the root password. It can be the same or different from the user password. Press Enter when done. Retype the password to confirm. On the next screen, you will need to select your Timezone. Use Arrow keys to scroll through the various options.
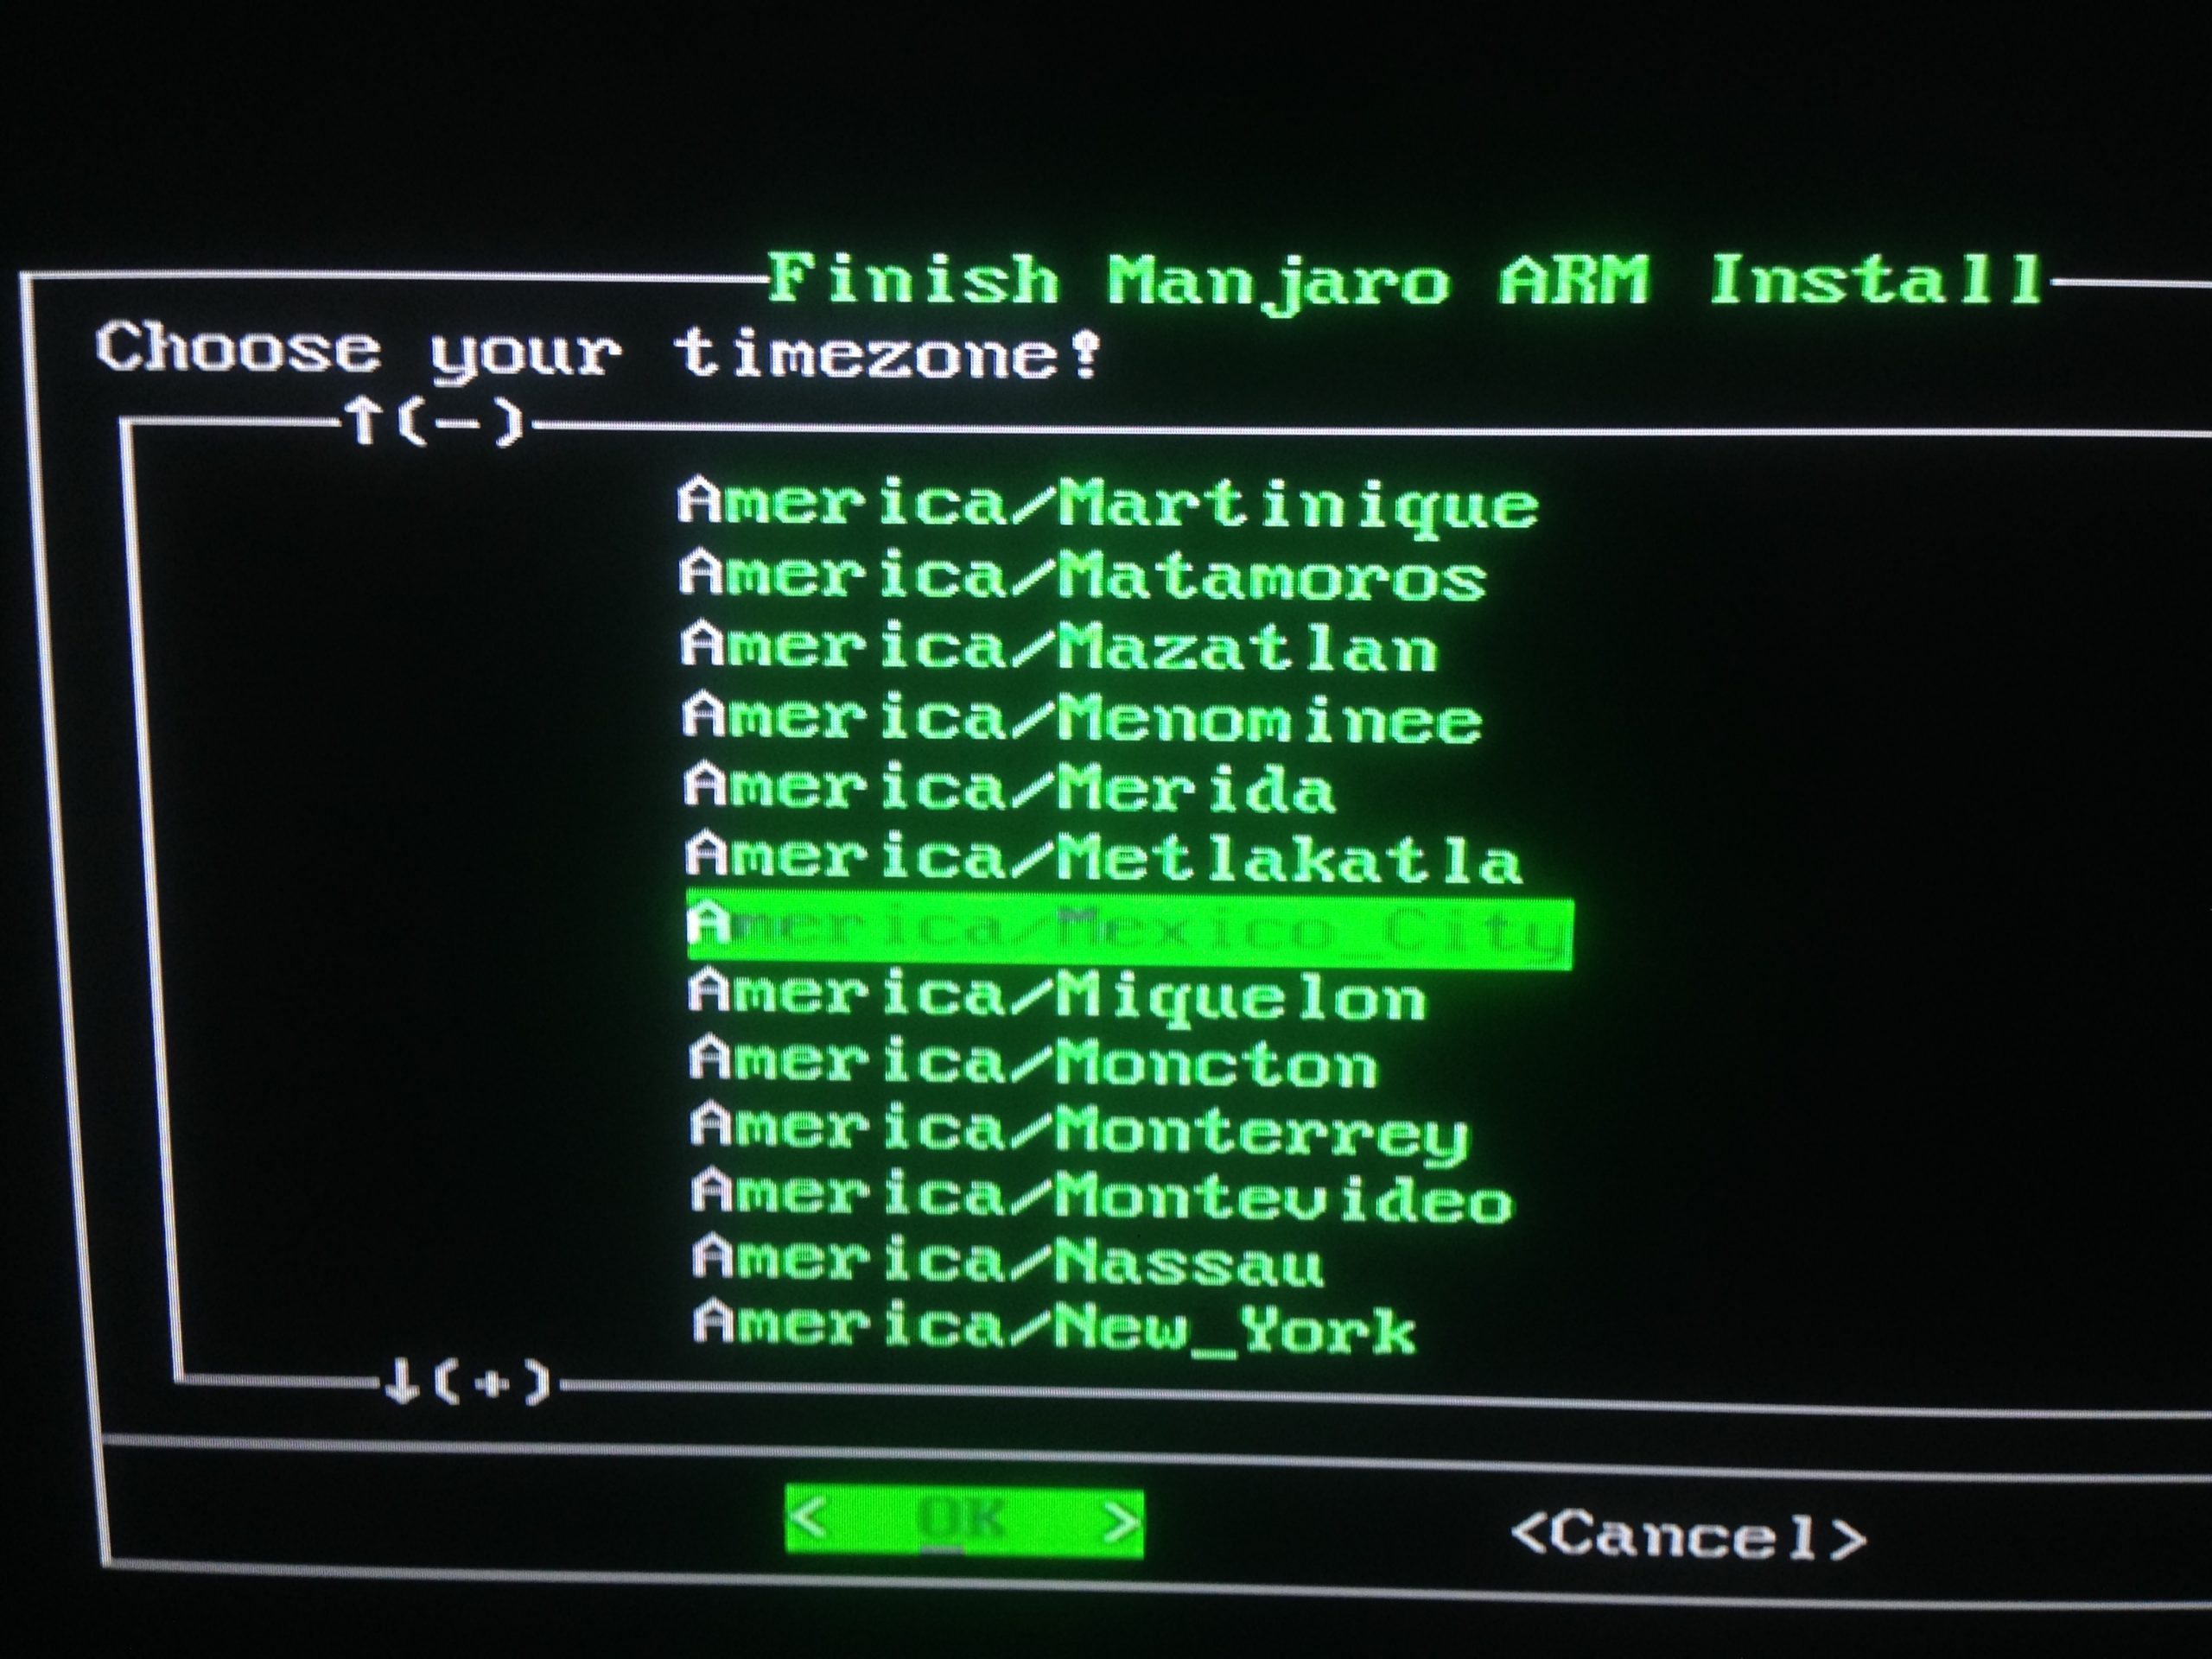
Timezone
Next, select your Locale and press Enter.
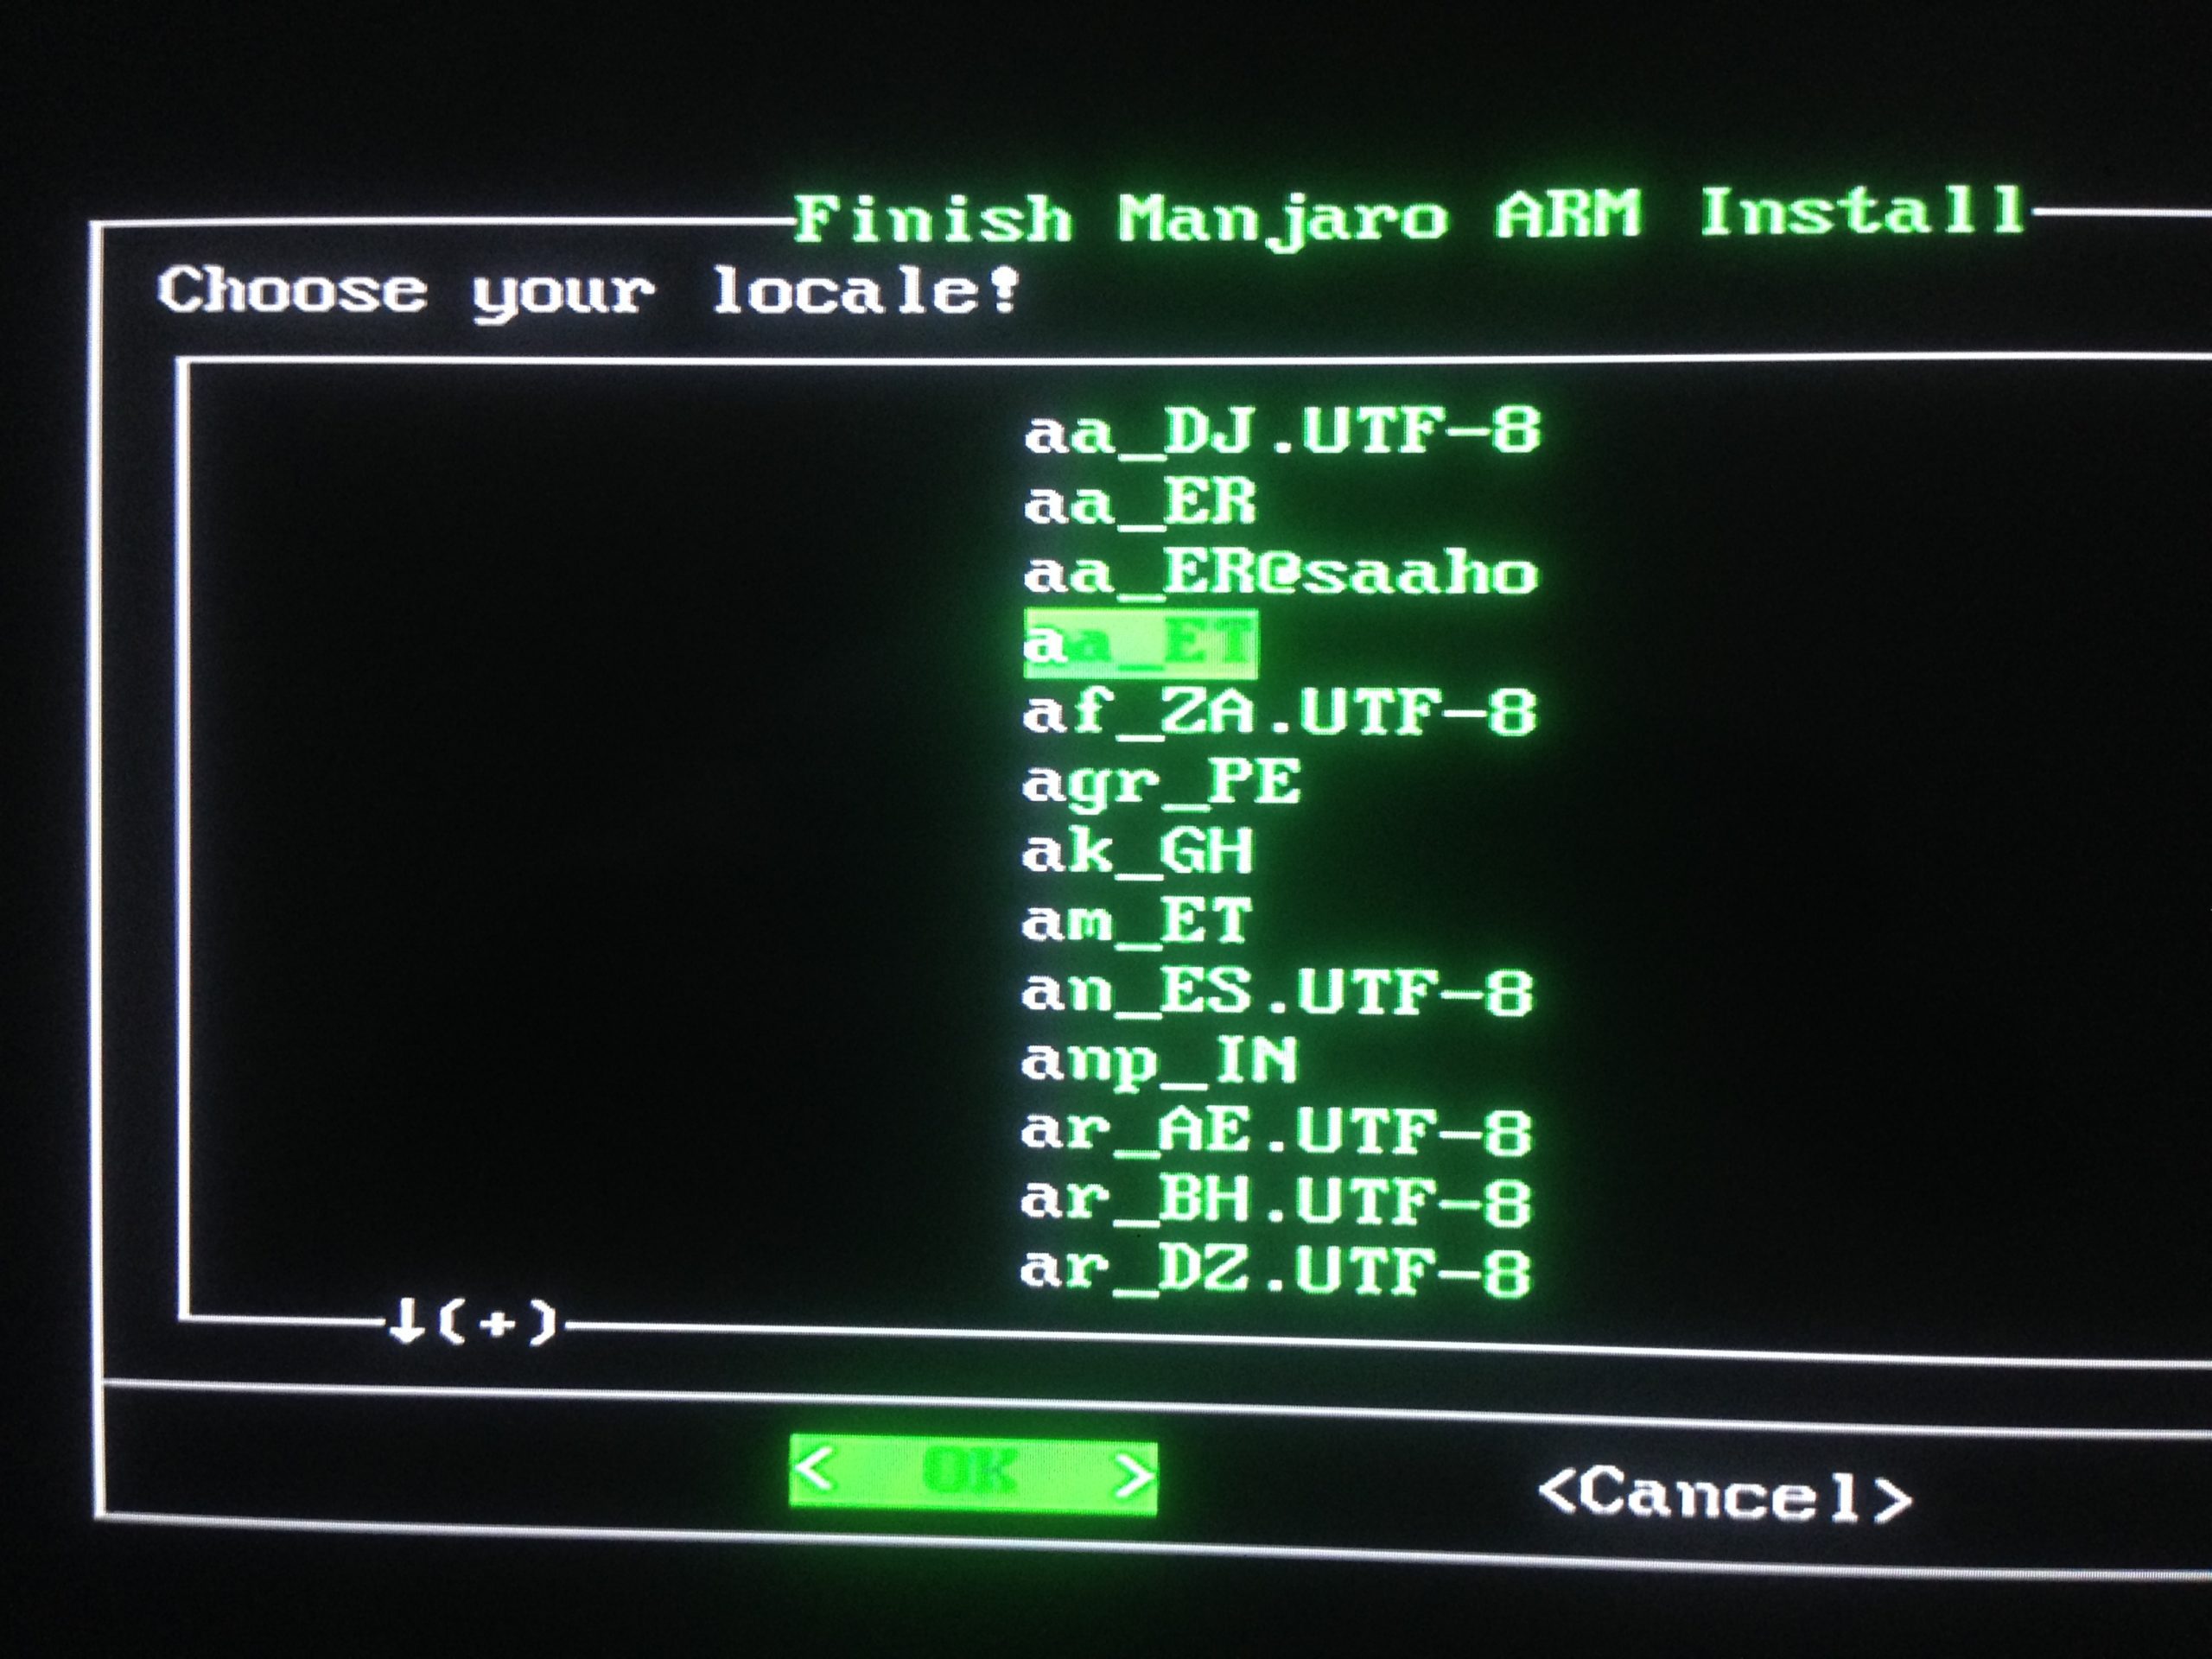
Locale
Type your desired Hostname and press Enter.

Hostname
The next screen will give you a summary of all the configurations you made. If it is correct, select Yes and press Enter to proceed. Otherwise, select No.
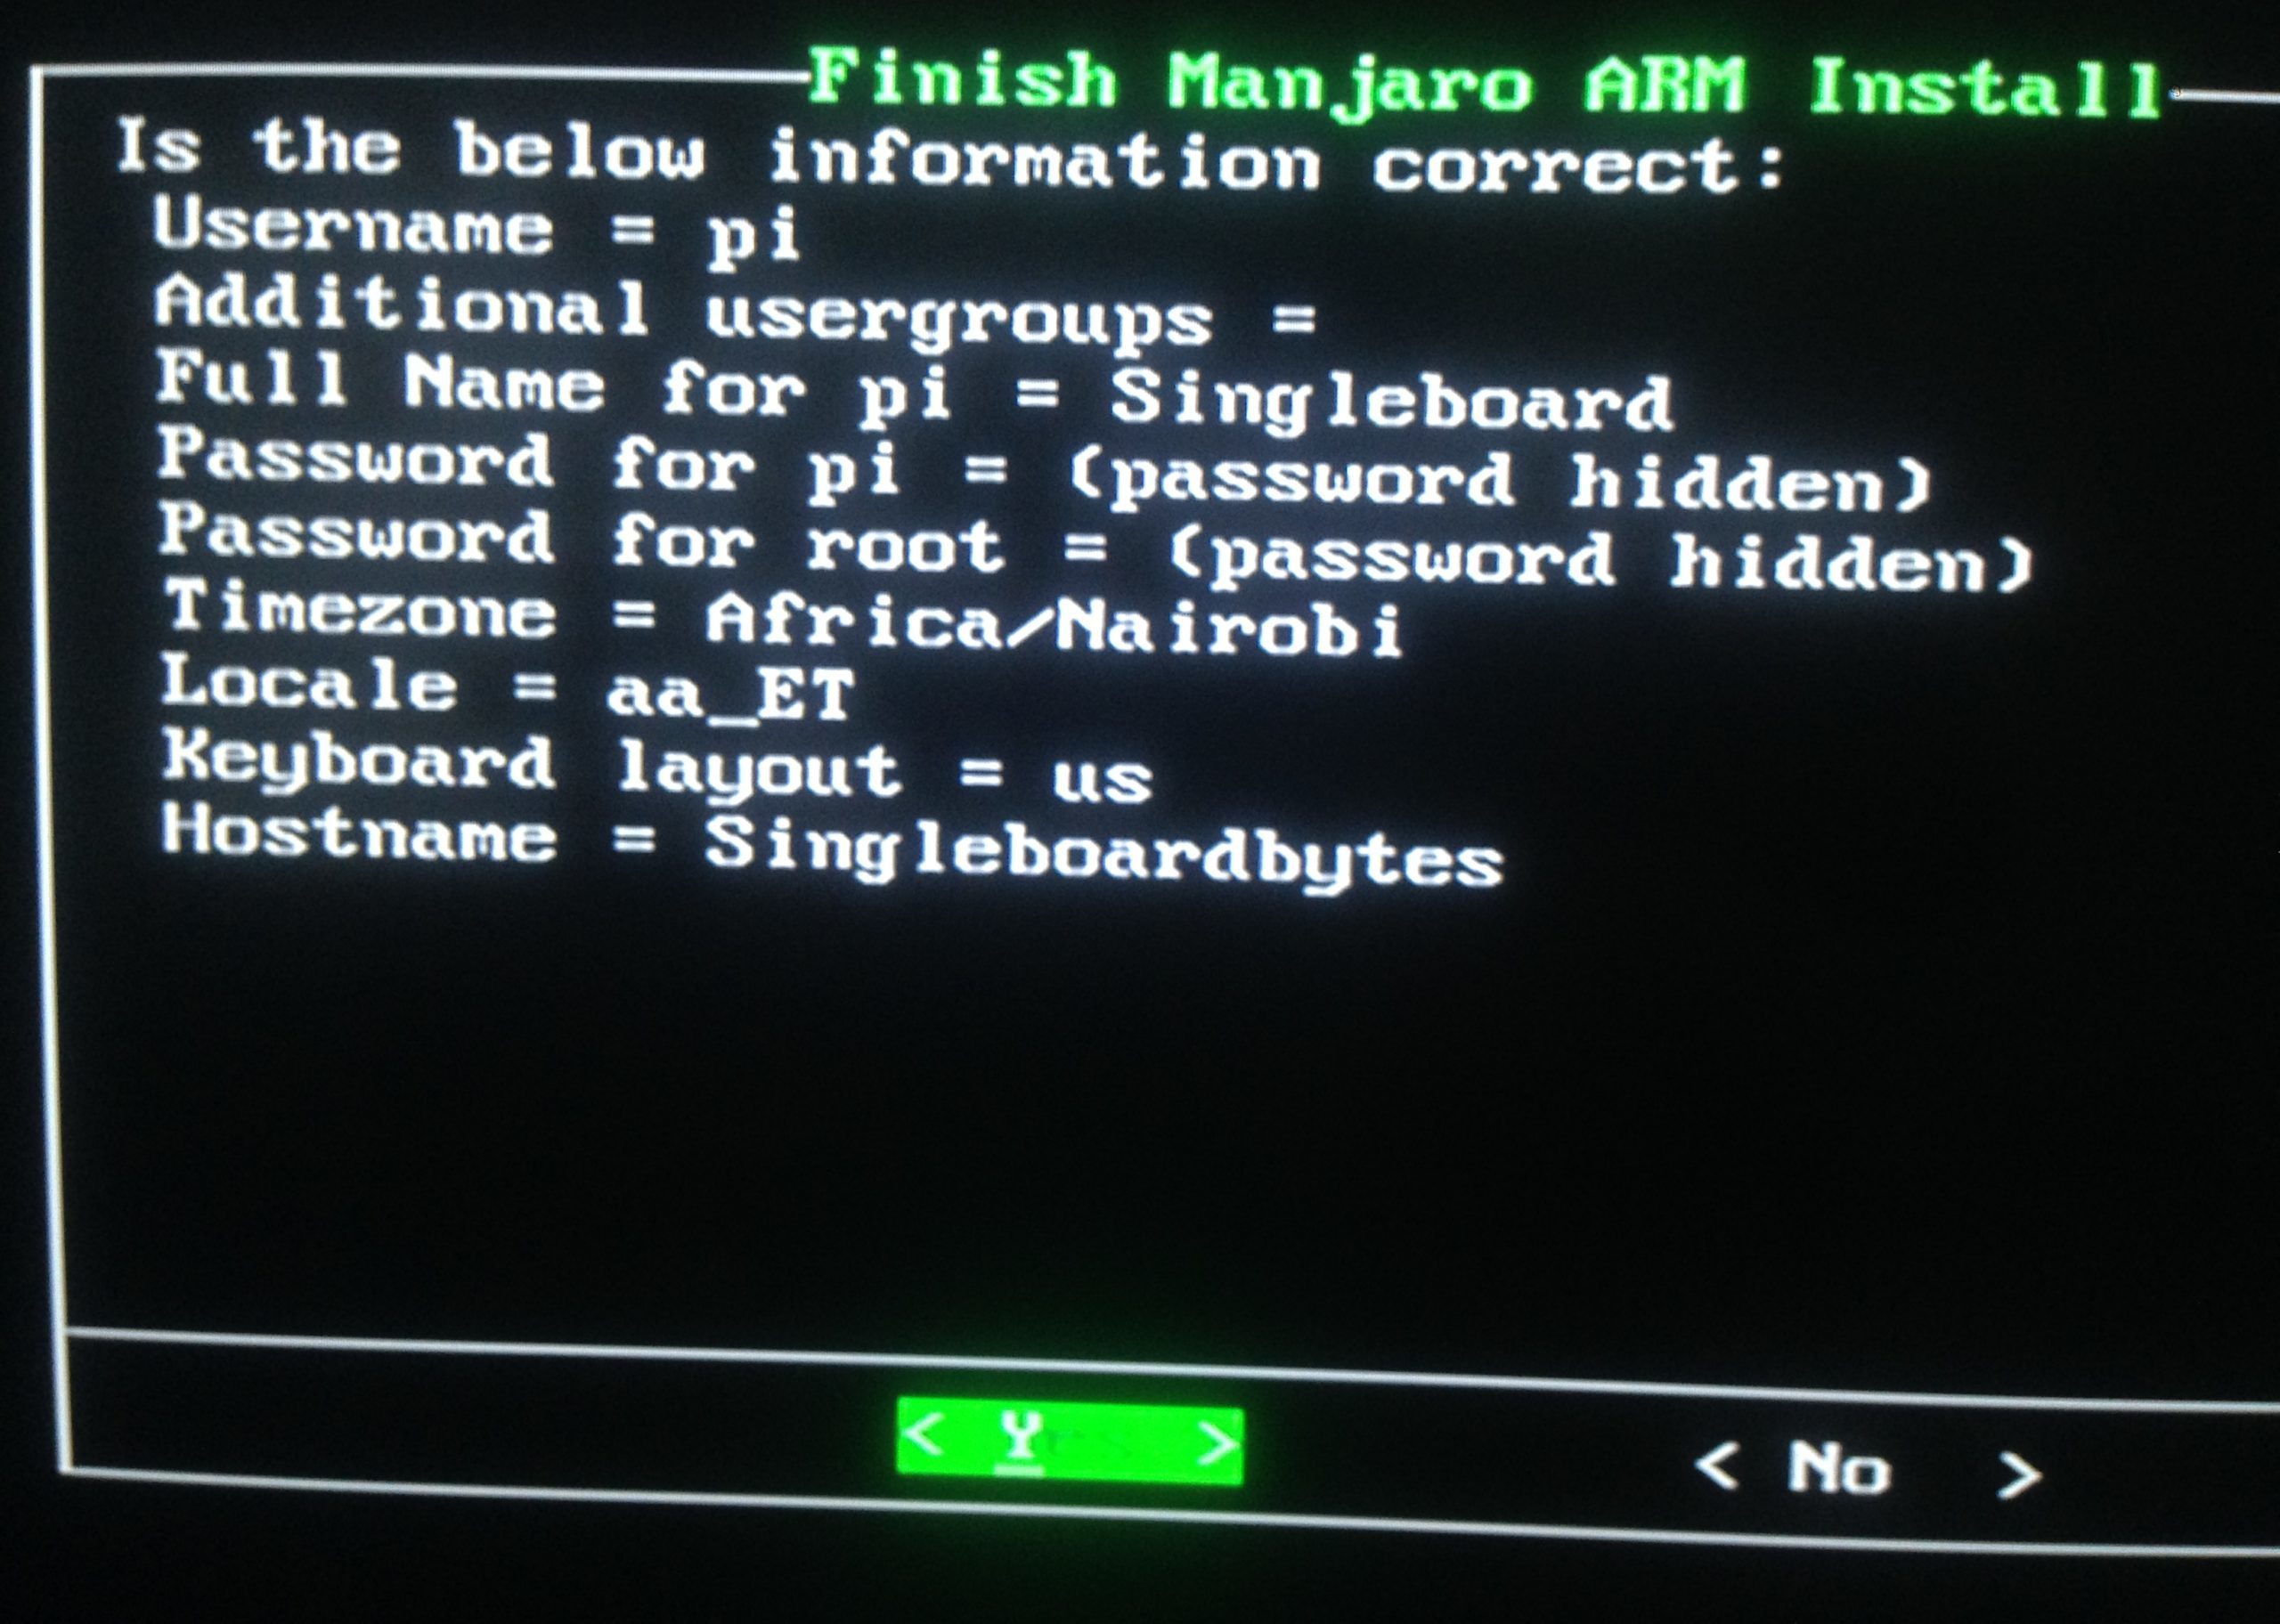
Summary
Manjaro will now apply all the configurations. That might take a few seconds. When complete, you will see the Manjaro login screen.

Login Screen
After a successful login, you will see the Manjaro desktop. One thing I love about Manjaro is the intuitive and straightforward user interface. It suits both Linux newbies and experienced users.
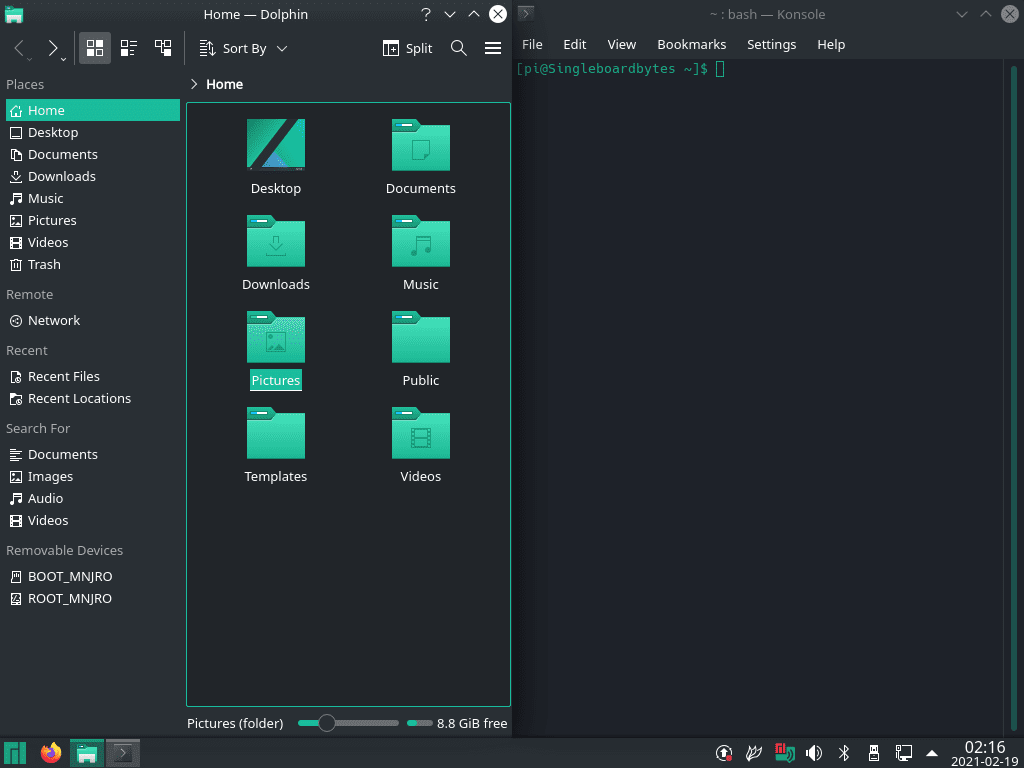
Manjaro
Install and Enable SSH on boot
There are situations where you might want to carry out various tasks on your Raspberry Pi, but you don’t have a monitor for the display. Here is where SSH becomes useful. Use the commands below to install and Enable SSH.
-
Install SSH
sudo pacman -S openssh
-
Enable SSH on boot
sudo systemctl enable sshd
-
Start SSH now
sudo systemctl start sshd
To enable root login via SSH, follow the steps below:
Open the configuration file:
sudo nano /etc/ssh/sshd_config
Find and uncomment the line:
PermitRootLogin prohibit-password
Edit it as shown below:
PermitRootLogin yes
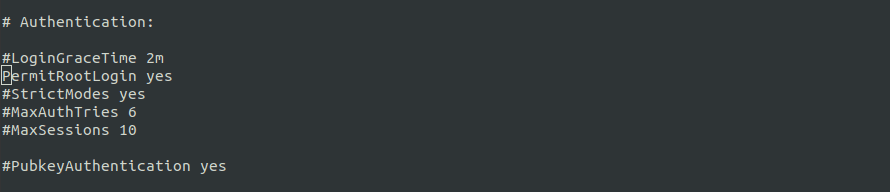
Permit root Login
Save the file (Ctrl + O, then Enter) and Exit (Ctrl + X).
Restart the SSH service.
sudo systemctl restart sshd
Conclusion
Up to this point, I believe you have successfully installed Manjaro on your Raspberry Pi. We won’t dive much more in-depth for this particular post, but that doesn’t mean you can’t. Even though I don’t use Arch Linux as the default operating system on my PC, I find the Manjaro graphical user interface relatively easy to use and navigate through. I am also impressed with the way it runs on my PI and doesn’t lag at all.