
File Transfer Protocol (FTP) is an old technology but is still used by many systems and hardware devices. Some IP cameras allow you to save photos to an FTP server. A Raspberry Pi can be used to create an FTP server. However, it would be best if you had in mind that there are different file-saving formats that you can choose instead of FTP. For instance, you can use the Safe File Transfer Protocol (SFTP) method, which is safer and better than FTP.
If your device only supports FTP, this article will help you create a simple FTP server using a Raspberry Pi.
Creating a simple FTP server with a Raspberry Pi
FTP is a network protocol that is used to transfer files between two machines or devices. Setting up an FTP server on Raspberry is easy, but you have to ensure that you don’t use it to transfer sensitive information since this protocol does not use encryption; hence your data might be exposed.
Setting up Raspberry Pi
To set up Raspberry Pi on your computer, you will need the following accessories:
- A computer monitor with HDMI input and an appropriate display cable to connect with your Raspberry Pi
- A computer keyboard and mouse
- Power supply
- An SD card with a minimum space of 8GB
- A network cable to connect your Raspberry Pi to your local network and the internet
It is recommended that you use the Raspberry Pi Imager to install an operating system on your SD card. This is the easiest option because it will download the image and install it automatically to the SD card.
You can use the Raspberry pi from another Raspberry pi. To do that, you can install it from a terminal using the following command:
sudo apt install rpi-imager
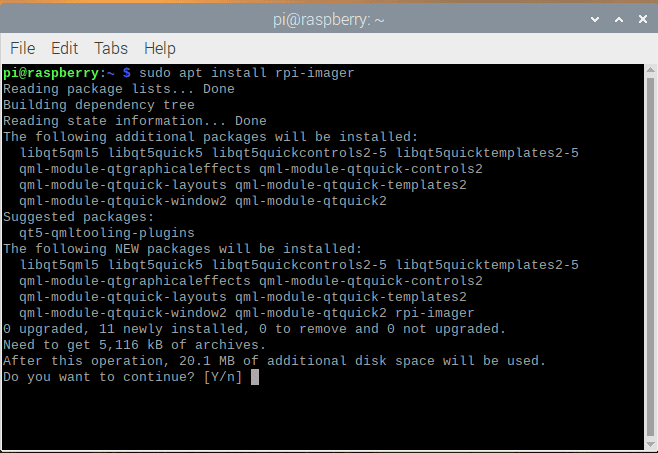
rapsberry pi install rpi imager
After installing, connect an SD card reader with the SD card inside. Open the Raspberry pi imager and choose the required OS from the list presented. Next, choose the SD card where you wish to write your image to. Click ‘write’ to begin writing data to the SD card after reviewing your selections.
Note: If you use the Raspberry pi imager on windows 10 with “Controlled Folder Access” enabled, you will have to allow the Raspberry pi Imager permission to write the SD card. If not, the Imager will fail with a “failed to write” error.
Now insert the SD card into the Raspberry Pi and power it up. If you are using the official Raspberry pi OS, you will need to log in manually. This is because the default user name and password are pi and raspberry, respectively. To make your Raspberry PI more secure, you should change the default password straight away.
Downloading an image
If you are using a different tool to write your SD card other than the Raspberry Pi imager, you may be required to download the image first then use the tool to write it to the SD card. Official images for recommended operating systems are available to download from the Raspberry pi website. In addition, there are alternative distributions for the raspberry pi available from third-party vendors. You will need to unzip the downloaded file (.zip) to get the image file (.img) that you will need to write the card.
Note: The raspberry pi OS with the desktop image contained in the ZIP archives is over 4GB in size, and it uses the ZIP64 format. You will need an unzip tool that supports ZIP64 to uncompress the archive. The following zip tools support ZIP64; 7-Zip for Windows, The Unarchiver for macOS, and unzip for Linux.
Setting Up the FTP server
To set up the FTP server, you will require:
- A server utility
- changing some configuration files
- setting up the server directory
- modifying permissions for the server user
The following steps will show you how to set up an FTP server on Raspberry pi:
Step 1: Update the system packages.
Before you install the FTP utility, you should update the system package repositories. After updating, run an upgrade. To do these two tasks, use the following commands on the terminal:
sudo apt update
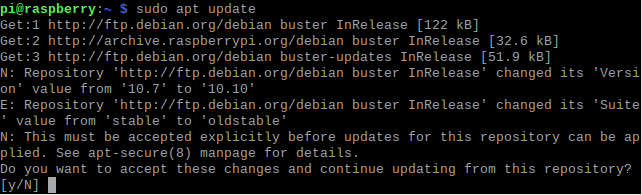
Sudo apt update raspberry Pi
sudo apt full-upgrade
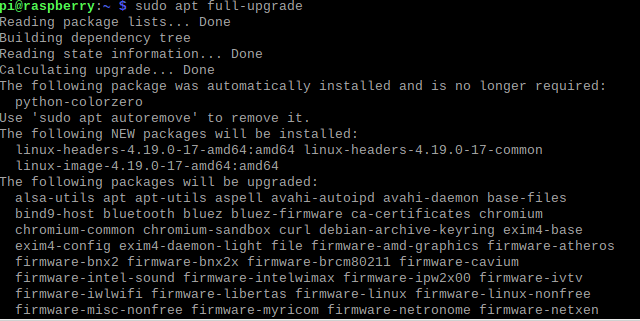
Sudo apt full-upgrade raspberry pi
Note: Click Y then “Enter” on your keyboard to confirm the upgrade. Be patient and wait for it to complete the upgrade process.
Step 2: Install the FTP server.
There are several utilities that you can use to set up an FTP server on Raspberry Pi. This article will use the “vsftpd” utility since it is open source (it will cost us nothing).
Run the following command to install vsftpd on the raspberry pi:
sudo apt install vsftpd
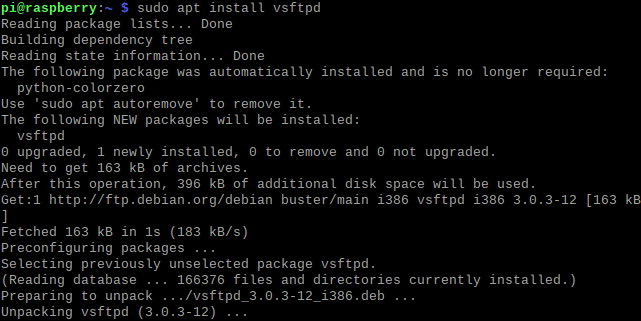
Sudo apt install vsftpd utility
Wait until the installation process is complete.
Step 3: Edit the configuration file
Before you connect to the FTP server, you should modify the settings in the vsftpd configuration file using a text editor such as nano. Use the following command.
sudo nano /etc/vsftpd.conf
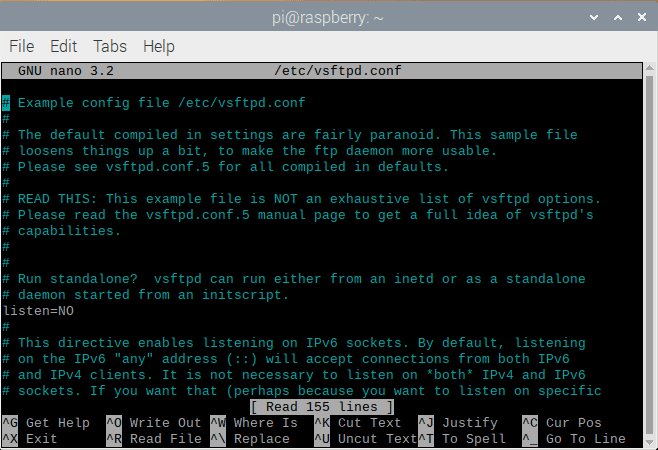
Raspberry Pi Nano file
Find (CTRL + W) and uncomment the lines below by removing the hash (#) sign:
write_enable=YES

local_umask=022

chroot_local_user=YES
Locate the line below
anonymous_enable=YES
And change it to
anonymous_enable=NO
Add the following lines at the end of the config file:
user_sub_token=$USER

local_root=/home/$USER/FTP
These settings will lock the server users to the FTP folder within the home directory.
After completing all the processes above, press CTRL + X and confirm by pressing Y to save the settings and exit.
Step 4: Creating an FTP directory
Create an FTP directory that will be used for transferring files. A subdirectory will be needed since the root directory cannot have write permissions.
Use the following syntax to do so:
sudo mkdir -p /home/[user]/FTP/[subdirectory_name]
Replace the [user] with a relevant user and [subdirectory_name] with a name of your choice. The default user on Raspberry Pi OS is ‘pi.’ The -p argument instructs mkdir to create the entire path tree, both FTP and files directories.
Example:
sudo mkdir -p /home/[singleboardbytes]/FTP/[boardbytes]

FTP directory
Step 5: Modify permissions
After adding the directory, remove the write permission from the FTP directory to prevent other users from adding files. To do so, use the following syntax:
chmod a-w /home/[user]/FTP
Remember to replace the [user] syntax with the appropriate username.
For instance, in our case, we shall use the statement below:
sudo chmod a-w /home/[singleboardbytes]/FTP
Modifying permission Settings
Step 6: Restart the vsftpd daemon
To apply the changes, you need to restart the vsftpd daemon by running the following command:
sudo service vsftpd restart
Restart the vsftpd daemon
The FTP server will reboot and run on your raspberry pi.
FTP Server Test
Test the FTP server using a remote machine and FileZilla, a popular FTP client that supports all platforms. To test the server, follow these steps:
1. Install FileZilla on a remote device. On Ubuntu, run the command below:
sudo apt install filezilla
Confirm with Y, then wait for the installation to complete
On windows, click this Link
2. Obtain the Pi’s IP address by running the command below in the Raspberry Pi terminal:
ifconfig
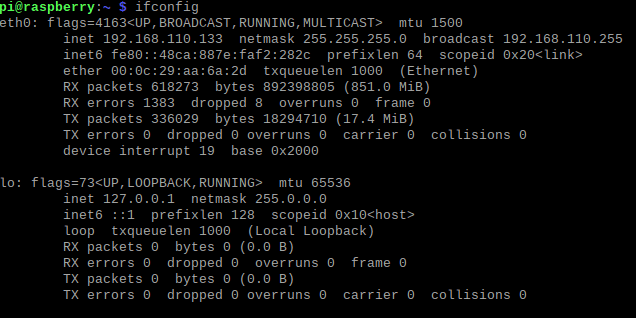
Raspberry Pi ifconfig
3. Open Filezilla on another machine and enter the Pi’s IP address, username and password for the user you want to connect to. As mentioned earlier, the default username is “pi,” the default password is “raspberry,” and the Port number is 22.
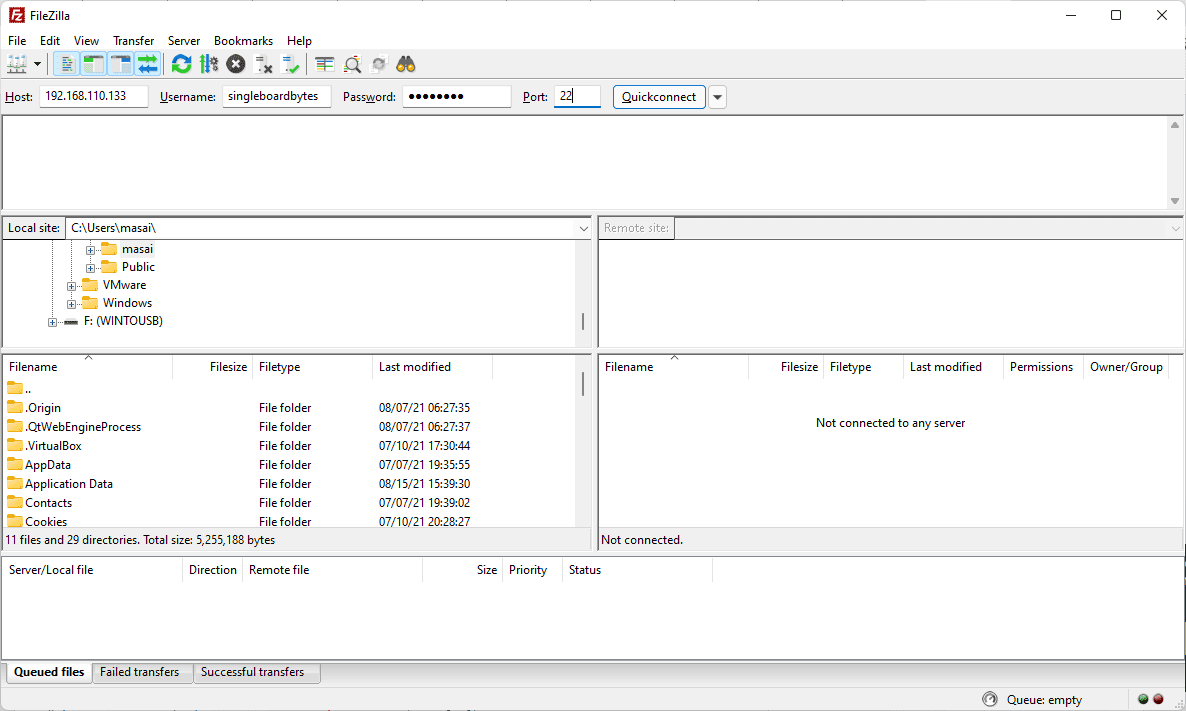
FileZilla Connection
Note: The IP address is the “Host.”
Click on Quickconnect to establish a connection. A message saying “Connection established” will appear in the log if the connection is successful.
4. On the remote machine, drag and drop some files from a source to the destination directory in the FileZilla to make sure the connection is working. FileZilla will state that the transfer was successful if everything works. The procedure for local transfers and other cases are all the same.
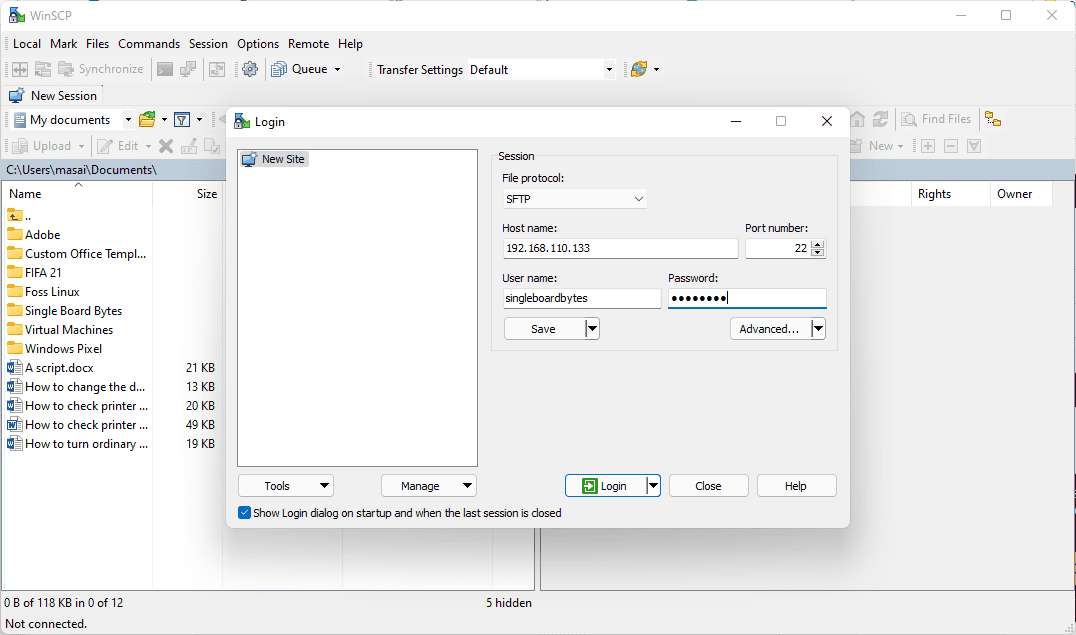
Using WinSCP
- Download WinSCP from here
- Install it into your operating system and launch it
- Just like we did for FileZilla, input the IP Address as host, the Username, and password, then select “Login.”

WinSCP connection
CREATE USER (Optional)
This is an optional step. However, it is important if you plan to change the username and password for your FTP server. In this example, I will create a user named “singleboardbytes.” To do that, execute the command below:
sudo adduser singleboardbytes
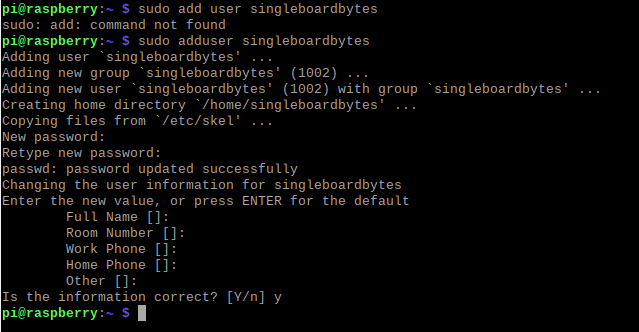
Adduser SingleBoardBytes
Next, please input your password and confirm it.
That’s all we have successfully created a user named “Singleboardbytes.” To confirm, we shall connect to the WinSCP or FileZilla.
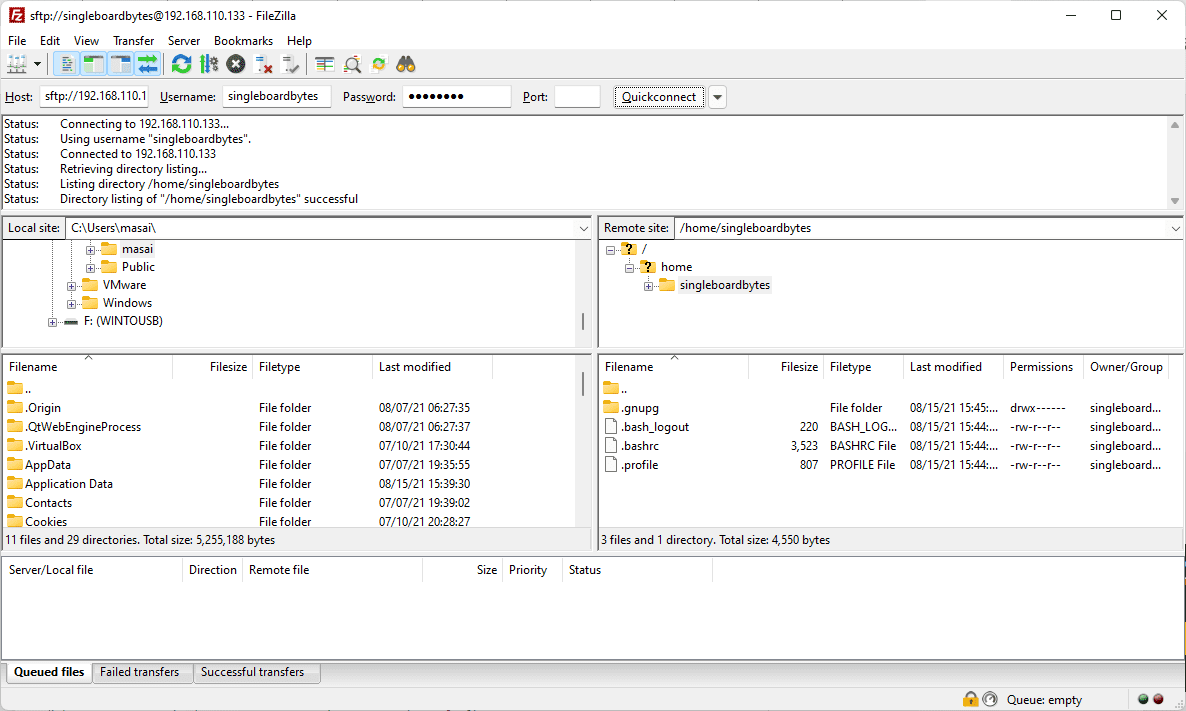
FileZilla Successfully connected
Note: When you are requested to enter the new value while creating the username, click “Enter” to stick to the defaults the confirm the information by inputting Y as shown in the screen graph above.
Conclusion
This article has shown you how to set up an FTP server on your Raspberry pi. The process is simple, and it works well when transferring files between two computers. You can use this setup as private cloud storage and make the costs quite manageable. We hope that this article has been helpful. In case of any queries, feel free to reach out to us through the comment section.