
The project is a non-profit fork of OpenELEC, and their tag line just enough OS for Kodi explains this OS is all about. It is a nothing but Kodi media player wrapped around by LibreELEC’s Linux distribution.
This minimal Linux distro is under very active development and has excellent community support. New features are added frequently, and it’s easy to get a problem resolved, in case you run into one while setting it up or using it. Recently, the LibreELEC team rolled out a 9.2.0 version that bought WireGuard support, and 4K video support for Raspberry Pi 4 users.
Now that you know about LibreELEC let’s present you with a tutorial on how to install it on your Raspberry Pi 2/3/4 and configure it to run it successfully.
Installing LibreELEC (Kodi) on Raspberry Pi 0/1/2/3/4
Pre-requisites
- Raspberry Pi 0/12/3/4
- SD card of minimum 1GB capacity
- A Linux/Windows/macOS PC for creating a LibreELEC SD card
Procedure
Step 1) Download the LibreELEC images for your Raspberry Pi device. Pay attention to the link and only download the image based on your Raspberry Pi model. A Pi 2 image will not work on any other Pi variants.
For Pi 0 | For Pi 1 | For Pi 2 | For Pi 3 | For Pi 4
Step 2) Download Etcher image flashing utility for your PC, and install it.
Step 3) Insert your SD card into your computer’s port.
Step 4) Launch Etcher. It should recognize the SD card. To avoid confusion and avoid accidental data loss, we recommend disconnecting any other SD cards or USB flash drives plugged into your system.
Step 5) On Etcher’s interface, click on Select Image and select the LibreELEC image that you downloaded for your Pi.

Etcher – Select Image
Step 6) Click Flash and wait for the process to finish.
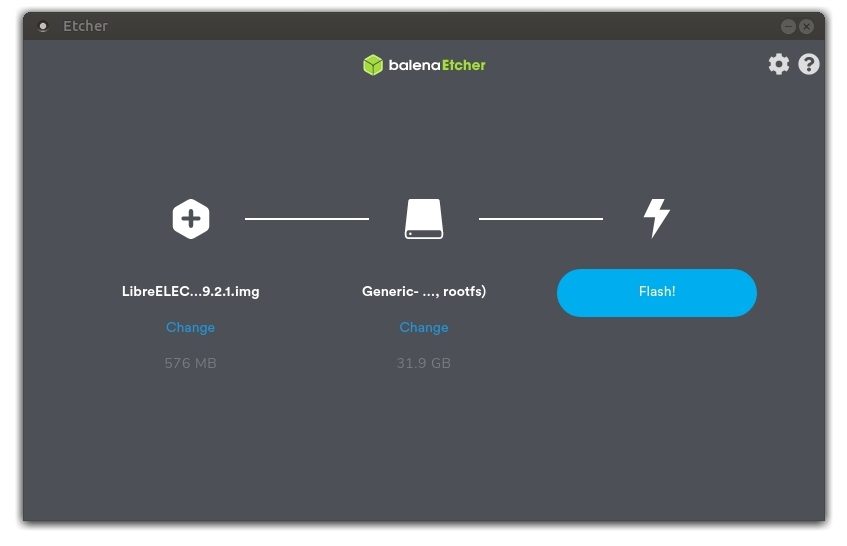
Etcher – Flash
Step 7) Etcher will flash the image to the SD card and make it bootable. It will also verify the image to make sure you don’t run into errors later.
Step 8) When done, remove the SD card from your computer and insert it into your Raspberry Pi. Then power it on.
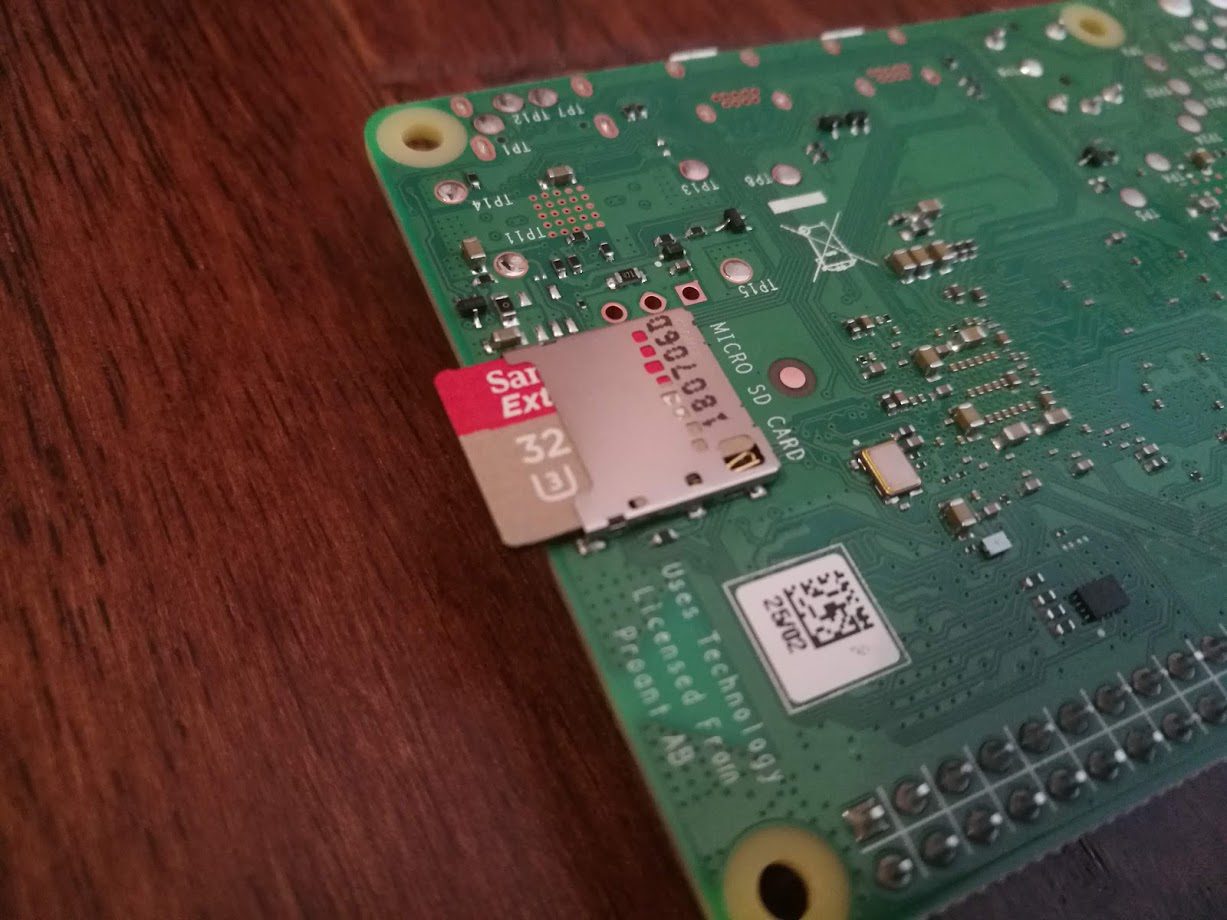
Insert SD card
Step 9) Raspberry Pi should boot right into Kodi, and in a minute or so, you should see the following screen. Select your preferred language and click Next.
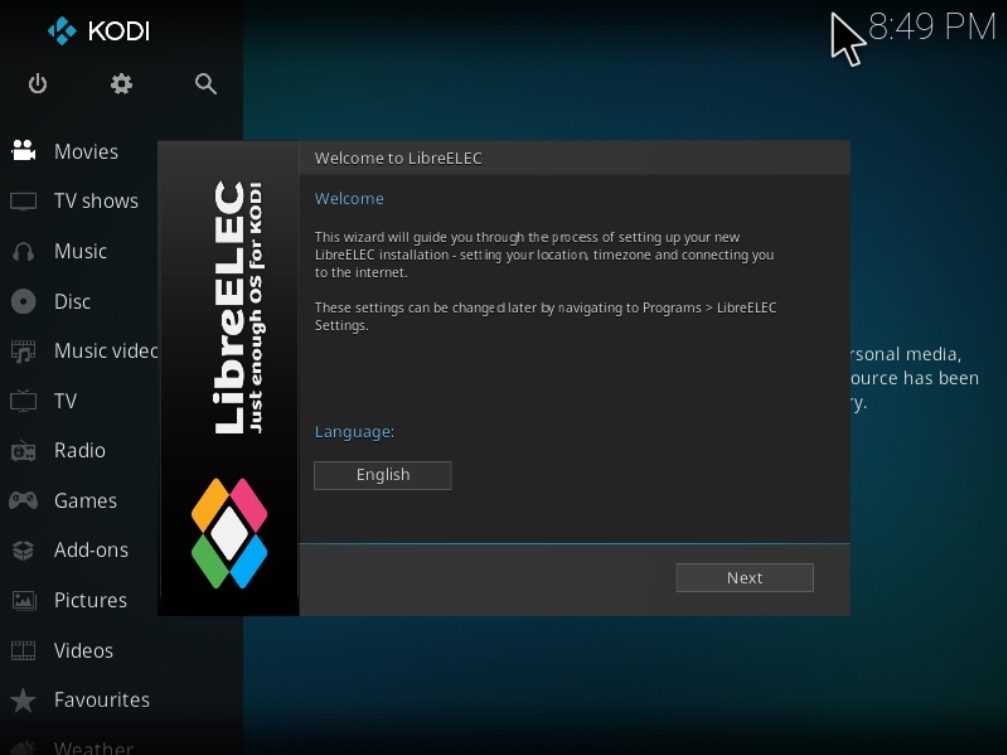
Kodi running on Raspberry Pi
Step 10) Set your preferred Hostname and click Next.
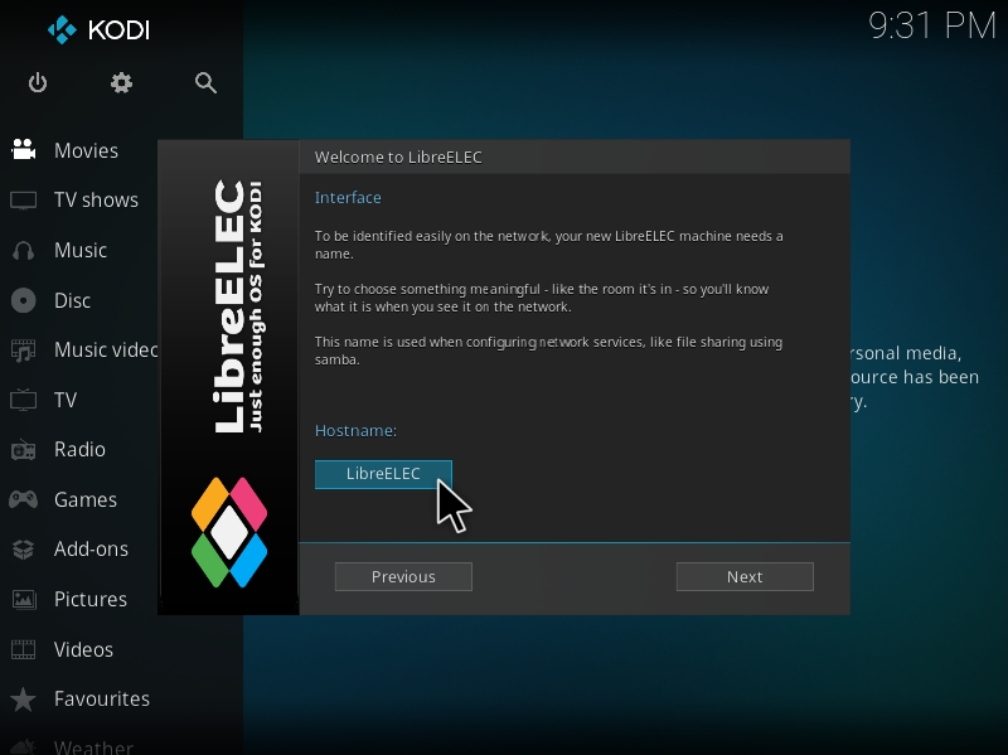
Hostname
Step 11) In the next screen, you can enable SSH and Samba services. If you don’t know what they are, you can ignore it for now and click Next. These services are not mandatory to run your movies on Kodi.
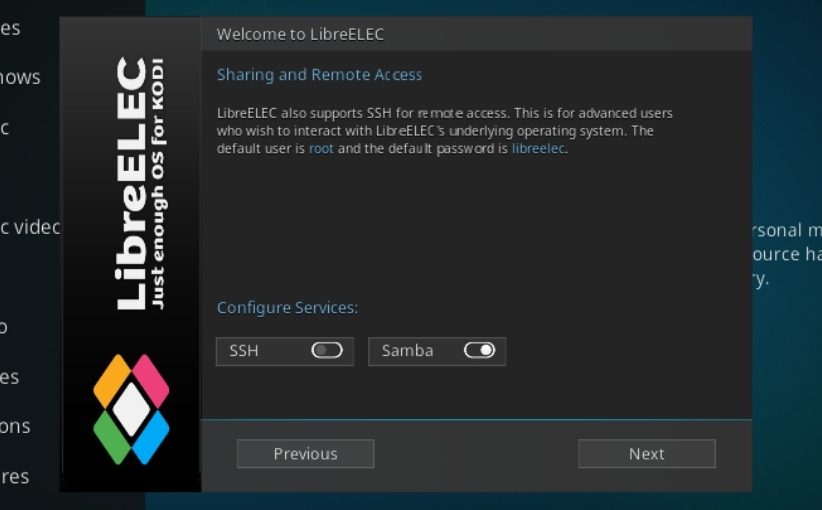
Configure Services
Step 12) Finally, you should be done with the installation of Kodi. Click Next.
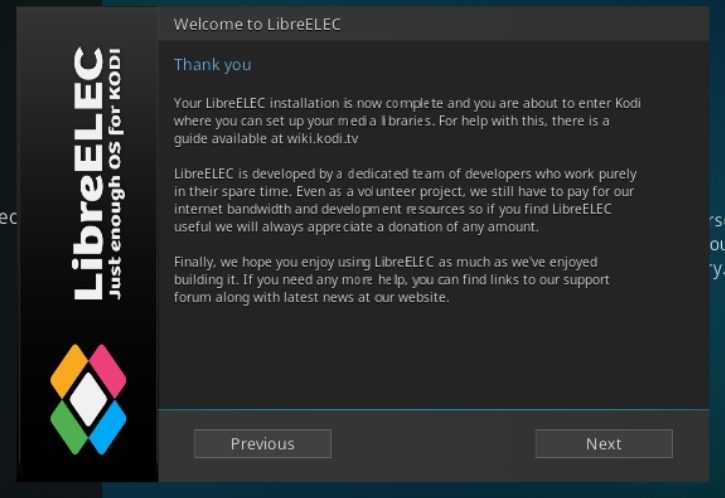
Kodi Installation Complete
Step 13) Enjoy using Kodi!
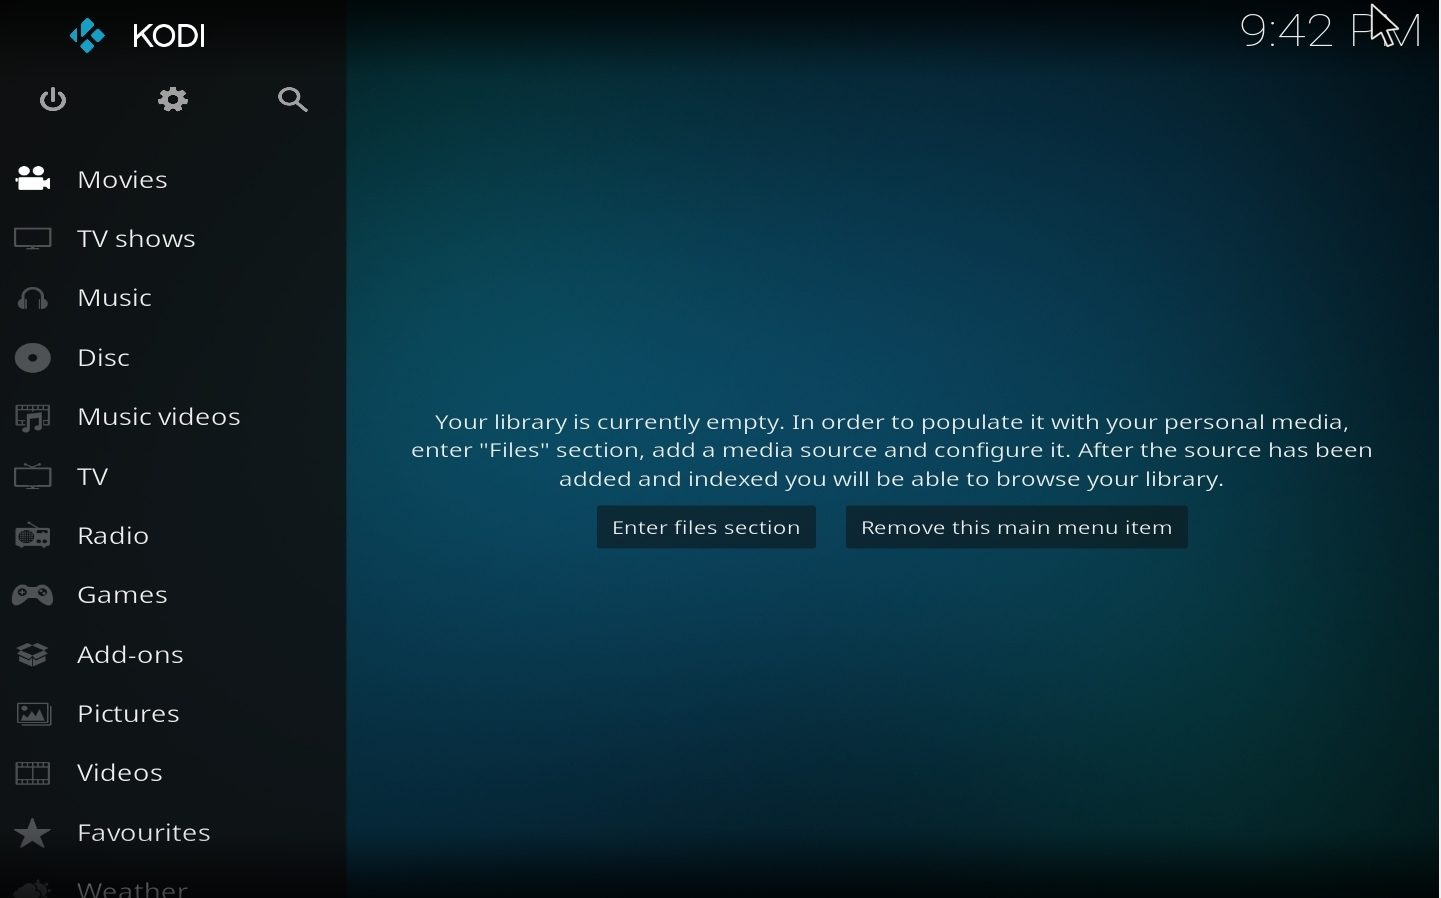
Kodi – Go ahead and add movies to the Library