
Pfsense is a robust, open-source, BSD-based firewall that offers all the features you might need in a router firewall. It protects your private network from unauthorized access and malware threats. Depending on the level of security and protection you need, you can modify the pfSense firewall to suit your needs.
Because pfSense doesn’t have an official release for the Raspberry Pi, there is no way to install it on the device. For this reason, alternatives to Pfsense for Raspberry Pi are required hence the need for Pfsense Alternatives for Raspberry Pi.
This post will take you through the 5 Best Pfsense Alternatives for Raspberry Pi.
Best Pfsense Alternatives for Raspberry Pi
The following are among the best Pfsense alternatives for Raspberry Pi;
- OpenWrt
- IPFire
- NethServer
- RaspAP
- Using Raspberry Pi as a wireless point
Let us dig into them one by one.
1. OpenWrt
One of the top Pfsense alternatives for the Raspberry Pi is OpenWrt. OpenWrt is an open-source operating system based on Linux that targets embedded network devices. Because it has the best Wireless support and the highest wireless throughput, OpenWrt is at the top of the list in this article.
OpenWrt supports various Raspberry Pi boards, including:
- Raspberry Pi A
- Raspberry Pi B
- Raspberry Pi B+
- Raspberry Pi Zero
- Raspberry Pi Zero W
- Raspberry Pi 2 ( All Versions)
- Raspberry Pi 3 (B, B+, Compute Module 3)
- Raspberry Pi 4 (B, 400, Compute Module 4)
Follow the steps below to download and install OpenWrt on your Raspberry Pi.
- Navigate to the OpenWrt Raspberry webpage and download the OpenWrt image for your specific Raspberry Pi board. We downloaded the “Raspberry Pi 4 B” image in our case.
- Next, you need to burn/ flash this image on your SD card using a tool like Balena Etcher or the Raspberry Pi Imager.
- After successfully flashing the OpenWrt OS to the SD card, insert the SD card into the Pi, and connect the ethernet and the power cable to boot it up.
- Unfortunately, OpenWrt doesn’t come with a Desktop graphical interface. Instead, you will need to configure the firewall from the browser. To do that, ensure the Raspberry and your computer are connected to the same network.
- Next, type the IP of the Raspberry on the browser to open the login page. You can get the IP of the Raspberry from your router configuration window or by scanning your network for connected devices.
You will see a login page similar to the image below.
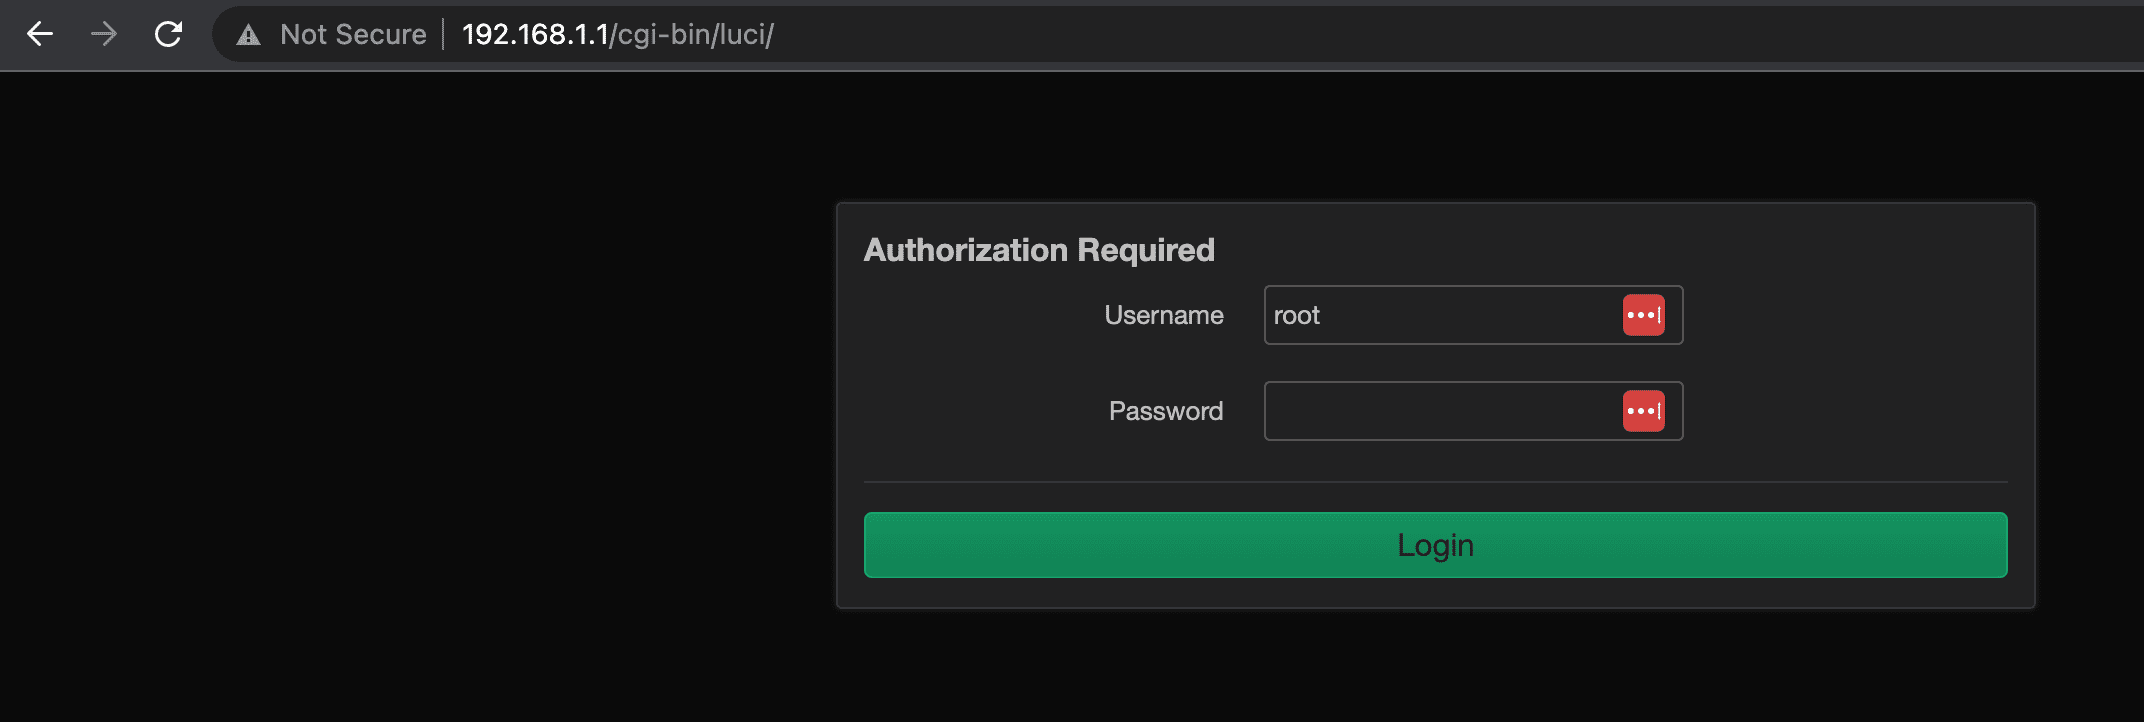
OpenWrt Login Page
Use the following credentials:
- Username: root
- Password: pi
After a successful login, you should see the OpenWrt main configuration window similar to the image below.
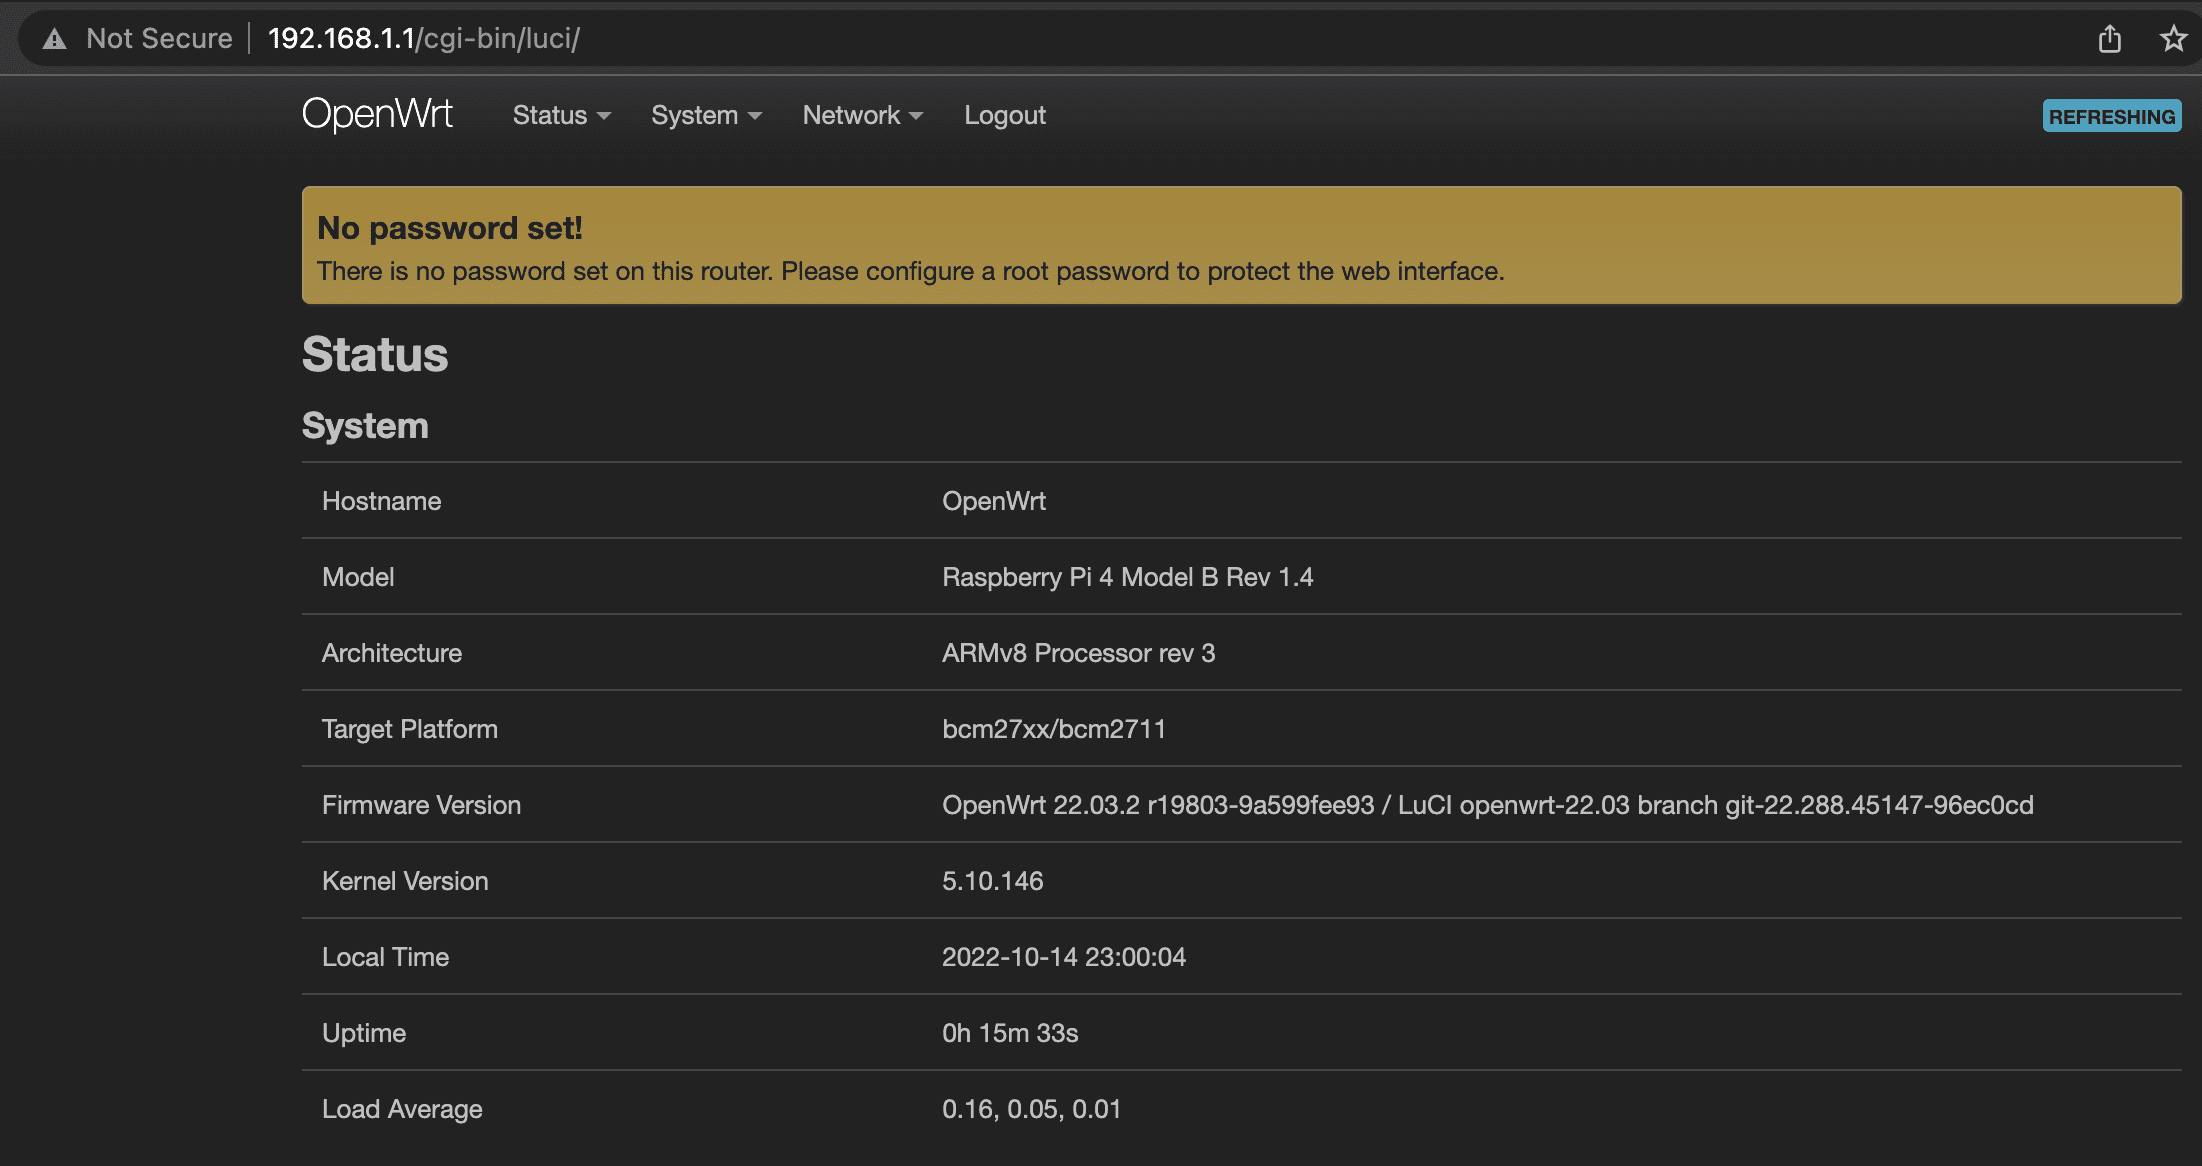
OpenWrt Configuration Page
2. IPFire
IPFire is also a good alternative for PfSense, which can work on Raspberry Pi. It is among the other options for Pfsense that is easy to use and has a couple of extra features that both novice and advanced users may require. Among these things are an intrusion detection system, which can help you deal with malicious activities on your network and fend off attacks from hackers at all times.
IPFire is easy to use because, with the right approach, you can update the entire system with just one click. In addition, you can more quickly and effectively install patches or resolve bug problems with IPFire.
IPFire includes a firewall engine that can modify router settings to what the user pleases. Additionally, it has a web management tool addition that enables you to change your network settings directly from a browser tab.
IPFire also offers a variety of add-ons, such as VPN, so you can, if you choose, conceal your true identity. To utilize all the capabilities that IPFire offers, you need to download and install it on your Raspberry Pi. Additionally, installation of IPFire is a breeze. By placing its image on your SD card, you can quickly install IPFire on your Raspberry Pi.
- To install IPFire, go to the IPFire Raspberry Pi webpage and download the IPFire ARM image that is compatible with your Raspberry Pi. In our case, we will download the Raspberry Pi 4B image.
- Flash the IPFire image you extracted using your preferred tool, such as Balena Etcher, onto your SD card.
- Next, remove the SD card from your PC or computer and insert it into the Raspberry Pi.
- Using HDMI and USB Keyboard, edit the uENV.txt file and SERIAL-CONSOLE settings from ON to OFF. However, you should edit the config.txt file and enable uart=1 to the end if you use the serial console.
- Connect everything to the Raspberry Pi after that, and turn it on.
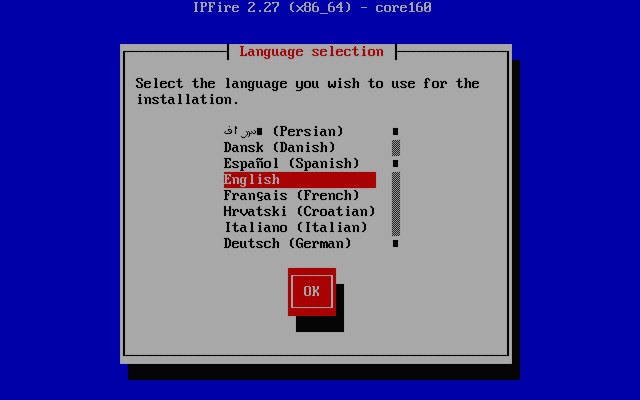
- Observe the standard IPFire installation and configuration procedures.

IpFire
- Finally, configure the installed IPFire as you need.
3. NethServer
Another excellent Pfsense alternative for Raspberry Pi is NethServer. NethServer is a server-focused Linux distribution that is based on the famous CentOS. The distribution makes it simple to use as a mail server and filter, web server, groupware, firewall, or VPN server. This app can also act as a firewall or a gateway on the network where it is installed. That makes it a good alternative for Pfsense among Raspberry Pi users.
The NethServer firewall application includes features like:
- Realtime network traffic charts
- Firewall rules management
- An intelligent search feature. That allows you to search for a particular object on the main dashboard easily.
- Traffic shaping (QoS)
- Detailed data inspection before being sent over a network (Deep Packet Inspection)
- Port forwarding.
- Routing rules to divert traffic on a specific WAN
To get started with NethServer, follow the steps below.
- First, you need to download and install NethServer on your Raspberry Pi.
- Navigate to this website and download the CentOS image for Raspberry Pi 4.
- First, download the centos.
- Use a tool like Balena Etcher or RPI Imager to flash the OS to the Raspberry SD Card.
- After successfully writing the image on the SD Card, insert the SD card into the PI and power it up.
Up to this point, you have successfully set up CentOS on your Raspberry Pi. Next, you need to download and install NethServer. Follow the steps below.
- Add the NethServer repository by executing the command below.
yum install http://packages.nethserver.org/nethserver/7.9.2009/arm-base/armhfp/Packages/nethserver-release-7-19.ns7.noarch.rpm
- When done, install the base system by executing the command below. Please note that this step might take several minutes.
nethserver-install
- To access NethServer Dashboard, open your computer browser and type the following URL
[Raspberry-IP-Address]:9090/nethserver
e.g
10.0.1.57:9090/nethserver
- Login using the default credentials. Username: root and password: centos
- After a successful login, you should see the NethServer Dashboard, similar to the image below. Here, you can perform any network or server configurations you need.
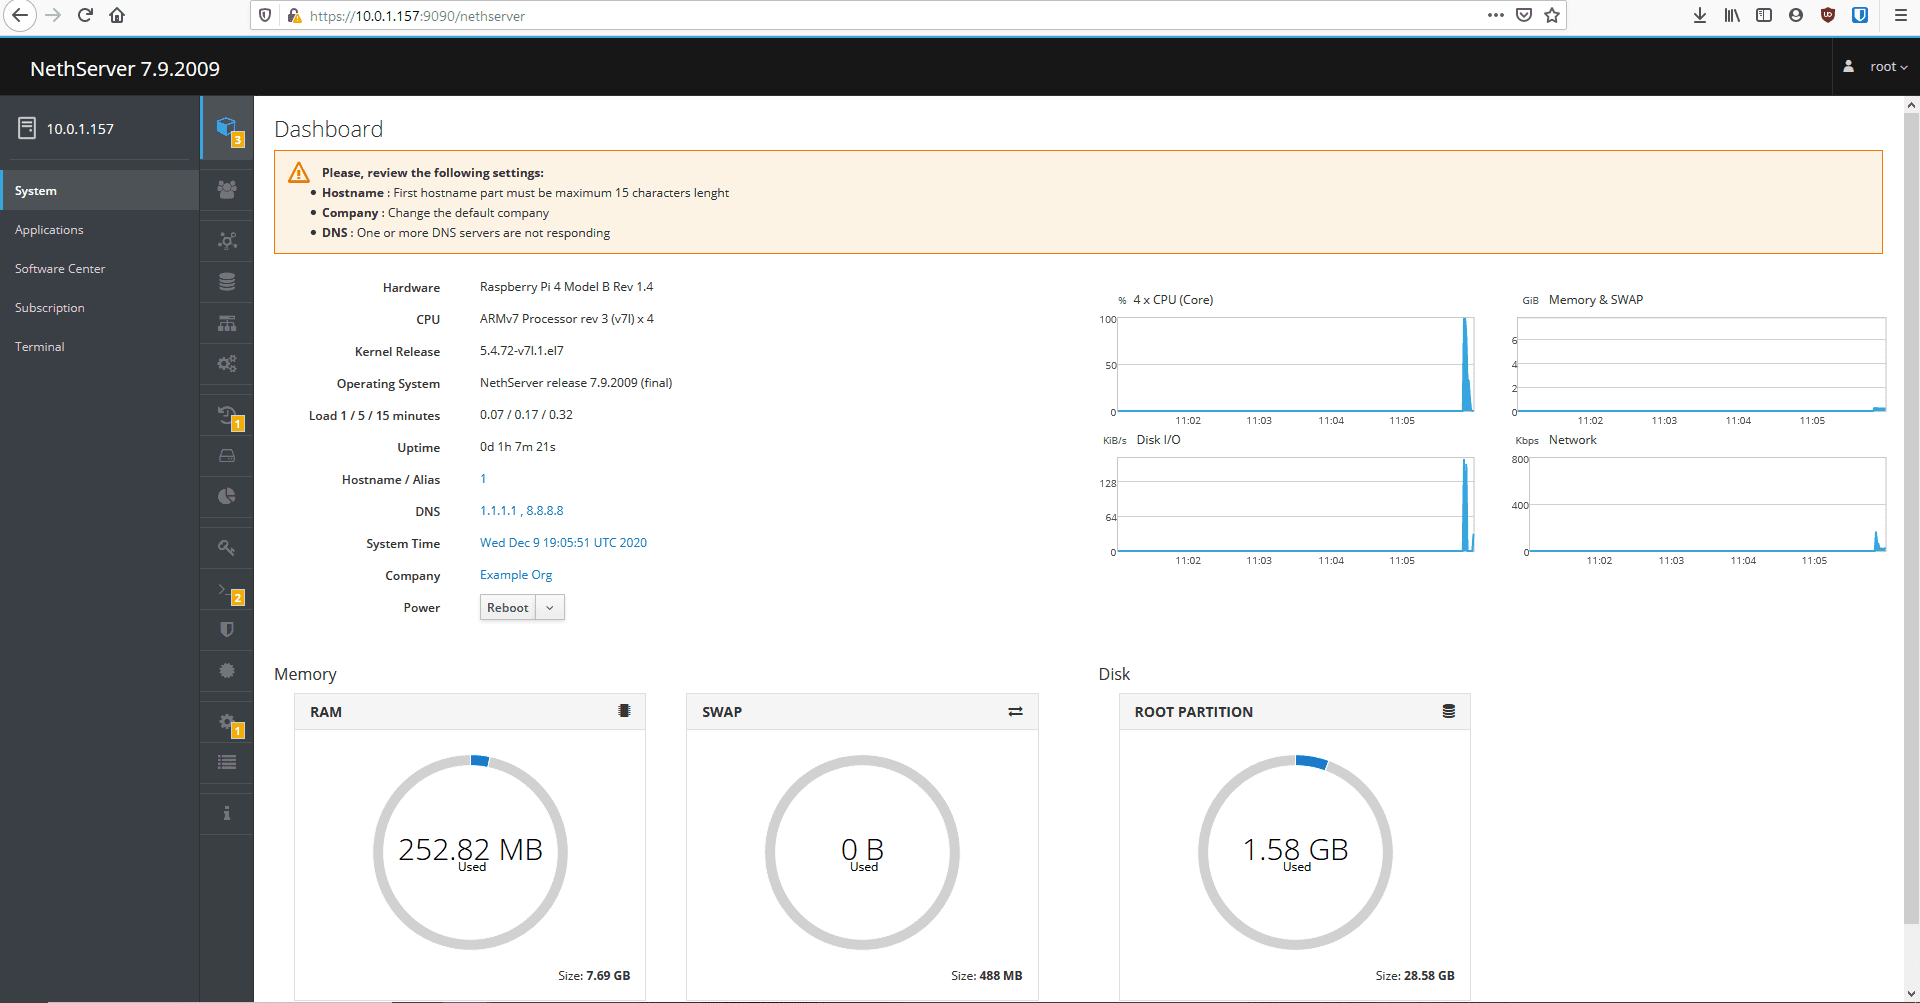
nethserver dashboard
4. RaspAP
RaspAP is also the best Pfsense alternative for Raspberry Pi. It is a powerful wireless router program that runs on various well-liked Debian-based devices, including the Raspberry Pi. Both novice and experienced users will find RaspAP to be simple to install and use.
Additionally, RaspAP excels in the Internet of Things (IoT) applications where wireless connectivity and data sharing are essential. Users of RaspAP can easily customize it as well because it comes with a lot of helpful default configurations, installation options, and themes, among other things.
Follow the instructions below to install RaspAP;
- First, install the official Raspberry Pi operating system. This post assumes you have already done that.
- Update the OS using the commands below.
sudo apt-get update
sudo apt-get full-upgrade
- When through, ensure you reboot the system using the following command.
sudo reboot
- The WiFi country should then be set in raspi—Localization config’s options using the command below.
sudo raspi-config
- The Quick Installer will finish the manual installation process for you once it has finished invoking.
curl -sL https://install.raspap.com | bash
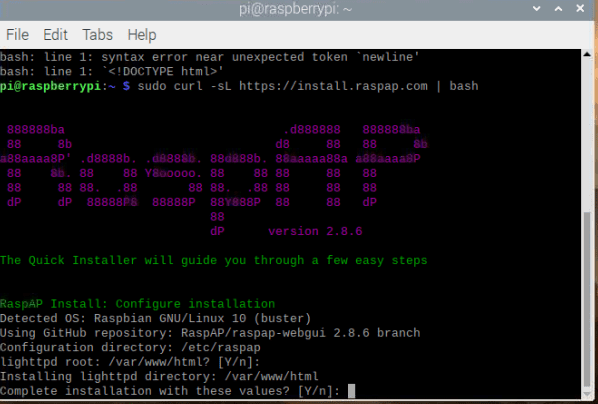
Install raspap
- You will get a couple of prompts. Keeping clicking why to accept.
- After everything is finished, you must reboot the wireless AP network so that it can be configured. Accept the prompt y to do so.
- You can now modify these default credentials for security reasons in the RaspAP Authentication and Hotspot > Security panels.
- Finally, RaspAP will now modify many advanced options and the basic settings for your (AP Access Point/ router).
5. Configure Raspberry as Router – Firewall Using Iptables
The last item on this list will be using Iptables to configure your Raspberry Pi to act as a router. Iptables is a built-in firewall that comes pre-installed on most Linux distributions. This firewall filters network packets according to a set of pre-defined rules. That enables users to manage connections by accepting, refusing, or rewarding.
Before starting with Iptables, you must install the official Raspberry Pi OS. Once done, launch the Terminal and execute the command below to enable routing, which is disabled by default.
net.ipv4.ip_forward=1
iptables -t nat -A POSTROUTING -o wlan0 -j MASQUERADE
Next, we need to configure the Pi to accept traffic from the Ethernet port (eth0) and allow connections from the wireless interface (wlan0) to the eth0 interface. Use the commands below.
iptables -A FORWARD -i eth0 -o wlan0 -j ACCEPT
iptables -A FORWARD -i wlan0 -o eth0 -m state --state RELATED,ESTABLISHED -j ACCEPT
Conclusion
Any device can become a more reliable home router with the help of the excellent network security solution pfSense. However, because pfSense is still not compatible with the Raspberry Pi, you are only left with the option of trying out other pfSense alternatives or modifying your Raspberry Pi device’s software and hardware to make it function as a router with firewall support.
Firewall software secures networks and computers from attacks by filtering out unwanted network traffic and malicious apps. The top 5 Pfsense alternatives for Raspberry Pi are discussed in this article. Depending on your needs, you can select any option from the list. If we missed any other Pfsense alternatives for Raspberry Pi in our post, please let us know in the comments below.