
Teamviewer is a proprietary desktop application allowing desktop sharing, File Transfer, and Remote Desktop access. If you have never used this application, think of it as a VNC connection but with several advanced features. Incidentally, if you want to enable VNC access on your Raspberry Pi, please look at our post, “How to Set up VNC Server on Raspberry Pi.”
That’s said, let’s dive in and get started.
Installing TeamViewer on Raspberry Pi 4
This post will use the official Raspberry Pi OS (64-bit) on a Raspberry Pi 4. However, you can still use the 32-bit OS. Since you can also use Teamviewer from the Terminal, you can decide to leave the items marked as optional from the list above. The posts below will be of great help if you choose to go headless (without a monitor).
Project Requirements
Below are some of the things you need for this particular tutorial
- A Raspberry Pi 2 board or newer
- An active internet connection (ethernet or WiFi)
- A display monitor (optional)
- A USB keyboard and USB mouse (optional)
- Micro SD Card
Tip: If you are using the recently released Raspberry Pi OS – BullsEye or newer, the post above, “How to SSH into Raspberry Pi,” won’t work for you. We recommend using the Raspberry Pi Image tool to burn the image on the SD card, as it also allows you to set the SSH username and password. The Raspberry Pi team removed the default SSH username and password due to system security issues.
Follow the steps below to install TeamViewer on your Raspberry Pi.
Step 1. Update the System
As a rule of thumb for all Linux systems, we highly recommend updating your system before installing any programs. Launch the Terminal and execute the commands below.
sudo apt update
sudo apt upgrade
Step 2. Download Teamviewer
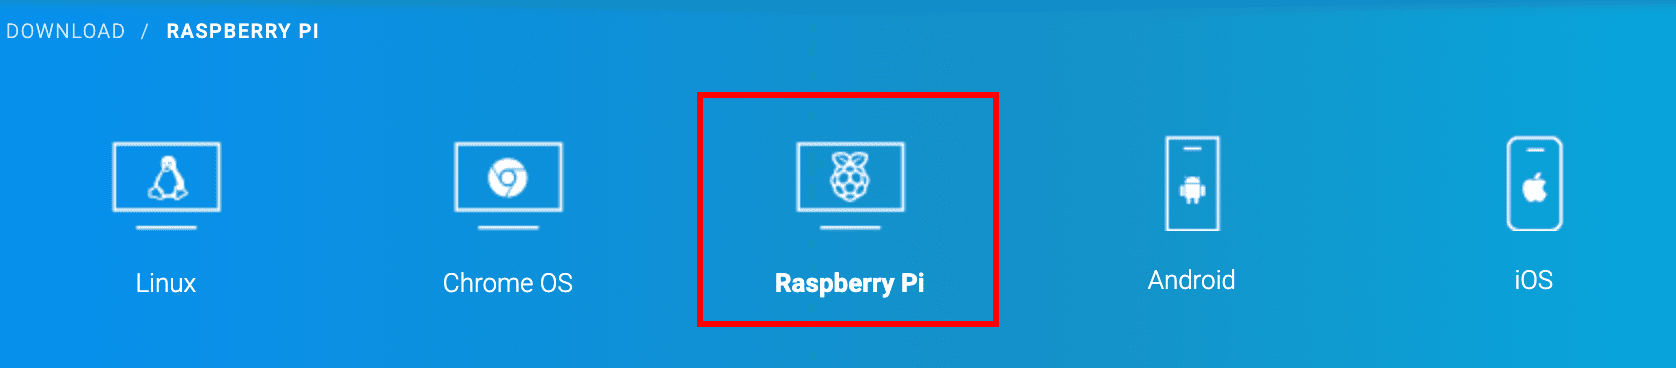
After successfully updating your system, we can now proceed to download the Teamviewer setup file for our Raspberry Pi. Launch the browser and navigate to the official Teamviewer download page. Here, you will see the various platforms supported by Teamviewer. These include Windows, Linux, macOS, ChromeOS, Android, iOS, and Raspberry Pi. In our case, we are interested in the latter.
Select the Raspberry Pi option, and you will see two download buttons – Download 32-bit Preview Version and Download 64-bit Preview version. Select the file you wish to download depending on your Pi architecture. In our case, we will download the 64-bit setup file.
Teamviewer for Raspberry
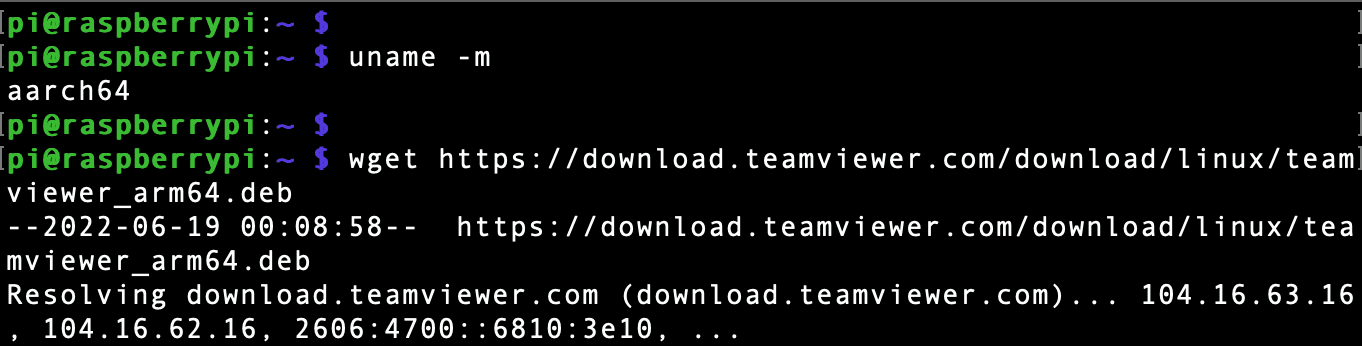
Tip: If you are unsure whether the OS you are running is 32-bit or 64-bit, execute the command below on your Terminal.
uname -m
If you get an output like aarch64 it’s a 64-bit operating system; however if you get an output like it’s a 32-bit operating system.
For this post, we will copy the download link and use the wget command to download the setup file from the Terminal, as shown below.
wget https://download.teamviewer.com/download/linux/teamviewer_arm64.deb
Download Teamviewer
Step 3. Install Teamviewer
Up to this point, we have already downloaded the Teamviewer DEB setup file on our system. You can see it in the home directory below when I run the ls command.

Teamviewer DEB file
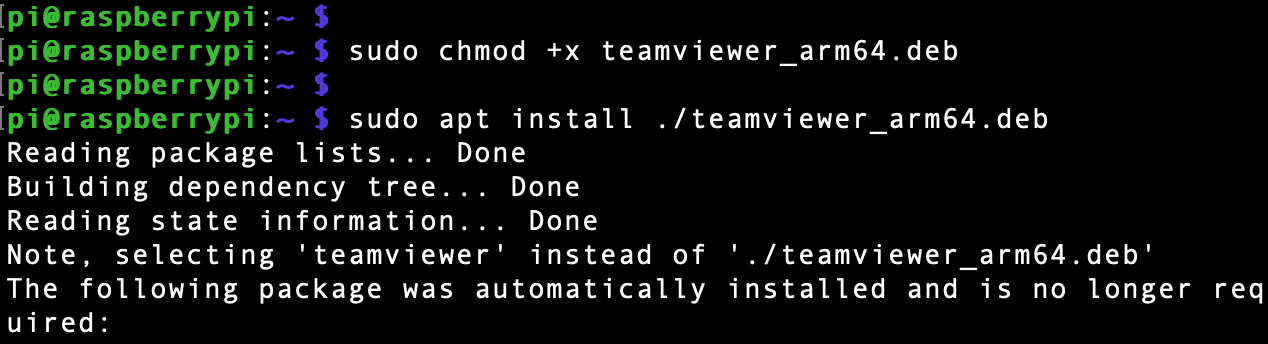
Make the file executable using the syntax below.
sudo chmod +x [fie-name.deb]
e.g.,
sudo apt install ./teamviewer_arm64.deb
Install Teamviewer
When done, you can verify the installation using the –version command, as shown below.
teamviewer --version

Teamviewer version
Using Teamviewer on a Raspberry Pi
There are two ways in which you can use Teamviewer on the Raspberry:
- Via the Graphical Desktop Interface
- Use Teamviewer for the Terminal
When running Teamviewer for the first tie on your Pi, we recommend first using the Graphical Desktop interface so that you can quickly complete initial tasks like- accepting the EULA (End User License Agreement) and logging in.
(Method 1) Using Teamviewer from the Graphical Desktop
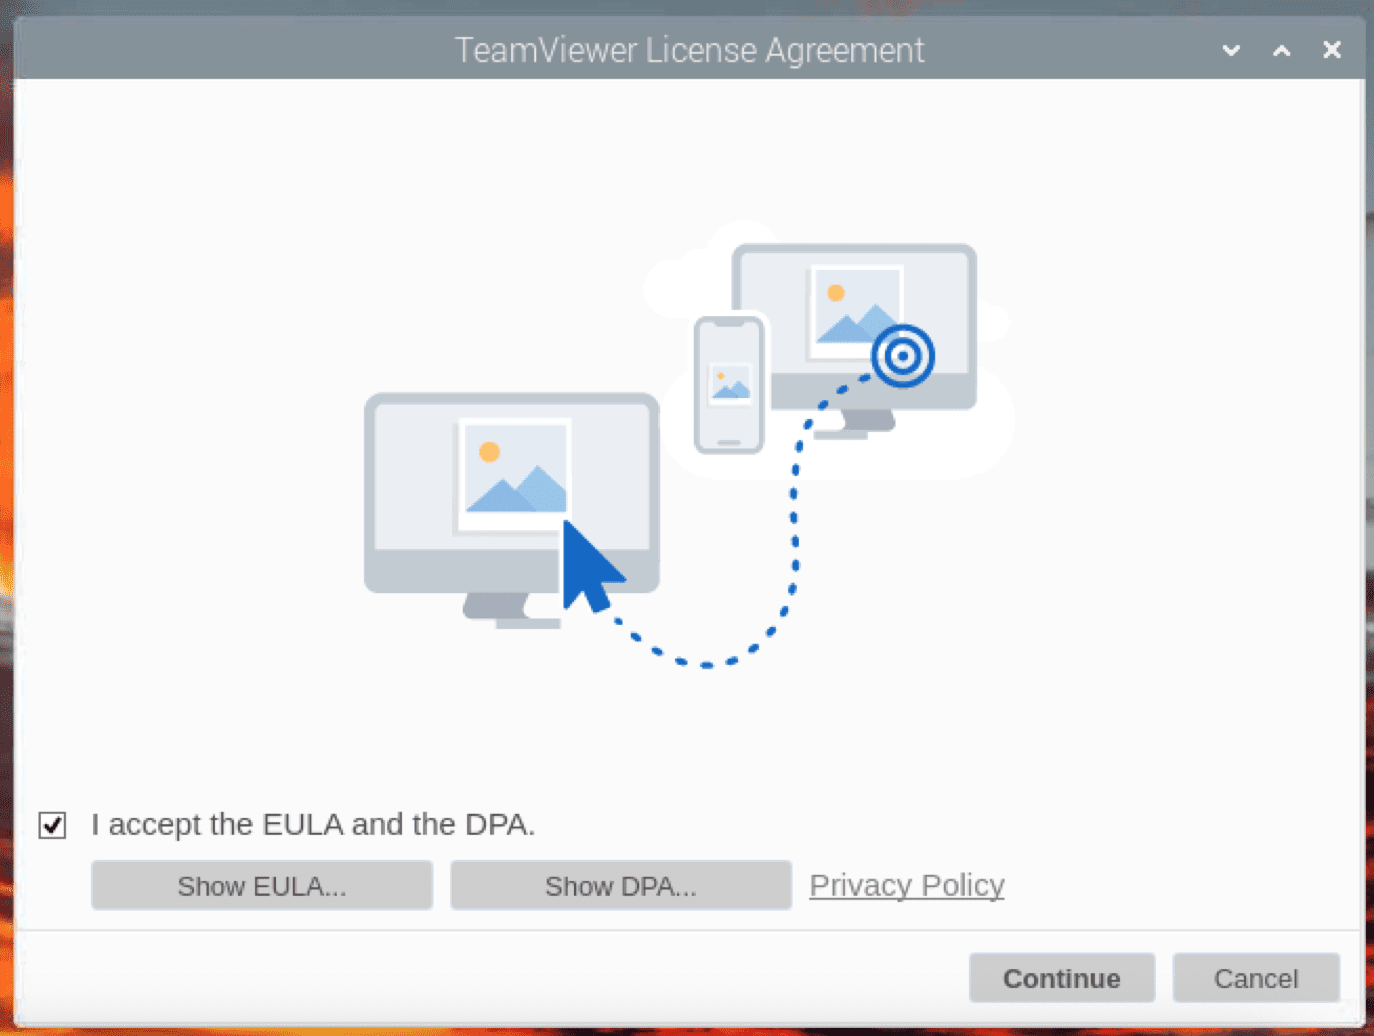
To launch Teamviewer from the desktop, click on the Menu icon -> Internet -> TeamViewer. When you first open Teamviewer, you will see the EULA window. Tick the EULA checkbox and click “Continue.”
Accept EULA
When done, the main Teamviewer window will open, as shown below.
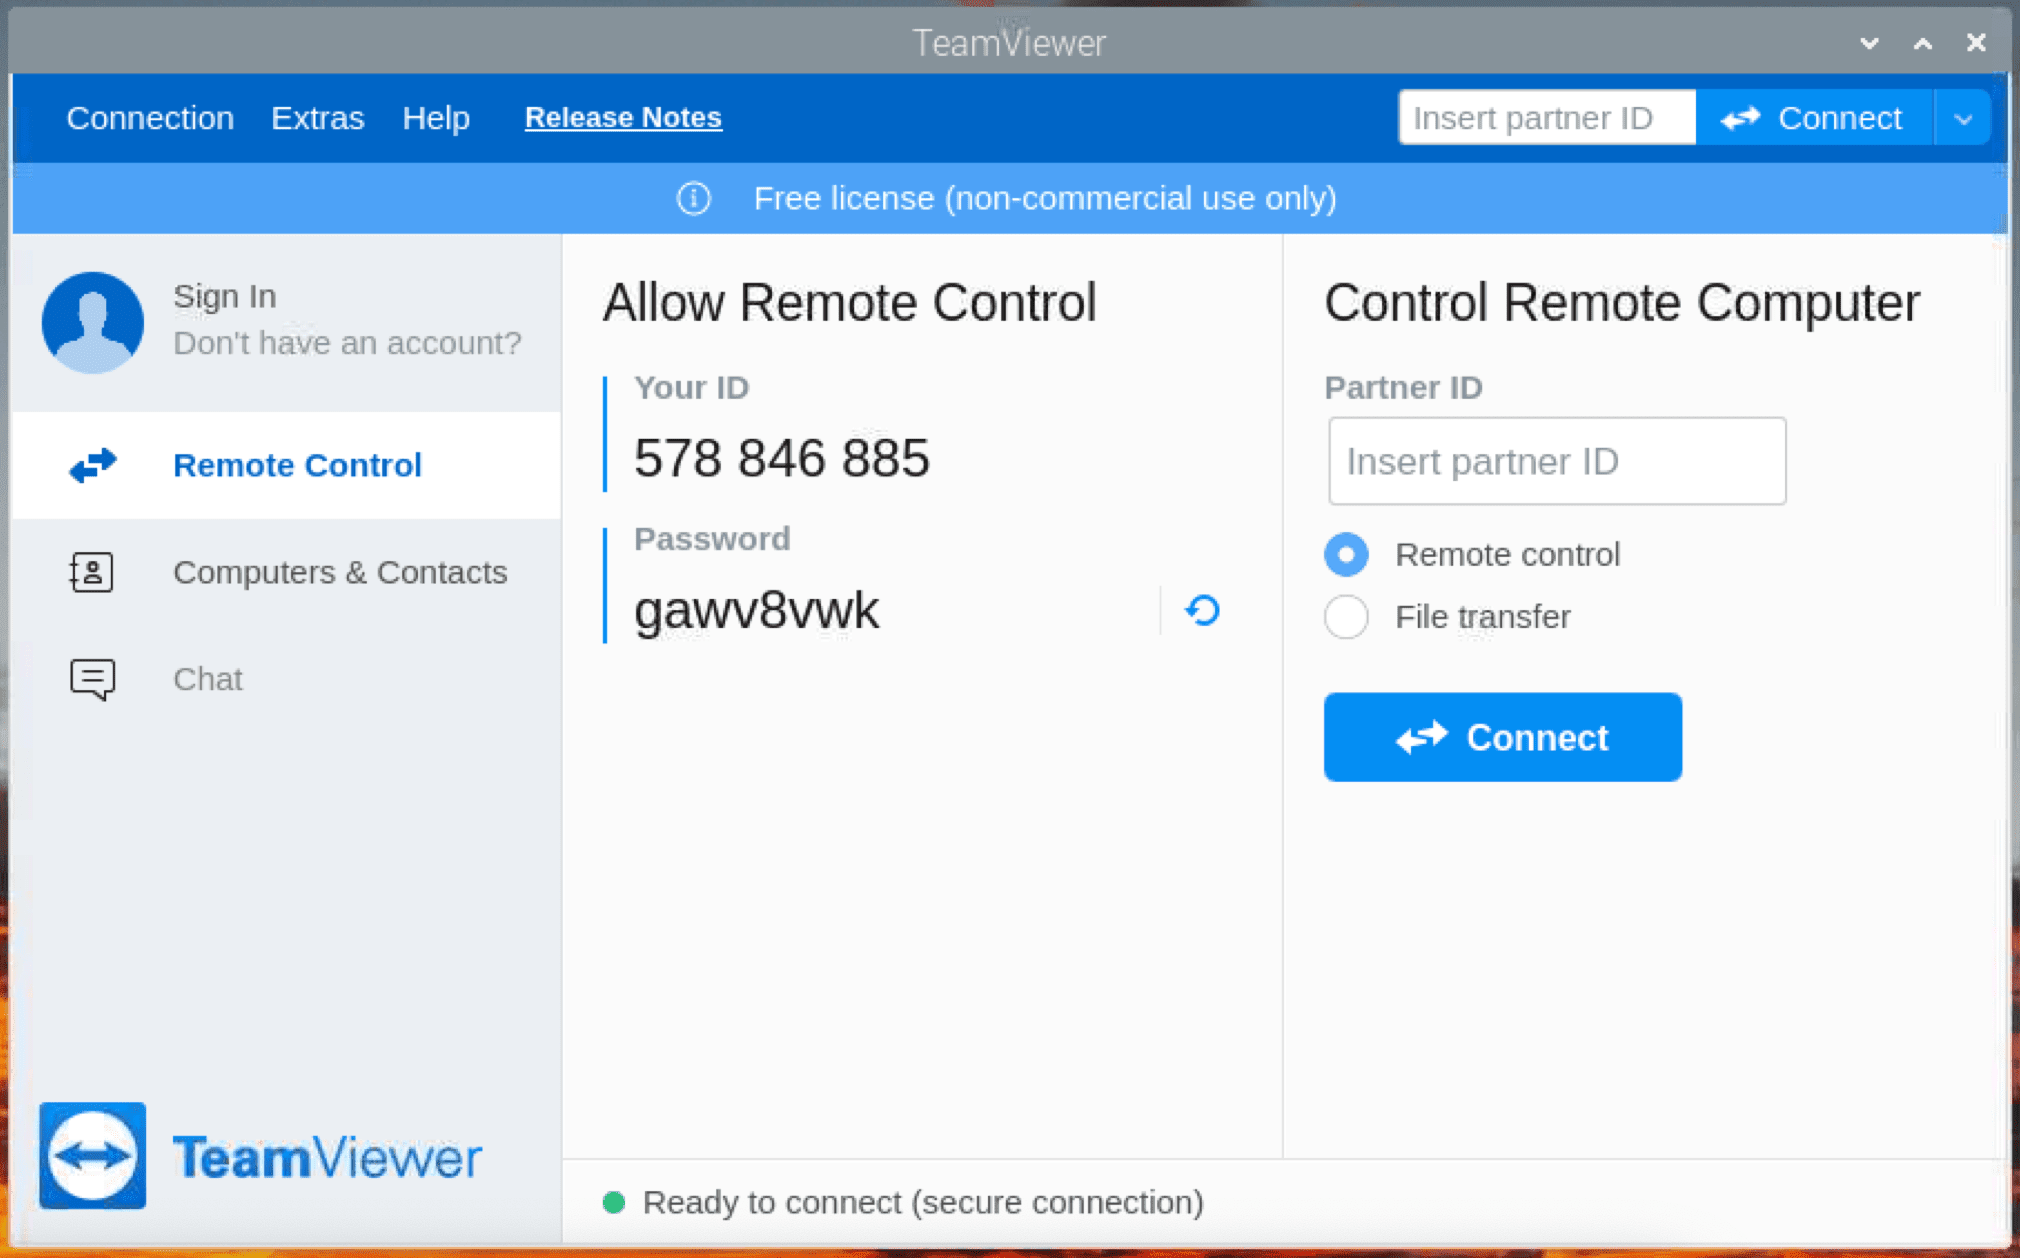
Teamviewer main window
Now, if you have worked with Teamviewer before, you should be good to go from this point. If that’s not the case, don’t worry. Let’s look in detail at how to use Teamviewer.
If you want somebody to access your Raspberry Pi remotely from their PC, you will need to provide them with the ID and the password shown on the Teamviewer main window. If it’s vice-versa and you want to access your friend’s desktop from your Rasberry Pi, they will need to send you their ID and password. You will enter this ID in the “Partner ID” section and click Connect. If the ID is valid, you will see a password prompt pop-up. That simple!
(Method 2) Using Teamviewer from the Terminal
If you are a Terminal guy – Teamviewer has got you covered. It comes with a command-line utility that you can use to establish a connection with a remote computer. Unfortunately, this method utility will only enable other people to access your Raspberry Pi. You cannot use it to access another computer’s desktop remotely.
First, we need to set the password other users will use to connect to our Raspberry Pi. Execute the command below.
sudo teamviewer passwd [enter-a-password-here]
e.g.,
sudo teamviewer passwd SBB123@Pass
Note: Ensure you set a strong password that nobody can easily brute force in case they have your Teamviewer ID. It should not be more than 12 digits.

Set teamviewer password
After setting the password, we can retrieve the Teamviewer ID, which other users will use to access our Raspberry Pi remotely. Execute the command below.
sudo teamviewer info
You will see an output similar to the image below showing your Teamviewer ID. When you launch the Teamviewer graphical interface, you will notice the ID on the graphical interface is identical to the ID assigned in the command line.
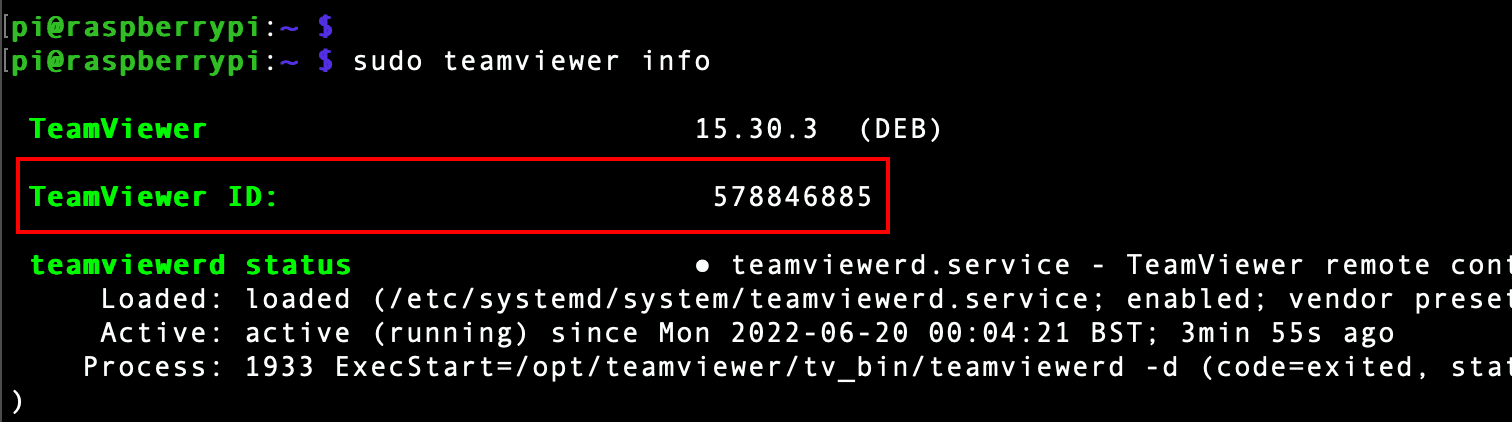
Teamviewer ID
Conclusion
Up to this point, we believe you now have Teavmviewer installed and running on your system. Teamviewer is one of the ‘easy-to-setup’ applications you can use to connect to other devices remotely. Of course, VNC is also a good option, but that will require you to get your hands dirty with all the numerous configurations. Did you encounter errors when following this tutorial? If so, please let us know in the comments below.