
Are you looking for a powerful application that you can use to work with images on the Raspberry Pi? Well, you are in the perfect spot. This post will give you a step-by-step guide on installing GIMP on your Raspberry Pi. GIMP, which stands for GNU Image Manipulation Program, is a powerful raster-based open-source software developed by a small community of developers. It is primarily used for photo editing but can also be used for graphic design.
Installing GIMP on Raspberry Pi
Unlike the most popular photo editing apps available for Windows and macOS (e.g., Adobe Photoshop), GIMP is free and still gives you the same utilities you would find on commercial software. That is quite interesting, considering that most developers are only part-time contributors. Let’s get started with installing GIMP on Raspberry Pi.
Requirements
- We will use the official Raspberry Pi OS (Raspbian BullsEye). However, feel free to use other Linux distributions like Debian, Ubuntu, and Pop!_OS. Check the articles below.
How to install Ubuntu Mate on Raspberry Pi 4
How to install Ubuntu 18.04 LTS on your Raspberry Pi
How to install Debian on Raspberry Pi 4 - Raspberry Pi 4: Although you can work with earlier Raspberry Pi boards, we highly recommend using Pi 4 for utmost performance.
- An active internet connection
- At least 8 GB SD-card
- A display monitor
If you are accessing your Raspberry Pi remotely, either via SSH or VNC, you can leave out the monitor. The posts below will help if you have never worked with SSH or VNC on your Pi.
Tip: If you are using Raspbian BullsEye and want to enable SSH on a headless system (without a monitor), you will need to use Raspberry Pi Image to burn the OS image on your SD card. That will allow you to set SSH credentials to use after the installation.
There are two main methods that you can use to install GIMP on your Pi:
- Install GIMP with APT
- Install GIMP with Snap
We will look at both ways in this post.
(Method 1) Install GIMP with APT
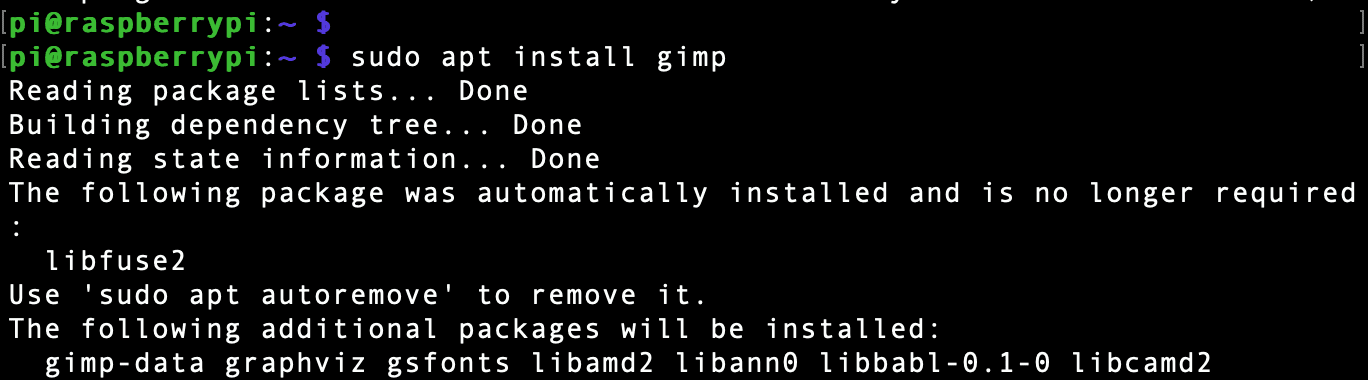
It is one of the easiest ways of installing GIMP on your Pi. As a rule of thumb, update your system by running the commands below on the Terminal.
sudo apt update
sudo apt upgrade
When done, execute the command below to install GIMP
sudo apt install gimp
Install GIMP with apt
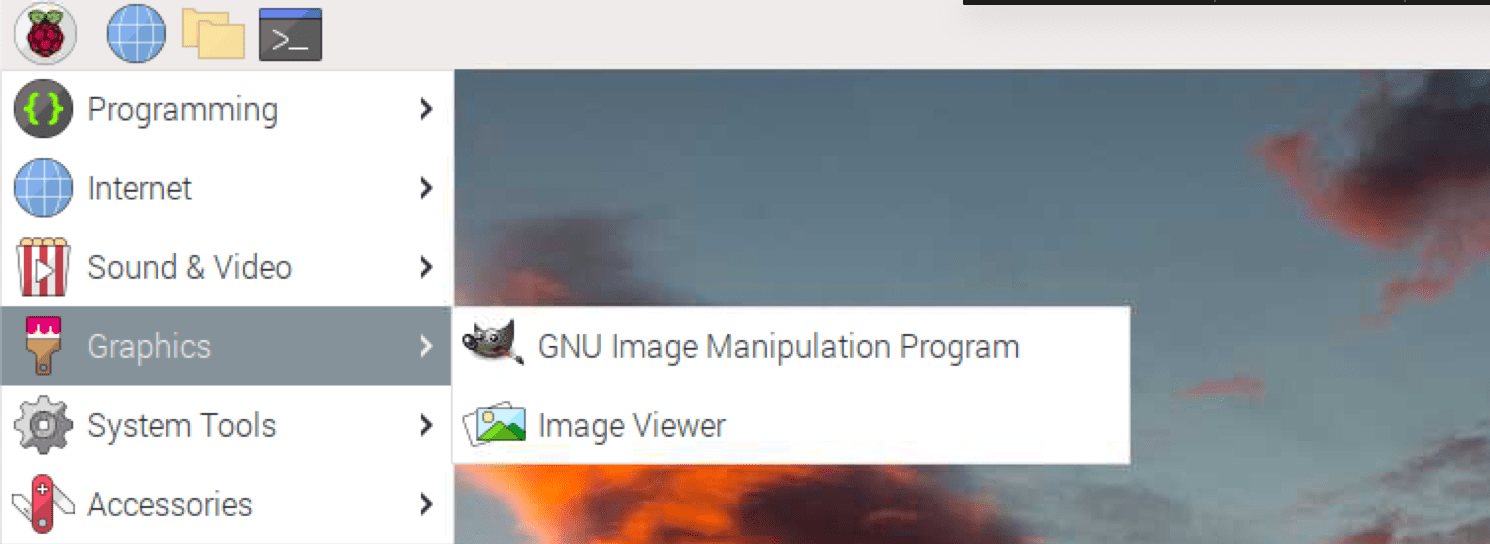
When done, you can proceed to launch GIMP from the Main menu -> Graphics -> GIMP.

Launch GIMP
Alternatively, you can launch GIMP from the Terminal using the command below.
gimp
Note: You cannot open the application remotely via SSH using the Terminal since you don’t have a display connected.
That’s it! Using the apt package manager, you have successfully installed GIMP on your Raspberry Pi. Now let’s look at how to install GIMP as a Snap package.
(Method 2) Install GIMP with Snap
Snap is a distribution-independent package format that allows you to install applications on any Linux distributions that support Snap packages. Unlike distribution-dependent package formats like RPM or DEB, Snap packages can run on any Linux system that supports Snaps. Other distribution-independent package formats include Flatpak and AppImage.
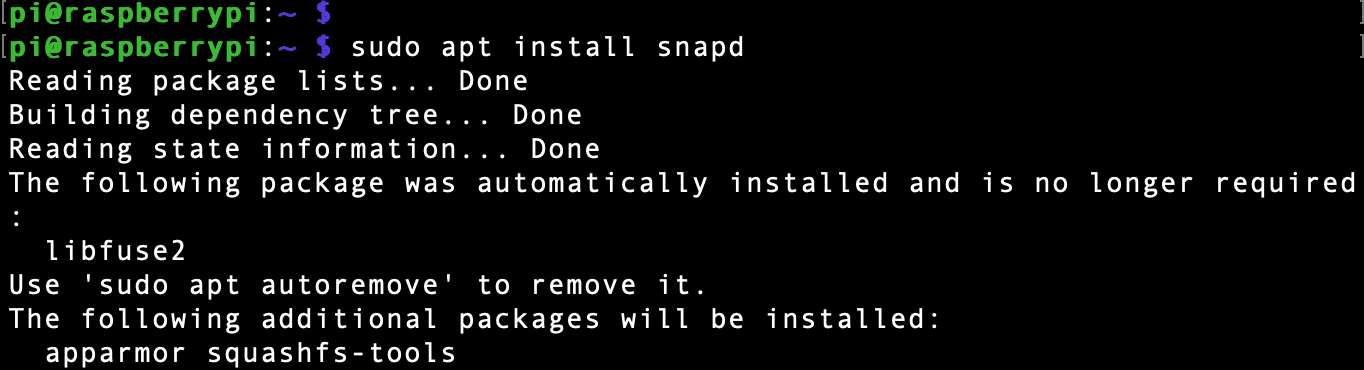
Snap doesn’t come pre-installed on the Raspberry Pi OS. Use the command below to install the snap daemon – Snapd.
sudo apt install snapd
Install Snapd
After a successful install, execute the command below to reboot your system.
sudo reboot now
Once your system is up again, run the command below to install the Snap core, ensuring you run the latest/ updated Snapd daemon.
sudo snap install core
When done, execute the command below to install GIMP
sudo snap install gimp
This step might take a while, depending on your internet speed. Please be patient. When done, you can now launch GIMP from the Main menu -> Graphics -> GIMP, as shown below.
Launch GIMP
Alternatively, executing the command below can launch GIMP from the Terminal.
gimp
Using GIMP
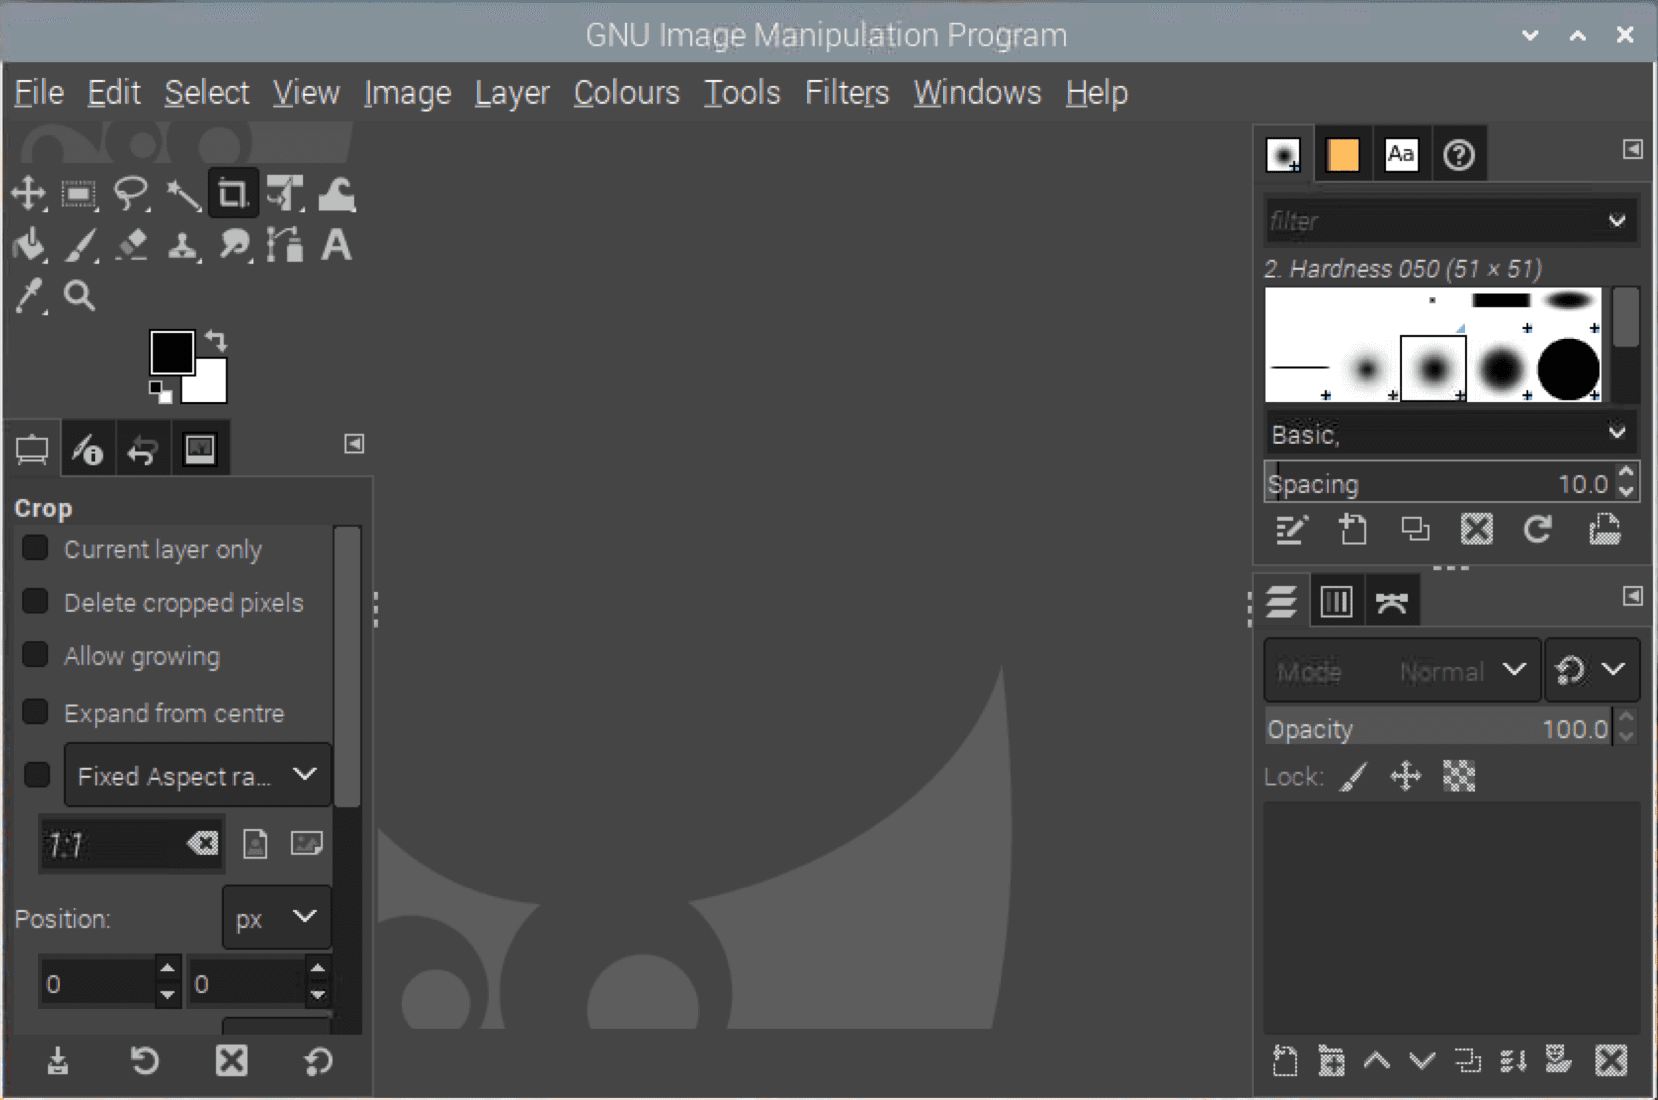
After launching GIMP on your system, you should see a window similar to the image below. In our case, we installed GIMP 2.10 as a Snap package. You will notice the GIMP interface is quite similar to any other image editing application such as Photoshop or CorelDRAW. We have the tools and settings on the right and other advanced options on the right. The image/ picture is always placed at the center.
It also supports two window display modes:
- Single window display mode
- Multiple-window display image.
The default view is the multi-window display mode with tools and settings on the left, the image at the center, and the advanced options on the far right.
Gimp
To get started, click on the File menu -> Open and select the image you want to edit. GIMP has a lot more to offer than you can imagine. Some of the fantastic features you will find include:
- A full suite of painting tools such as brushes, cloning, pencil, etc
- Makes use of tile-based memory management to limit image size
- Enables the use of layers allowing you to manipulate different sections of an image.
- It supports both ‘redo’ and ‘undo’ options.
- You can use various transformation tools such as rotate, scale, shear, and flip.
- GIMP supports several image formats, including GIF, JPEG, PNG, TIFF, PDF, BMP, etc.
- There are different selection tools that you can use, ranging from rectangle, ellipse, circle, fuzzy, bezier, etc.
Conclusion
This post has given you a step-by-step guide on installing GIMP on your Raspberry Pi. We have looked at two methods – Using the APT package manager and installing GIMP as a Snap package. I highly recommend using the APT package manager since it installs the latest GIMP version (3.2). Snap installs an earlier version (2.10). To get the utmost performance when editing your images, we highly recommend using a Raspberry Pi 4 board, which has much more resources than earlier Pi boards. What are your thoughts on GIMP compared to other commercial photo editing applications? Let us know in the comments below.