
Samba is a free and open-source implementation of the Server Message Block (SMB) and Common Internet File System (CIFS) protocols used for sharing files and printers between computers running Microsoft Windows, macOS, and Linux operating systems. Samba allows Linux systems to seamlessly integrate into Windows-based networks, enabling file and printer sharing, authentication, and other services.
DietPi supports several file servers, including ProFTPD, Samba, vsftpd, and NFS. This makes it an excellent choice for setting up a file server on a single-board computer, as it provides a range of options depending on your specific needs.
How to set up a SAMBA share on DietPi
What you will learn
- How to install and configure Samba on DietPi
- How to set up user accounts and share files over a network.
Step 1: Install Samba on DietPi
You can install Samba on your DietPi system in two ways.
- You can install the Samba from the DietPi repository.
- You can install Samba from the DietPi Software.
We will look at both two methods.
Method 1: Install Samba with apt command
Step 1: Update DietPi
Before starting, updating DietPi to the latest version is always recommended. To do this, log in to your DietPi device via SSH or connect it to a keyboard and monitor and run the following command:
sudo apt-get update && sudo apt-get upgrade
Step 2: Install Samba
To install Samba on DietPi, run the following command:
sudo apt-get install samba
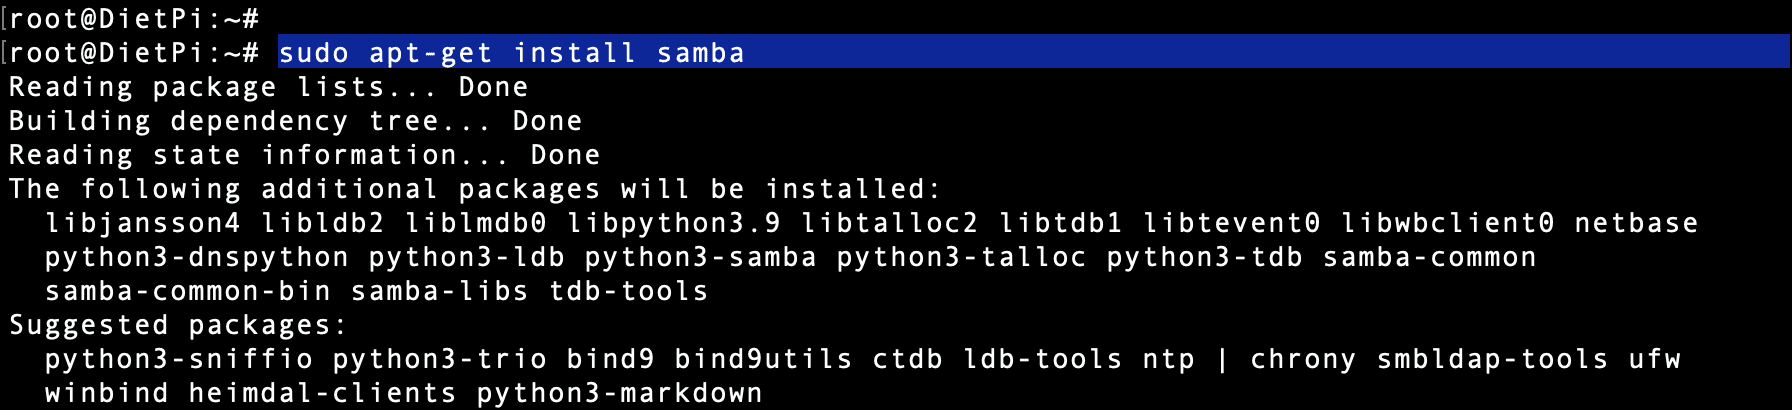
Install Samba with apt command
This will download and install the Samba package along with its dependencies. During the installation process, you’ll be asked to configure Samba. Select “No” when asked if you want to use the “WINS” server, and select “Yes” when asked if you’re going to use “Unix password sync.”
Method 2: Install Samba With DietPi-Software
Dietpi-Software is a built-in utility with the DietPi OS, enabling you to manage your apps. You can use it to install or uninstall packages on our DietPi system. Check out our comprehensive post – Installing and using Dietpi-Software to manage software packages.
Follow the steps below to install Samba with the Dietpi-Software utility.
Step 1. Launch Dietpi-Software
You can launch Dietpi-software from the command line by executing the command below.
dietpi-software
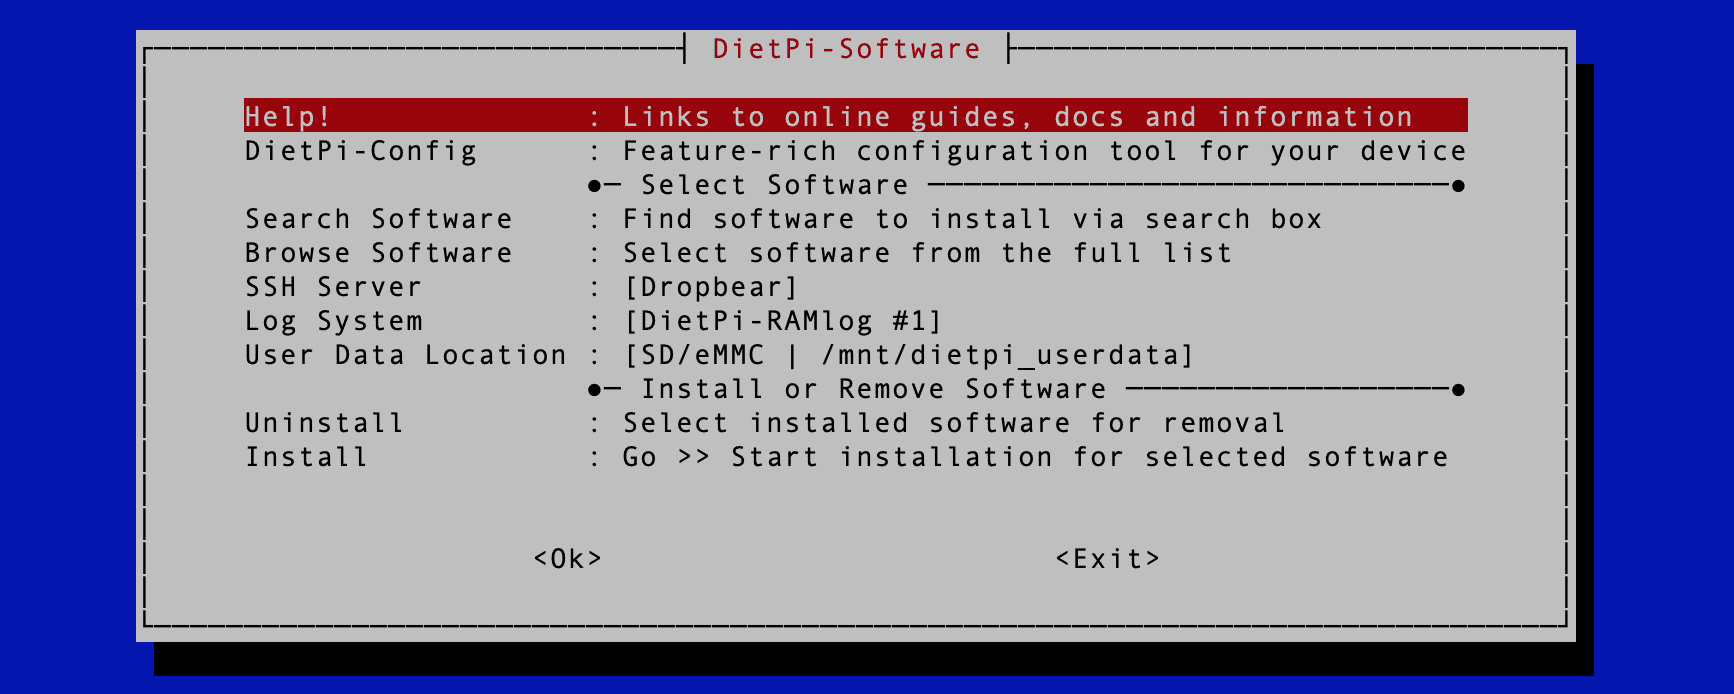
Dietpi Software
Step 2. Browse software to install
Use the Arrow keys to scroll down the Dietpi-Software window and select the “Browse Software” option. Hit “Enter.”
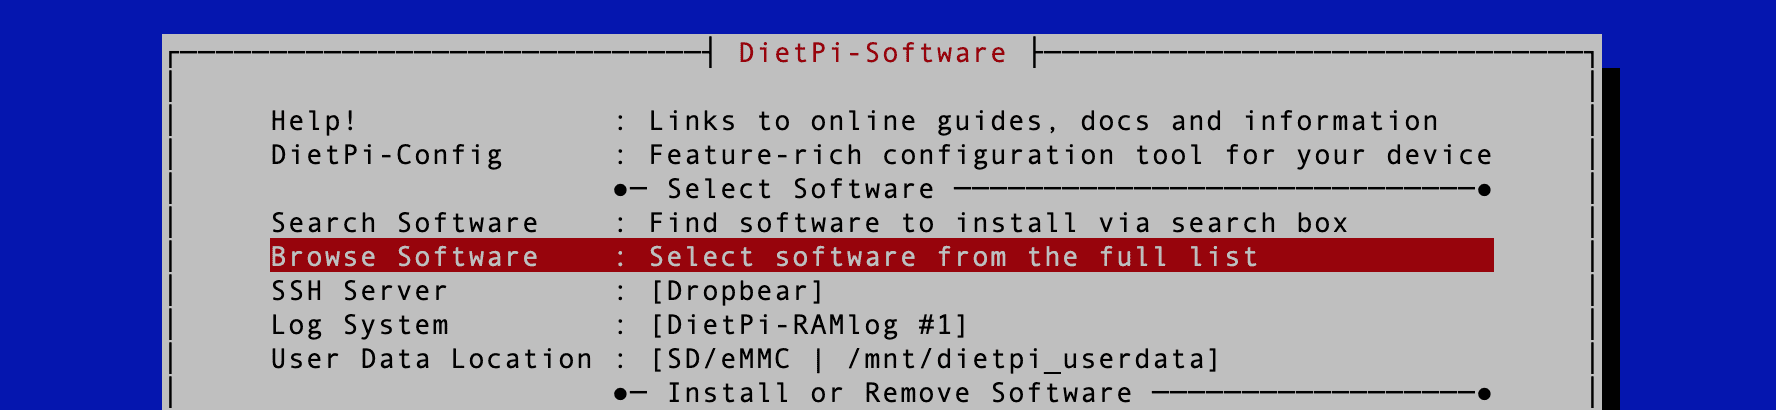
Dietpi Software option
Step 3. Select the software to install
You will see various packages available on the “Browse Software” screen. Next, scroll down to the “File Servers” section and select Samba using the “Space bar key.”

Select Samba
Use the “Tab key” to select the “Confirm” button at the bottom and hit “Enter.”
Step 4. Install Samba
After selecting Samba and clicking “Confirm,” scroll down the Dietpi-Software screen and select the “Install” option. Hite “Enter” to start installing Samba on your DietPi system.
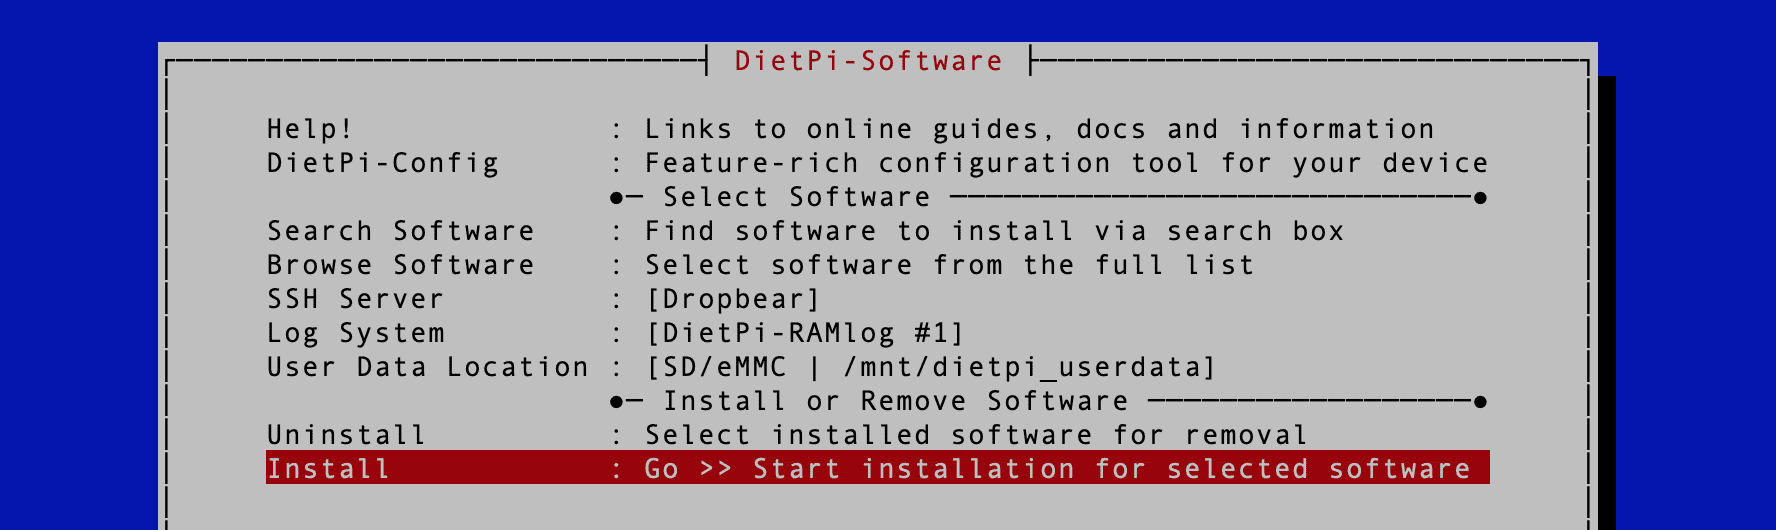
Install Samba
You will see a warning screen showing you all the packages that will be installed. In our case, it’s Samba. Use the “Tab key” to select “Ok” and hit “Enter” to start the installation process.

Software packages
After a successful install, close the Dietpi-Software window.
Use the command below to verify whether Samba was successfully installed in your system
whereis samba

Verify Samba installation
Step 2. Create user accounts on SAMBA
Follow the steps below to set up user accounts on SAMBA:
Step 1: Create a Linux User Account
Before you can create a SAMBA user account, you need to create a Linux user account for the user. To do this, run the following command:
sudo adduser <username>
Replace <username> with the username you want to create.
You will see a prompt to set up various details for that user. Just set the password and full names to keep things simple.
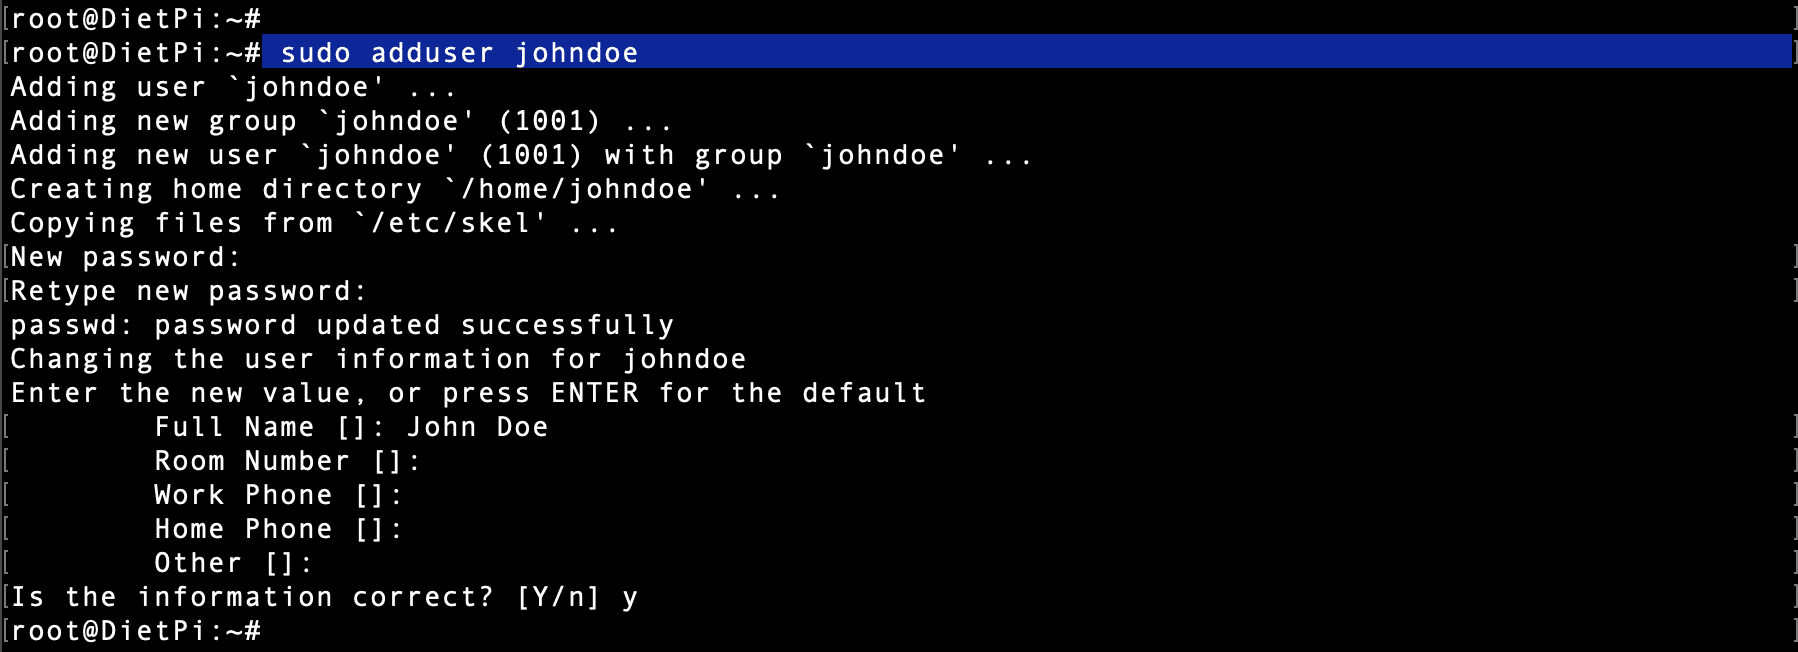
Create new user
For this post, we have created a user called John Doe.
Step 2: Create a SAMBA User Account
Once you’ve created a Linux user account, you can create a SAMBA user account for the user. To do this, run the following command:
sudo smbpasswd -a <username>
Replace <username> with the username you created in step 1.
sudo smbpasswd -a johndoe
You’ll be prompted to enter a password for the SAMBA user account. Enter a strong password and confirm it when prompted.

Create a new SAMBA account
Step 3. Configure Samba
Once Samba is installed, you must configure it to share files and folders. The configuration file for Samba is located at /etc/samba/smb.conf. You can edit this file using a text editor of your choice.
First, youmusto switch to the new user you created on the Terminal using the su - below command. In our case, we created a user called johndoe.
su - <new_user_name>
su - johndoe
By default, Samba is configured to share the /home directory. For this post, we will create a new folder in our home directory called SAMBA_SHARE, as shown below. That is the directory that we will share.
mkdir SAMBA_SHARE
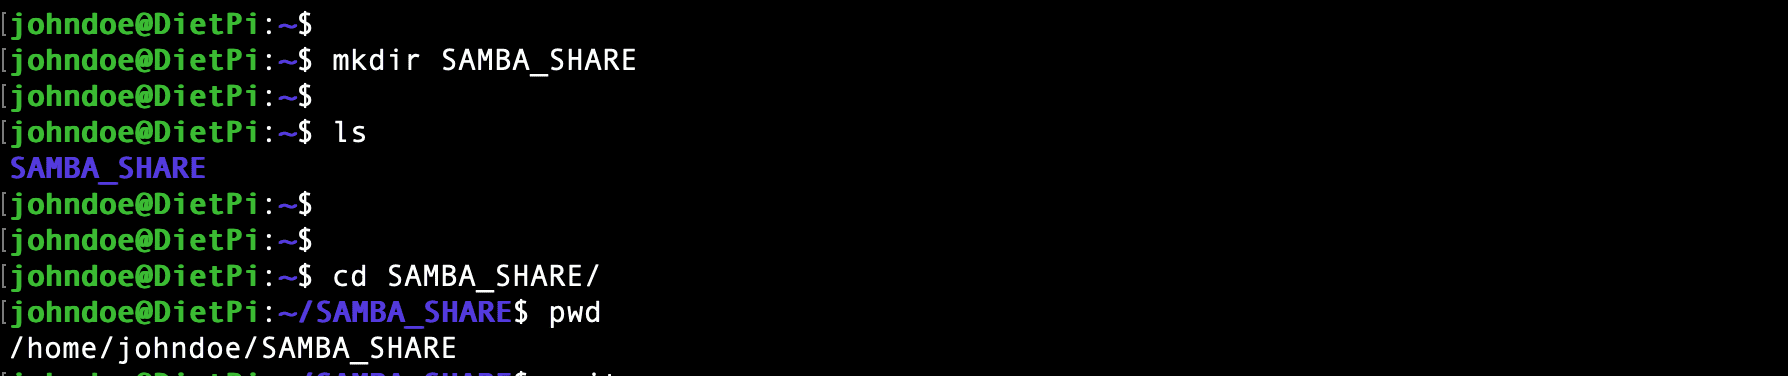
Create Directory
Next, you will need to edit the smb.conf file as shown below.
[<share_name>]
path = /path/to/share
valid users = johndoe
writable = yes
read only = no
guest ok = no
Replace <share_name> with the name you want to give to the share and /path/to/share the path to the directory you want to share. Setting read only to no will allow users to write to the share, and setting guest ok to yes will allow users to access the share without authentication.

Configure SAMBA Share
let’s look at each line in detail.
[SAMBA_SHARE]: This line creates a new Samba share named “SAMBA_SHARE”. The name can be anything you want, but it should be a unique name that isn’t already being used by another share.path = /root/SAMBA_SHARE/: This line specifies the path to the directory you want to share. In this case, it’s the directory at /root/SAMBA_SHARE/. You can change this path to the directory you want to share.valid users = johndoe:This line specifies the list of users allowed to access the share. In this case, only the user, johndoe, can access the share. You can specify multiple users by separating them with a comma, like this:valid users = johndoe, janedoe
writable = yes: This line specifies whether users can change files in the share. Setting writable to yes means that users can change files in the share. You can set writable to no if you want to restrict users to read-only access.read only = no: This line specifies whether users can write to the share. Setting read-only to no means that users can write to the share. If you want users to be able to read files but not make changes, you can set read-only to yes.guest ok = yes: This line specifies whether users must provide a username and password to access the share. Setting guest ok to yes means users can access the share without providing a username and password. If you want to restrict access to the share, you can set guest ok to no, and users will need to provide a valid username and password to access the share.
Step 3. Restart Samba
After making changes to the Samba configuration file, you’ll need to restart the Samba service for the changes to take effect. To do this, run the following command:
sudo systemctl restart smbd
You can verify whether the service is running by executing the command below.
sudo systemctl status smbd
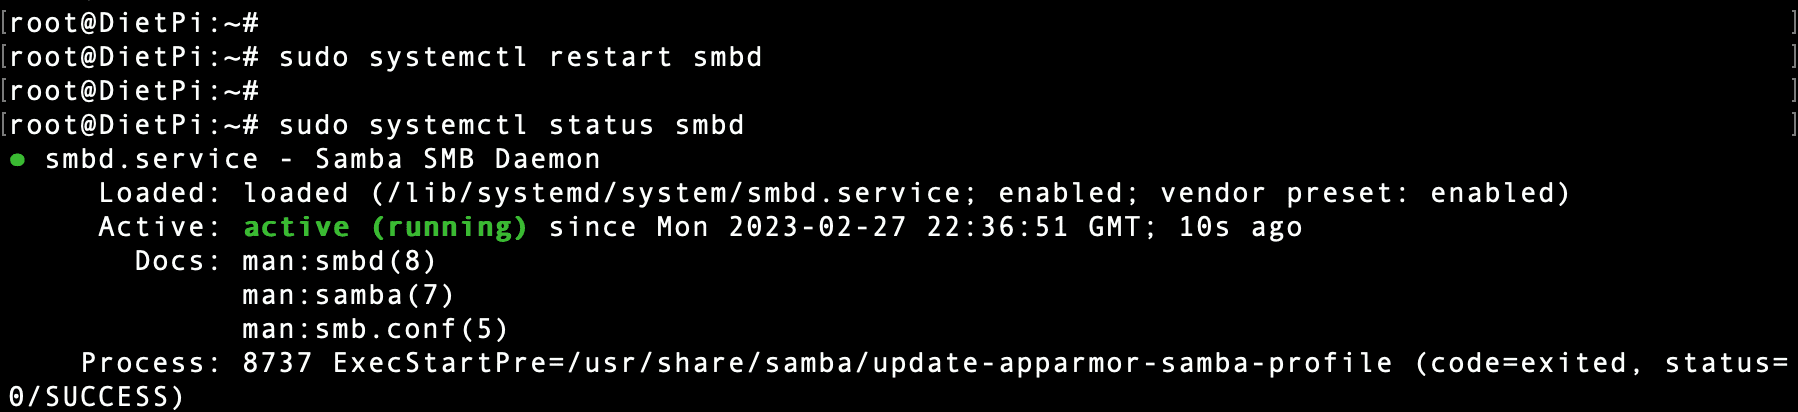
smbd service
Step 5. Test Samba
To test if Samba is working correctly, you can try accessing the shared folder from another device on your network.
Connecting to SMB shares with Ubuntu
Follow the steps below and learn how you can connect to SMB shares with Ubuntu:
Step 1: Open File Manager
Open the File Manager on your Ubuntu system by clicking on the Files icon in the Dock or pressing the Super key (also known as the Windows key) and typing “Files” in the search bar.
Step 2: Connect to the Server
Click on the “Other Locations” option in the sidebar, then click on “Connect to Server” at the bottom of the screen.
Step 3: Enter the Server Address
In the “Server Address” field, enter the address of the SMB share you want to connect to in the following format:
smb://<ip_address>/<share_name>
smb://192.168.1.4/SAMBA_SHARE
Replace <server_address> with the IP address or hostname of the server where the SMB share is located and <share_name> with the name of the share you want to connect to.
Step 4: Authenticate
If the SMB share requires authentication, you’ll be prompted to enter your username and password. Enter the username and password for an account with access to the SMB share.

Connect to SMB share with Ubuntu
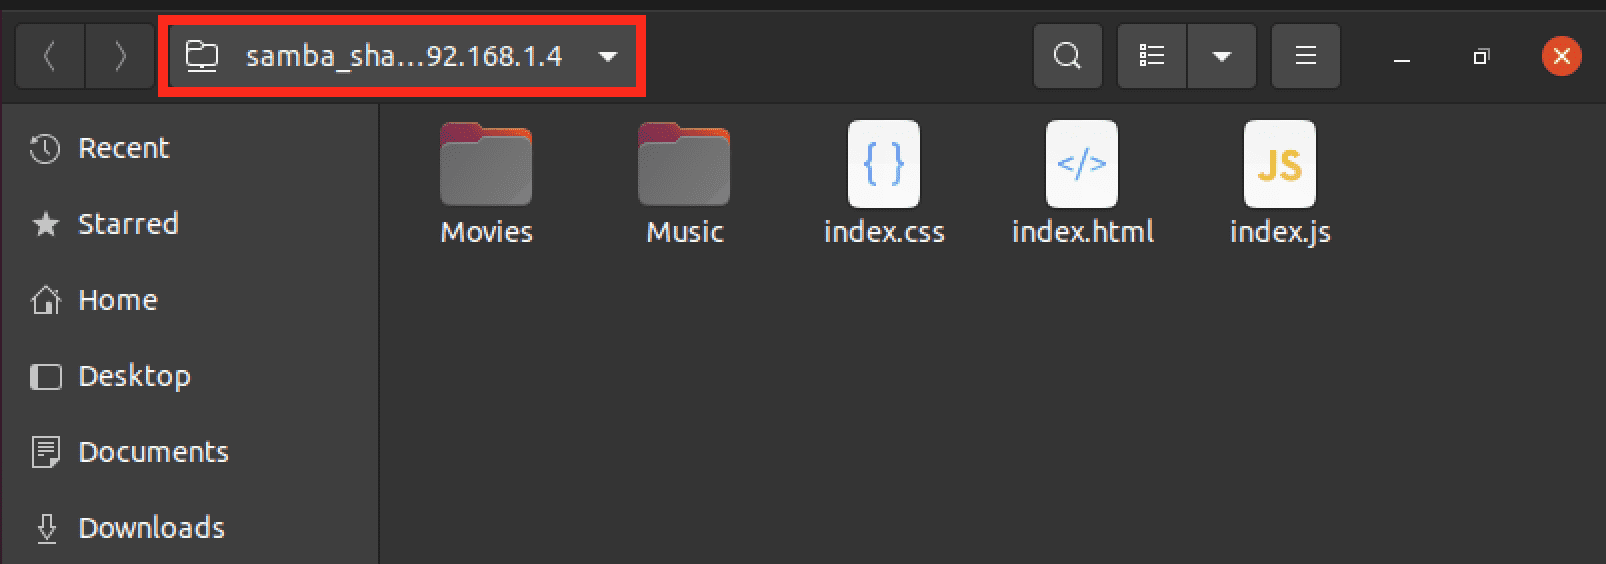
Step 5: Access the Share
After entering your credentials, the SMB share should appear in the File Manager as a mounted volume. You can access the files and folders in the share just like any other folder on your Ubuntu system.
Samba
Connecting to SMB shares with Windows
If you’re using a Windows machine, open File Explorer and enter the following in the address bar:
smb://<ip_address>/<share_name>
smb://192.168.1.4/SAMBA_SHARE
Replace <ip_address> with the IP address of your DietPi device and <share_name> with the name you gave to the shared folder in the Samba configuration file. You should be prompted for a username and password if you didn’t set guest ok to yes. Enter the username and password of a user on the DietPi device, and you should be able to access the shared folder.
Connecting to SMB shares with mac OS
Follow the steps below and learn how to connect to SMB shares with Mac OS:
Step 1: Open Finder
Open Finder on your Mac by clicking the Finder icon in the Dock or pressing Command + Space and typing “Finder” in the search bar.
Step 2: Connect to the Server
Click on the “Go” menu at the top of the screen and select “Connect to Server” or press Command + K.
Step 3: Enter the Server Address
In the “Server Address” field, enter the address of the SMB share you want to connect to in the following format:
smb://<ip_address>/<share_name>
smb://192.168.1.4/SAMBA_SHARE
Replace <server_address> with the IP address or hostname of the server where the SMB share is located and <share_name> with the name of the share you want to connect to.
Step 4: Authenticate
If the SMB share requires authentication, you’ll be prompted to enter your username and password. Enter the username and password for an account with access to the SMB share.
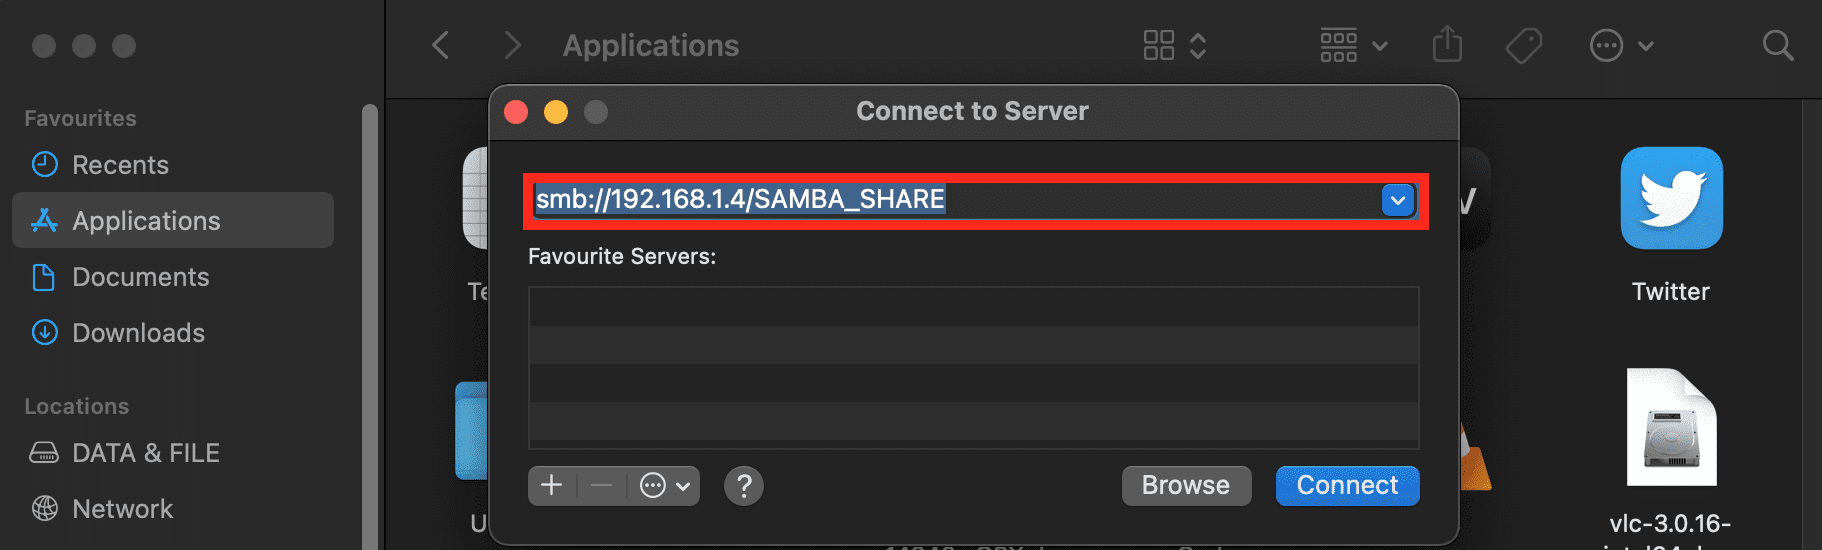
Connect SAMBA share on macOS
Step 5: Access the Share
After entering your credentials, the SMB share should appear in Finder as a mounted volume. You can access the files and folders in the share just like any other folder on your Mac.
Conclusion
Samba is an open-source implementation of SMB and CIFS protocols that allows for seamless integration between Windows-based networks and Linux systems. DietPi offers support for various file servers, including Samba, making it an ideal choice for setting up a file server on a single-board computer.
In this post, we have looked at two methods for installing Samba on DietPi and also covered how to create user accounts on Samba and configure it to share files and folders. With this guide, you should be able to set up and configure a file server on your DietPi system.