
Raspberry Pi boards come with an SD card storage device which you can use to boot your operating system of choice. Alternatively, you can install an external SD card on the Raspberry Pi’s hardware. However, the SD card you choose should be of a particular format and size to prevent irregularities in your Raspberry Pi board’s performance. Depending on the SD card’s type and state, you might need to format the SD card before using it or writing an image to it.
This article will highlight some of the SD card formats and how to format them in Raspberry Pi. There are different ways to format an SD card in Raspberry Pi, and these methods depend on the type of SD card and the operating system in your Raspberry Pi.
Raspberry Pi SD Card Formats and Sizes
The three major formats of SD cards currently available are FAT16, FAT32, and exFAT. FAT16 SD cards have capacities ranging from 128Mb to 2Gb. The FAT32 format is found in SD High Capacity (SDHC) cards and has capacities ranging from 4Gb to 32Gb. The other format is exFAT and is found in SD Extended Capacity (SDXC) cards. SDXC cards can hold data ranging from 64Gb to 1Tb and recently up to 2Tb.
The Raspberry Pi’s bootloader is designed to read data from FAT16 and FAT32 cards. Therefore, if you have an SD card with a capacity higher than 32Gb, you will have to format it to FAT32 before using it on your Raspberry Pi.
Depending on your storage size needs, you might find the 8Gb SD card installed in the Raspberry Pi insufficient. A card with 32 Gb or higher is ideal for constant users of the Raspberry Pi.
Before you format your SD card, here are some tips and guidelines to follow to prevent data loss and ensure the process is a success.
- Exercise patient and care: You should follow the instructions carefully. A slight mistake might lead to formatting the wrong disk and data loss.
- Ensure you have a reliable power source before you begin the process.
- Always back up your files in a separate drive, a disk, computer, or cloud.
- Errors do happen, and you should have the means to recover lost files.
Using Raspberry Pi Imager to format the SD card
You can use the Raspberry PI Imager to format the SD card by following these steps.
1: Install Raspberry Pi Imager
You can install Raspberry Pi Imager from the terminal using the following command.
$ sudo apt install rpi-imager
You can also download Raspberry Pi Imager from the official website’s installation files, move them to the SD card, and install them.
2: Once installed, run the Raspberry Pi Image application.
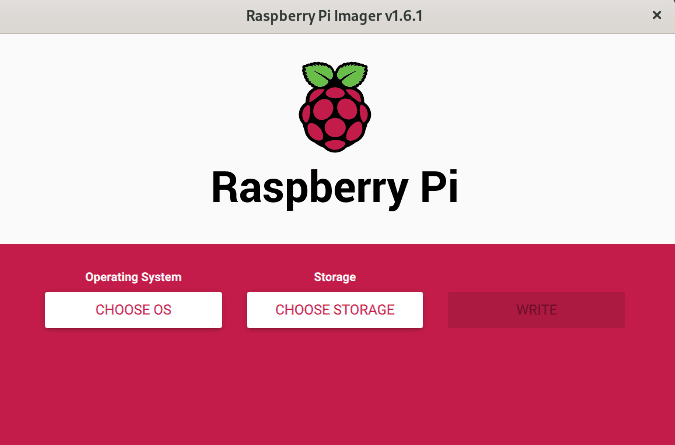
Raspberry PI Imager Choose OS
3: From the “choose OS option, select “Erase (Format card as FAT32)”.
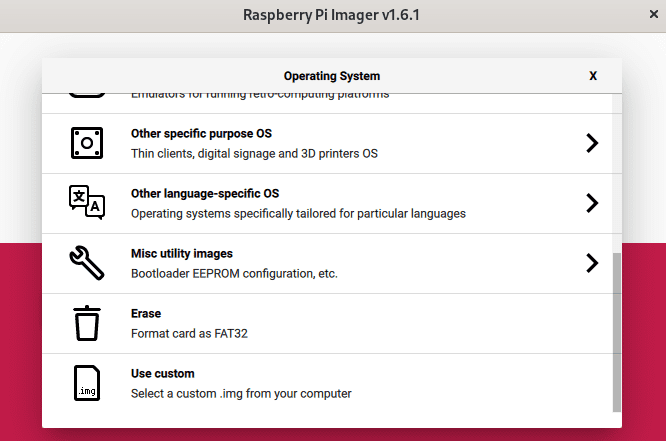
Raspberry Imager Erase
4: Next, click the “Choose SD Card” to select the SD card to format.
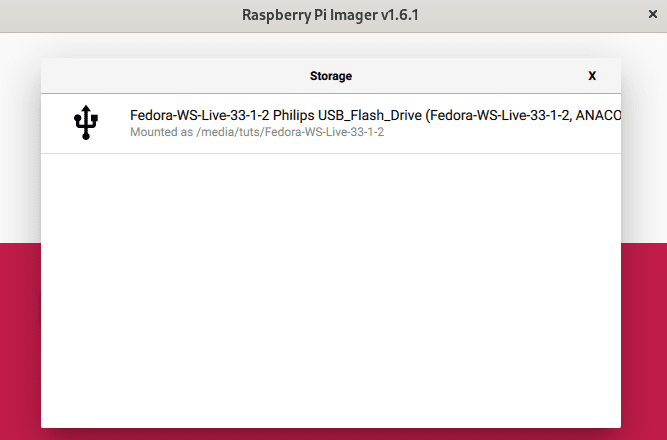
5: Click on “Write” to format the SD card.
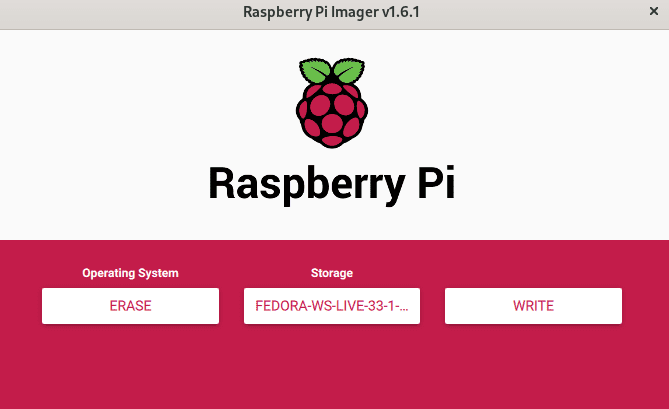
Raspberry Imager Write
6: Wait for the process to complete.
When the process completes successfully, you can use the SD card on your Raspberry Pi.
Using GParted to format SD card
To manually format an SD card from Linux based or Raspian operating system in Raspberry Pi, you will need to boot your Raspberry Pi from a separate SD card. Linux provides both graphical and command-line tools to format SD cards.
Follow the following steps to format your SD card using GParted.
Gparted is the graphical version of the parted utility, which is a command-line tool.
1: Install GParted
You can install GParted through the following terminal command. Note that different Linux distributions use other software package managers.
Raspian operating system.
$sudo apt-get update
$sudo apt-get upgrade
$sudo apt-get install gparted
Debian and Ubuntu operating systems
$ sudo apt update
$ sudo apt install parted
Fedora and CentOS operating systems
$ sudo dnf install parted
OR
$ sudo yum install parted
You can also download GParted from the official GParted website and install it graphically.
2: Open GParted.
$ sudo gparted
3: Select the SD card from the drop-down menu.
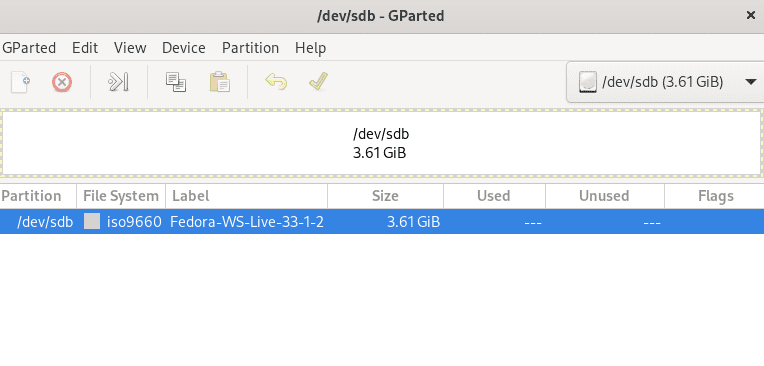
GParted select SD
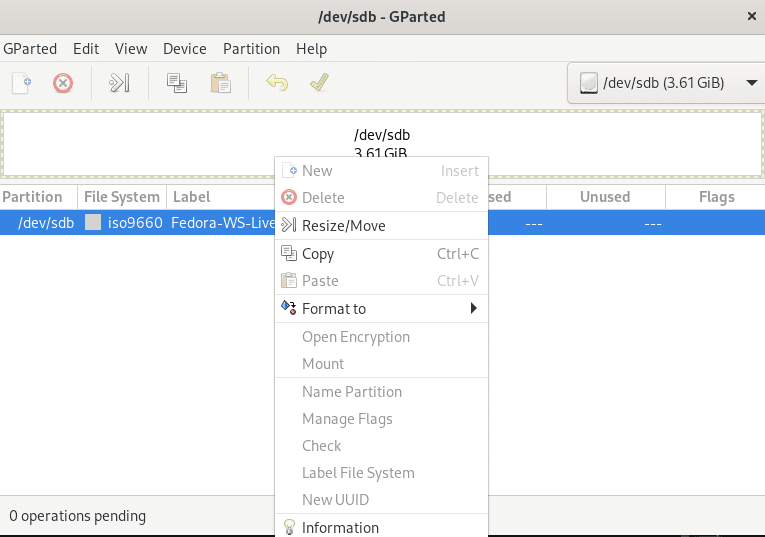
4: Select each partition in your SD card, click the ‘Delete’ button, then select ‘Apply.’
5: Click ‘New’ and select FAT32 as your file system, click the “Add” button, then select “Apply” and confirm.
GParted new SD
6: You can also right-click and go to “Format to,” then select FAT32 and apply the configurations.

GParted format to fat32
Your SD card will be formatted a FAT32 and read for use.
Using parted to format SD card in Raspberry Pi
Parted is a command-line utility to format SD cards or USB drives.
Follow the following steps to format your SD card using parted.
1: Install parted
Raspian Operating System
$ sudo apt-get update
$ sudo apt-get install parted
Fedora and CentOS
$ sudo dnf update
$ sudo dnf install parted
OR
$ sudo yum update
$ sudo yum install parted
Debian and Ubuntu
$ sudo apt update
$ sudo apt install parted
2: Identify SD card
Insert the SD card into your Raspberry Pi and identify the device using the lsblk or dmesg terminal command.
$ lsblk
Example output.
The lsblk command will output a list of all available devices in your Raspberry Pi.

lsblk sdb
NAME MAJ:MIN RM SIZE RO TYPE MOUNTPOINT
...
sdb 8:16 3.6G 0 disk
└─sdb1 8:17 1 1.9G 0 part /run/media/tuts
...
From the example above, the SD card is labeled/dev/sdb.
Note; The SD card name may vary depending on the operating system you are running.
$ dmesg
Example output.
...
[ +0.000232] sd 1:0:0:0: [sdb] 30218842 512-byte logical blocks: (15.5 GB/14.4 GiB)
...
3: Create a partition.
We are going to format the SD card into FAT32 to use with your Raspberry Pi.
Create the partition table in the SD card using the following command:
$ sudo parted /dev/sdb --script -- mklabel msdos
Create a FAT32 partition that takes the entire space of the SD card.
$ sudo parted /dev/sdb --script -- mkpart primary fat32 1MiB 100%
4: Format the SD card.
Use the following command to format the boot partition.
$ sudo mkfs.vfat -F32 /dev/sdb1
Example output
mkfs.fat 4.1 (2021-03-25)
5: Verify
You can verify that the process has been executed successfully using the following command.
$ sudo parted /dev/sdb --script print
You have successfully formatted your SD card using the parted utility.
Recap
The article has highlighted several ways of successfully formatting your SD card in Raspberry Pi. Depending on the operating system you are running on, you can use command-line utility tools or graphical tools. Remember, always exercise caution and care when formatting SD cards or USB devices. Remember to back up your files as mistakes can lead to data loss or corruption of your system.
1 comment
should be rpi-imager instead of rpm-imager.