
Since the first Raspberry Pi release, these small board computers (SBCs) only supported booting from SD card or Micro SD card until the Raspberry Pi 2 Model B release. That opened a whole new world of possibilities that you could do with the Raspberry. But, unfortunately, not many people are aware of this feature or even utilizing it. There could be two main reasons behind that:
- USB boot feature is not activated by default for Pi 3, and users need to do so by themselves. Some users also find the whole activation process complicated and time-consuming while it’s not.
- The other reason (which is more valid) is that the Raspberry Pi 2 and 3 only shipped with USB 2.0 support. That meant running your operating system from the USB would be much slower, and the performance would be disappointing compared to using the SD card.
The Raspberry Pi 4 release made the USB boot easier as all the above issues were fixed. In addition, USB boot is enabled by default, and the Pi 4 now comes with two (2) USB 3.0 ports that are way faster than most SD cards.
Why is the boot from USB feature quite interesting?
Now that you can boot your Raspberry Pi from a USB drive, you might be wondering, why go to that extent at all? Why is it an exciting feature?
The first reason is the USB 3.0 support, which is way faster than the SD card. If you are running a time-conscious project, like using the Pi to control a camera that snaps whenever motion is detected, a USB drive 3.0 would be much more reliable than the SD card. Another reason is that USB drives tend to be cheaper than micro SD cards of the same size. Additionally, newer Raspberry casings support the M.2 SSD adapter that connects to the USB 3.0 port. Therefore, you can connect even large drives and still get a good performance.
Lastly, device compatibility is better achieved with the USB drive compared to using an SD card. You might be faced with a situation where you need to create a bootable SD card for your Pi, but the PC doesn’t support SD cards, and you don’t have an SD card to USB adapter. In such cases, the USB boot feature would come in handy since you can easily create a bootable USB drive on the PC and use it to boot the Raspberry Pi.
Key points note with USB boot on Raspberry Pi
According to the Raspberry Pi foundation, here are a few things to note before getting started with UB boot.
- The USB boot will not work with Raspberry Pi 1 or Pi 2. For these two boards, you will need to use an SD card.
- There are USB drives that power up too slowly and would be easily detected by the Raspberry Pi. One of such drives is the Verbatim PinStripe 64GB.
- Some USB drives make use of a very specific protocol that isn’t supported by the Raspberry Pi, making them impossible to boot your Raspberry Pi. one of such drives is the Kingston Data Traveller 100 G3 32G.
Note: The USB boot mode is enabled in One-Time Programmable (OTP) memory. Therefore, once enabled, you can’t disable it again – it’s permanent. So, ironically, we will first need to boot from the SD card before enabling USB boot.
We can now dive and look at how to boot the Raspberry from a USB drive with that detailed information.
Step 1: Install the Official Raspberry Pi OS on the SD Card
First, we will boot the Pi from an SD card and enable the above-stated USB boot feature. To get started, flash the SD card with the official Raspberry Pi OS. We already did a master guide on this – How to install Raspbian on Raspberry Pi. Please check it out. You will need to download the official Raspberry Pi OS and use a tool like Balena Etcher to write on your SD card.
After installing the Raspberry Pi OS, launch the terminal and update the system by executing the command below.
sudo apt update
sudo apt upgrade
Note: If you use a Raspberry Pi 4, you don’t need to go through Step 2 since USB boot is enabled by default. Just ensure you are running the latest firmware by running the command below.
sudo rpi-eeprom-update
This command will check for any updates available. If present, execute the command below to update the firmware.
sudo rpi-eeprom-update -a
Step 2: Enable USB boot
We will add the USB boot feature in the config file and reboot the Raspberry Pi to set a bit in the OTP memory, enabling the Pi to boot from USB. We will need to reboot the PI for one time with the SD card inside. Execute the command below:
echo program_usb_boot_mode=1 | sudo tee -a /boot/config.txt

USB boot
This command will add the line program_usb_boot_mode=1 at the end of the /boot/config.txt file. First, reboot the PI to apply the changes. Then, you can use the command below:
sudo reboot now
After a successful reboot, launch the terminal and execute the command below to ensure that USB boot is enabled on your Raspberry Pi.
vcgencmd otp_dump | grep 17
The output should contain the value 3020000a. If that’s not the case for you, repeat the process or check whether your Pi has any hardware issues.
When done, you can shut down the Pi and remove the SD card.
Step 3: Flash the USB Drive
To get started with USB boot, you need to flash an operating system of your choice on your USB drive. For this tutorial, we will use Ubuntu Mate. We will not go through the installation process; however, please check out our detailed guide – How to install Ubuntu Mate on Raspberry Pi 4.
Download Ubuntu Mate and the Balena Etcher, which is the utility we will use to flash the OS on the USB drive. When done, launch Balena Etcher.
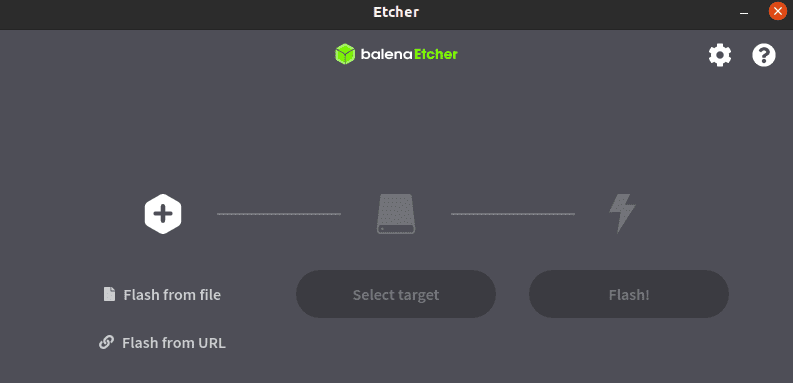
Balena Etcher
Click on “Flash from file” and select the OS you want to burn on the USB drive. Next, click “Select target” and choose your target USB drive. When done, click “Flash” to burn the OS on the USB drive.
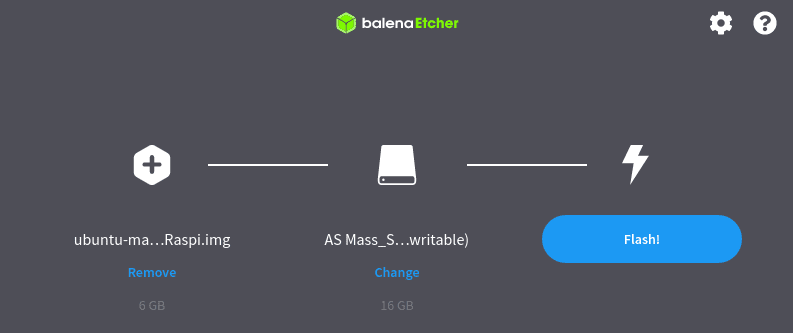
Balena Etcher
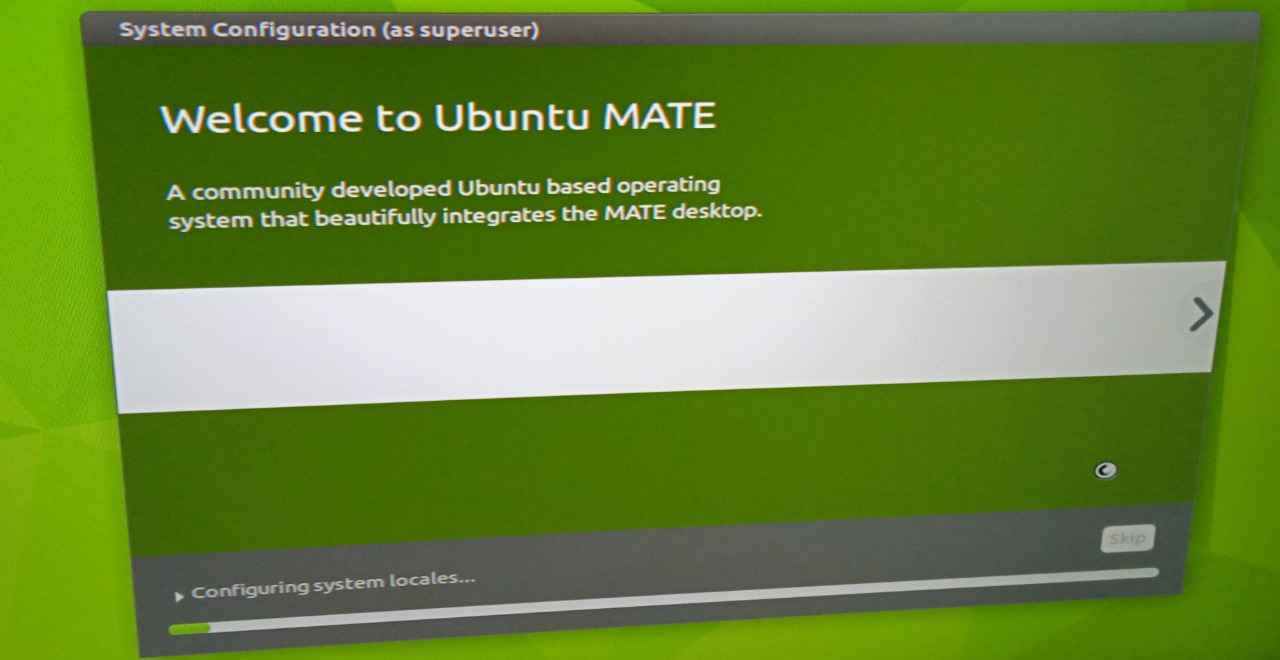
When the flashing process is complete, insert the USB drive into the Raspberry Pi and power it up. In our case, we should see the Ubuntu Mate welcome screen, as shown below.
Wrapping Up
This post has given you a detailed guide on booting your Raspberry Pi from a USB drive. However, it’s good to note that if you use an external USB drive that consumes too much power, it might have a huge performance issue on the Raspberry Pi. Therefore, if you are using mass storage drives, it’s highly recommended you use the ones with their power source or power them from a USB hub.