For many projects which you carry out on your Raspberry Pi board, there is a high probability chance that you use the official Raspberry Pi OS. We have a post that gives you a step-by-step guide on installing the official Raspberry Pi OS. This operating system is designed specifically for the Raspberry PI board and supports a wide range of programs. However, if you are looking for an OS for desktop computing, it might not be the best choice.
The Raspberry Pi OS is based on the Debian Linux distro. Since Debian is designed and developed for stability, updates are not regular. Therefore, if you are looking for an OS with the latest programs and features, I suggest you go for something else. Something like Ubuntu MATE.
Ubuntu is one of the most popular Linux distribution we have today. It is available in various Desktop Environments, including GNOME, KDE Plasma, Budgie, XFCE, etc.
Installing Ubuntu Mate on Raspberry Pi 4
We will install Ubuntu MATE on Raspberry Pi. Mate uses a lightweight Desktop Environment and even has a version design specifically to run ARM architecture. Let’s dive in and take you through the whole process of installing Ubuntu MATE on the Raspberry Pi 4 board.
What you will need:
- A Raspberry Pi 4 board
- A Micro SD card with at least 8GB size.
- A reliable power supply
- A PC with MicroSD card slot/ A sd card-USB adapter
- A USB keyboard
- A monitor/TV Screen with HDMI support
- A Micro HDMI cable. You can also use a micro HDMI – HDMI converter
Download Ubuntu MATE for Raspberry Pi
Click this link to open the Ubuntu MATE download page – Download Ubuntu MATE. Scroll down and select your Hardware architecture. In our case, it Raspberry PI. Select either the 32bit or 64bit version, depending on your board. Now, select the latest version available. Preferably the LTS release. As of writing this post, the latest LTS release is Ubuntu 20.04 (Focal Fossa).
Burn the Ubuntu MATE image on the Micro SD card
Once the download completes, we can now proceed to burn the image on our SD card. For this process, we will use a tool called Balena Etcher. Use this link below to download Etcher. Download Balena Etcher. Now insert the micro SD card into the PC sd card slot and run Balena Etcher.
You will see there are buttons on the Balena Etcher window:
- Flash from file: Here, select the Ubuntu MATE image you just downloaded.
- Select Target: Here, select your target SD card to burn the image
- Flash: Start burning the image on your SD card.
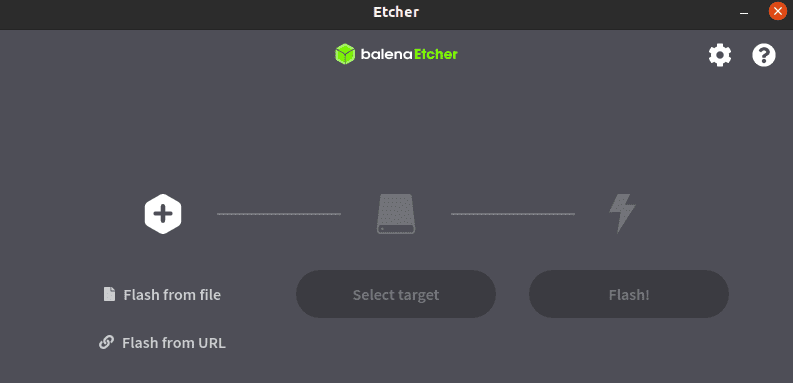
Balena Etcher
Once you have successfully flashed the Ubuntu MATE image to the SD card, we can now boot our Raspberry. Remove the SD card from the PC and insert it in our Raspberry Pi.
Boot your Desktop
Connect your Raspberry Pi to a Power source and boot it up. Ensure you have connected the HDMI cable to your monitor/screen for display. You will see the Ubuntu MATE boot process before finally launching the Welcome Screen. Here, select the language you wish to use for the installation process. Click Continue when done.

Welcome Screen
On the next screen, you will need to set your desired keyboard layout. Once done, click Continue.
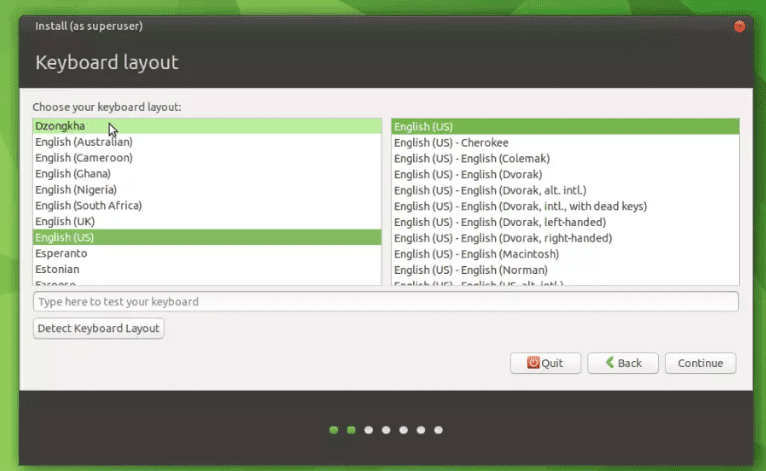
Select Keyboard layout
On the next screen, select your Time zine from the world map. Please note: Unlike other PCs, the Raspberry Pi doesn’t have a battery-powered hardware clock. Therefore, for accurate settings, the Pi fetches data from the internet.

Select Time Zone
On the next screen, you will have an option to connect to the network. If you have an active WiFi connection, it will be listed below. Once done, hit Continue to proceed to set up your username and password.
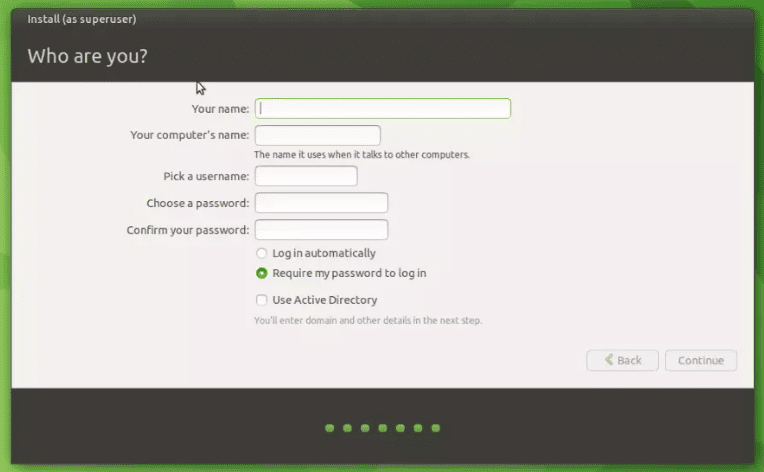
Setup Username and password
From this point, the system will install and apply all the set configurations. After a few minutes, you will see the login screen. Enter your password and Voila! Welcome to the Ubuntu MATE Desktop.
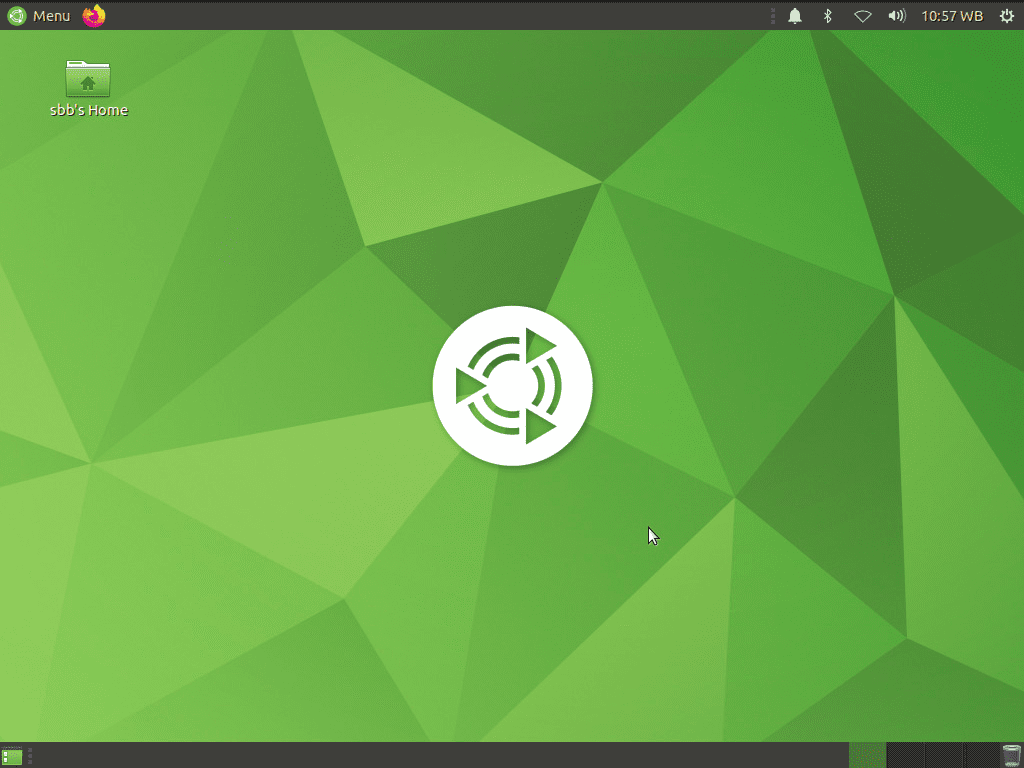
Ubuntu MATE Desktop
Ubuntu MATE is a stable, fast, and easy-to-use Linux distribution. That makes it the most suitable Desktop Operating system for your Raspberry Pi. Since that is our first installation, we need to update our packages. We can do this via the Software Updater or the Terminal. I prefer the command line way since it’s fast. Launch the Terminal and execute the command below:
sudo apt update
sudo apt upgrade
You can also install additional software if you wish from the Software Boutique.
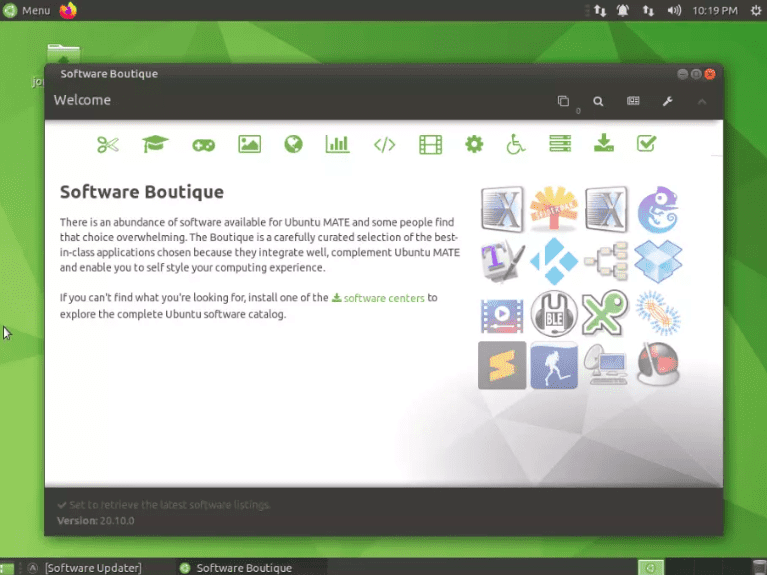
Software Boutique
Conclusion
That’s it! I believe you have successfully installed Ubuntu MATE on your Raspberry Pi. If you are a developer, please check out our post on how to get started with Github on your Pi.