
In today’s tutorial, we shall show you how to setup Raspbian OS on your Raspberry Pi.
Installing Raspbian on Raspberry Pi
You can install Raspbian on your Raspberry Pi using two methods, first, by writing an IMG file, and second, by using NOOBS. Before heading to the project, let’s see what and all you need.
Prerequisites
- Raspberry Pi
- MicroSD card (minimum 16GB recommended)
- Raspberry Pi Power adapter
- Display monitor
- HDMI cable for connecting your Raspberry Pi with the Monitor
- Keyboard and Mouse
- A Linux/Windows/macOS PC with internet connection for creating the Raspbian SD card
Method 1: Using Raspbian IMG file
Step 1) Download Etcher on your computer. Etcher is a utility to write the bootable IMG to a memory card. It is simple to use and also verifies the written data.
Step 2) Download Raspbian IMG file. Raspbian comes in three versions, including a Full Version, Raspbian Buster with desktop, and the Lite version. All three versions offer the same Raspbian Operating System, but the included software is different. We recommend downloading the full version, which comes in handy for quickly doing further projects on the Raspbian.
If you are interested in the other two versions, you can grab them from the official website.
Step 3) Insert the SD card to your PC. Make sure it is mounted.
Step 4) Launch Etcher. It should recognize the microSD card straight away. Click on Select image and select the Raspbian image that you have downloaded earlier. The image comes in the Zip format. There is no need to unzip the image as Etcher will take care of that.
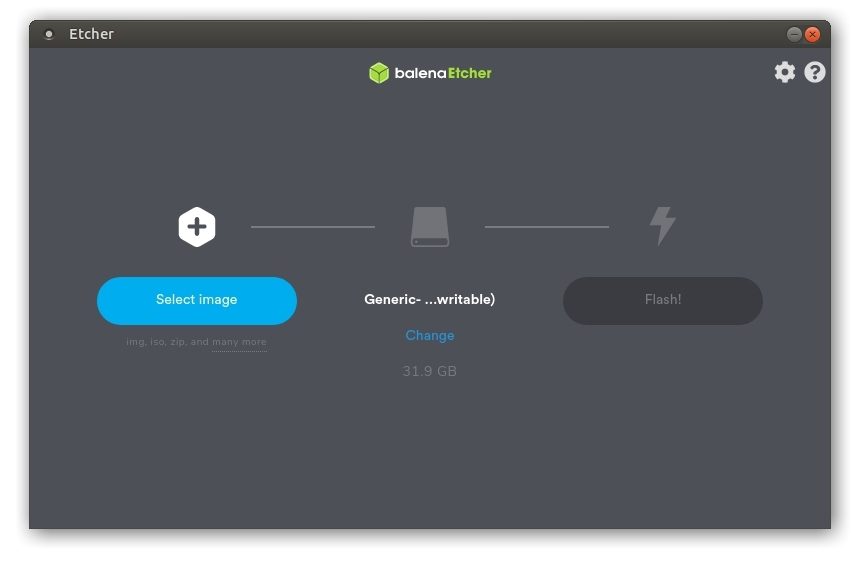
Etcher User Interface
Step 5) Note that the microSD card will be a formatted entity; hence you may want to back up any data in it. When ready, click “Flash!“.
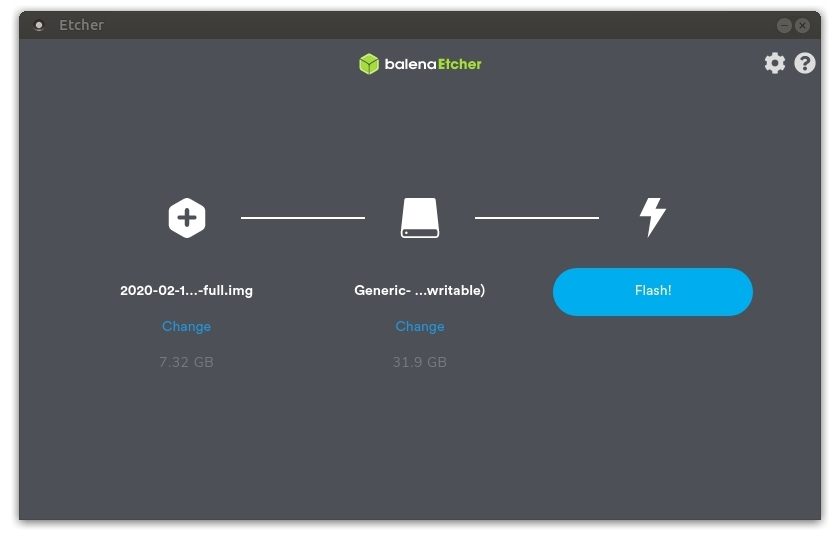
Etcher – Flash
Step 6) Etcher will begin writing the Raspbian on your microSD card. After the process is complete, it will also validate the microSD card data for any writing errors. If there are no errors reported by Etcher, it will display Flash Complete and automatically soft eject the SD card.
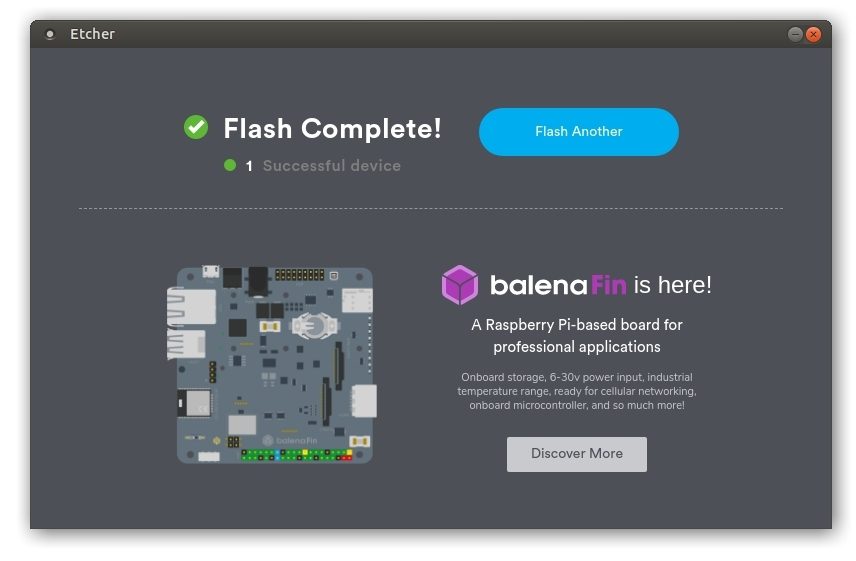
Etcher Flash Complete
Step 7) You may now remove the SD card from your computer and insert it into your Raspberry Pi.
Step 8) Power ON the Raspberry Pi, making sure all the connections are fine, especially HDMI cable.
That’s it! Your Raspberry Pi will boot straight into the Raspbian OS. We will show the initial setup in the next section of this article.
Raspbian on Pi 4
Method 2: Using NOOBS
Another popular way of installing Raspbian OS is by using New Out Of Box Software (NOOBS). It is a simple operating system installation manager for the Raspberry Pi. The advantage of this method lies in the fact that you can also install other Raspberry Pi images if needed. Hence, this method is not efficient if you are only interested in installing Raspbian and nothing else.
NOOBS comes preloaded with a bunch of other operating systems, including Raspbian, LibreELEC, OSMC, Recalbox, Lakka
RISC OS, Screenly OSE, Windows 10 IoT Core, and TLXOS.
Let’s get started.
Step 1) Download the NOOBS zip file using the link below:
Step 2) Format the microSD card to FAT format. Since this is operating system related, I will leave this up to you on how you want to do it. I’m a Linux user, and I used the GParted app.
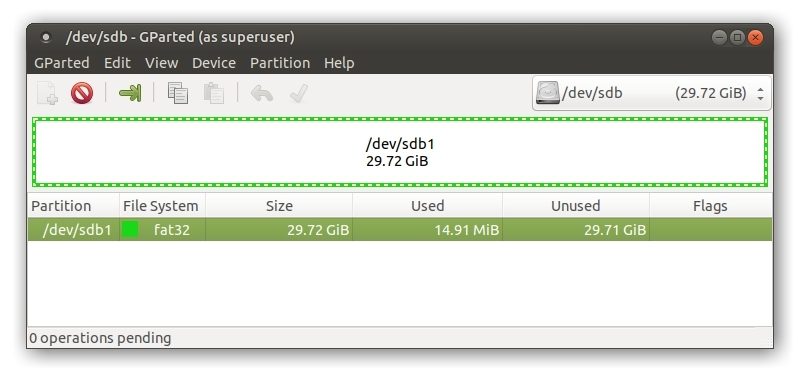
Format the SD card to FAT32
Step 2) Extract the NOOBS zip file content and copy them to the micro SD card on your computer so that the files are at the root directory of the SD card, as shown below:
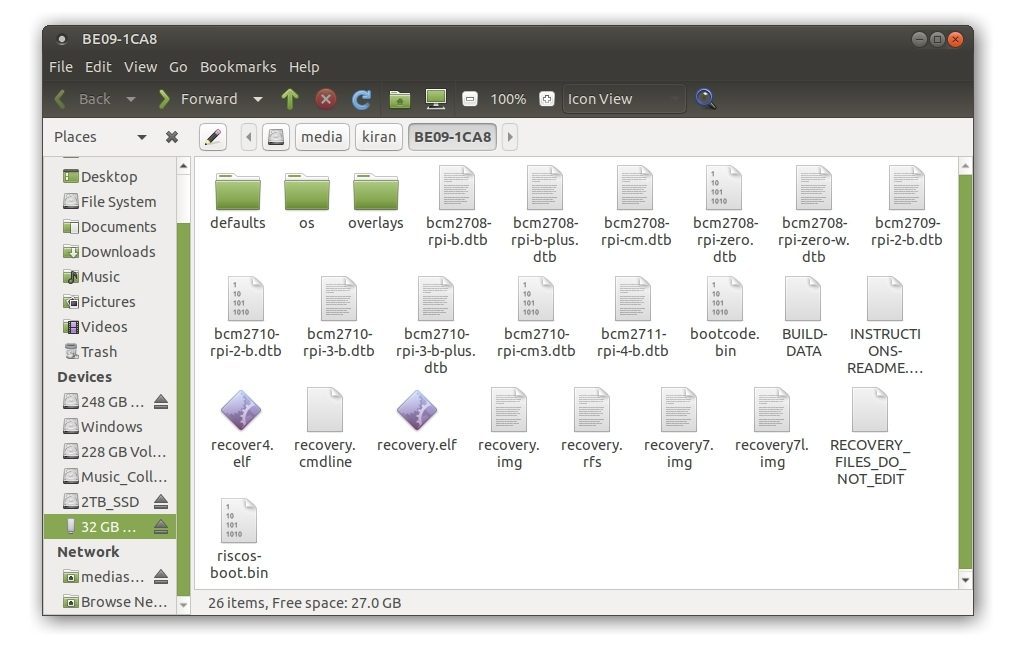
NOOBS microSD card content
Step 3) Eject the SD card from your computer and insert it into your Raspberry Pi.
Step 4) Power ON your Pi. On first boot, the RECOVERY FAT partition will be automatically resized to a minimum, and a list of OSes will be displayed.

Resize FAT partition
Step 5) Check the box Raspbian Full (Recommended), select your language on the bottom list menu, and then click Install.
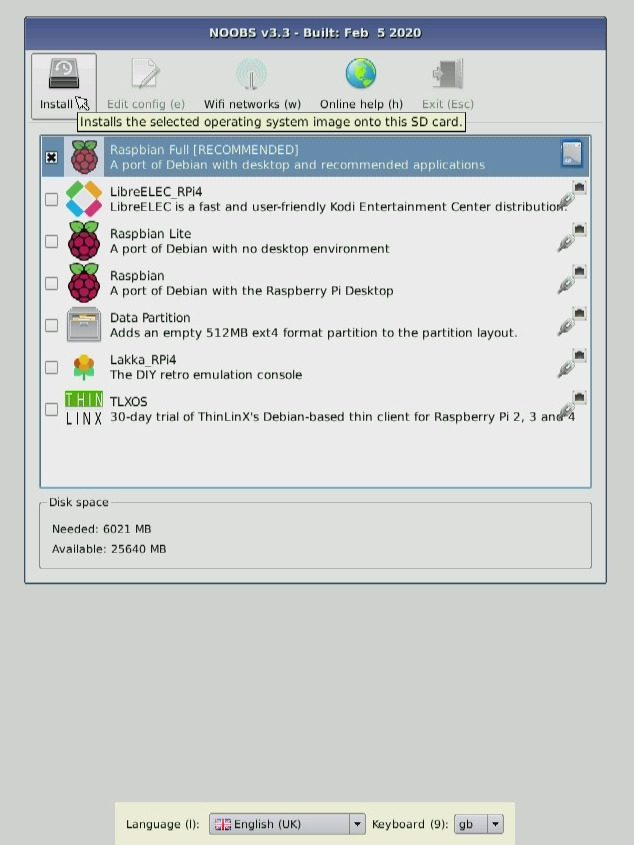
Raspbian Installation from NOOBS
Step 6) You should see a warning that says all the existing data on the microSD card will be formatted, including other OSes. Click Yes.
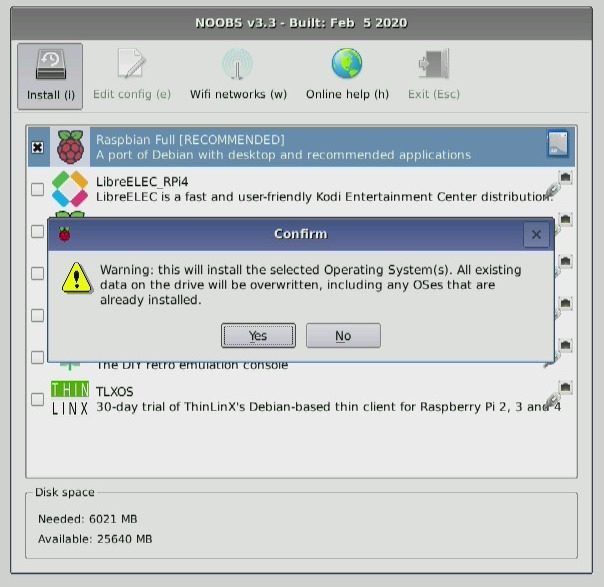
Warning
Step 7) NOOBS will now start writing the Raspbian image into the microSD card. Don’t do anything until it says OS(es) installed Successfully. Click OK. I
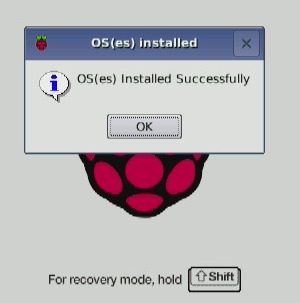
Writing OS completed
Step 8) Your Raspberry Pi will reboot automatically, and in a few seconds, you should see the Raspbian screen!
Raspbian on Pi 4
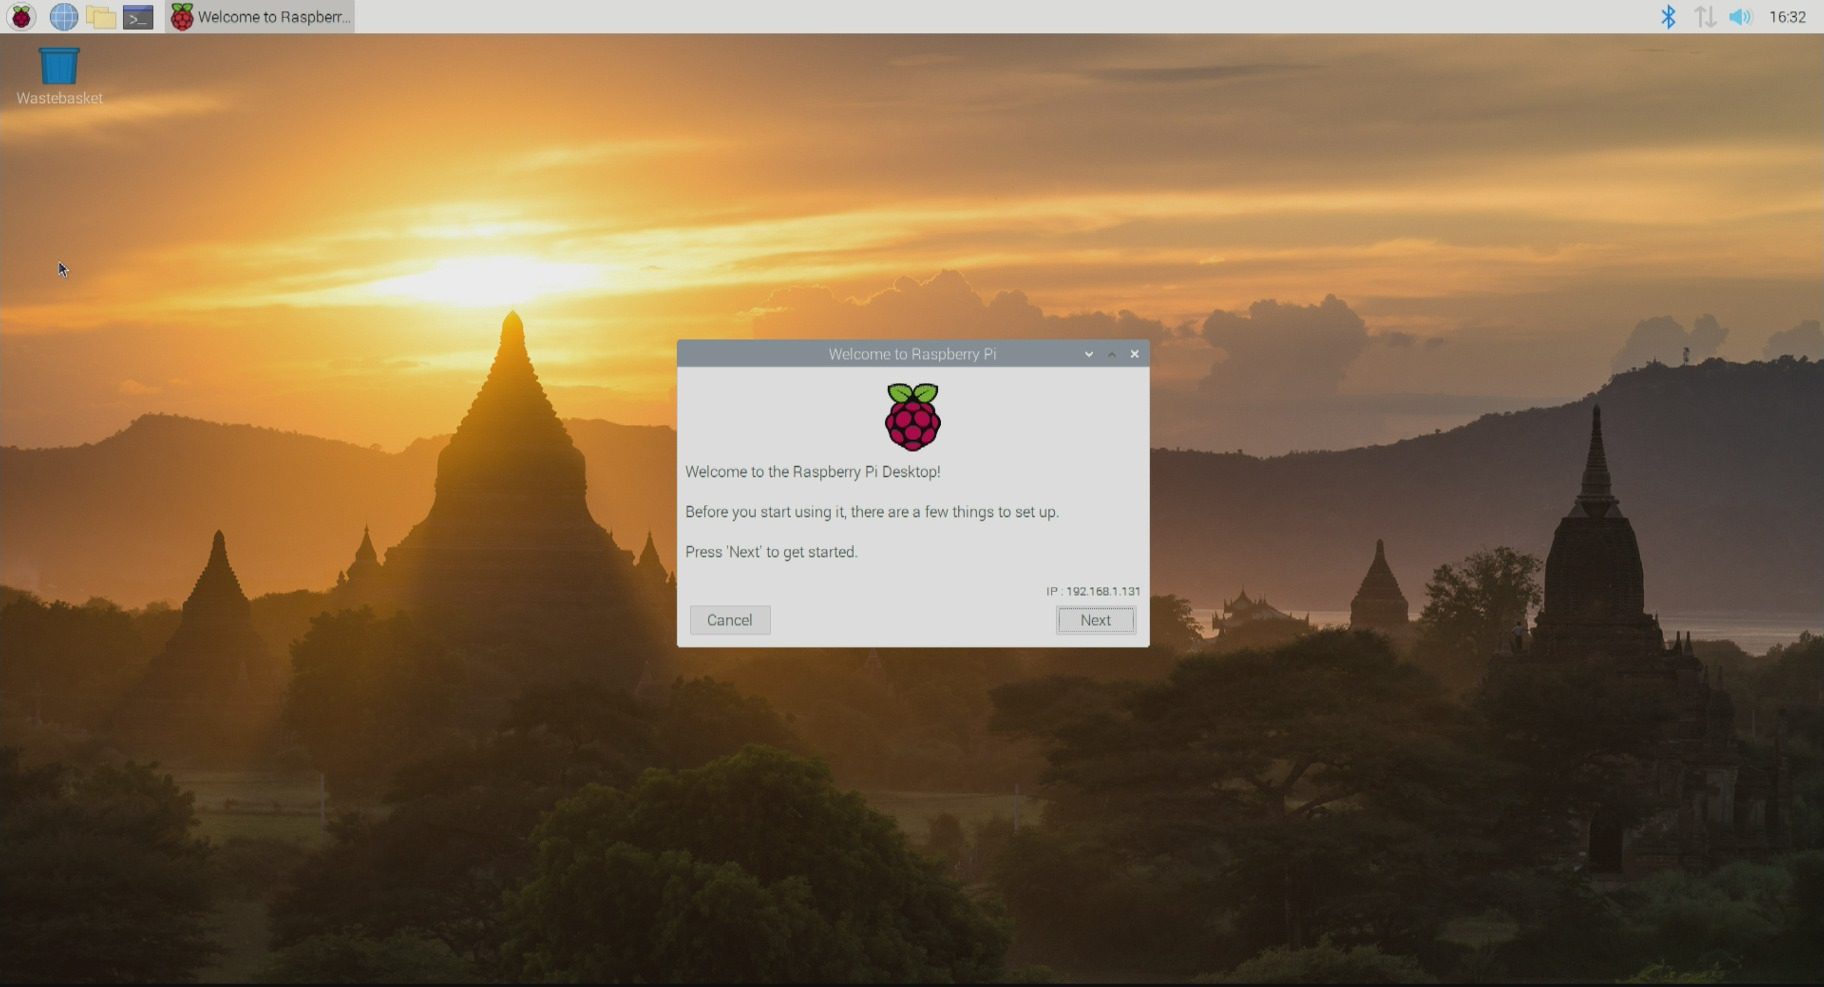
Post Installation Steps
Now that you were able to install Raspbian and boot into it successfully, I will walk you through a few initial steps that should completely wrap up this tutorial. While in the welcome screen, click Next, and you should be able to set your location, language, and timezone. Click Next when you are done.
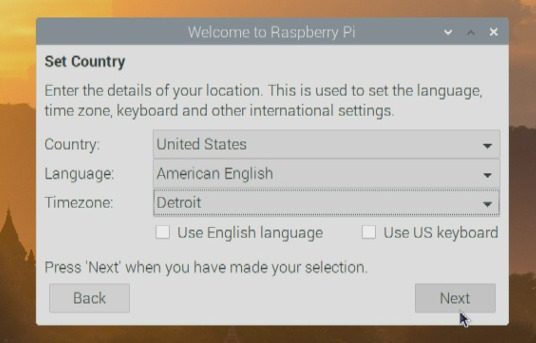
Set Location
In the following screen, you need to change the pi account password from the default raspberry for security reasons.
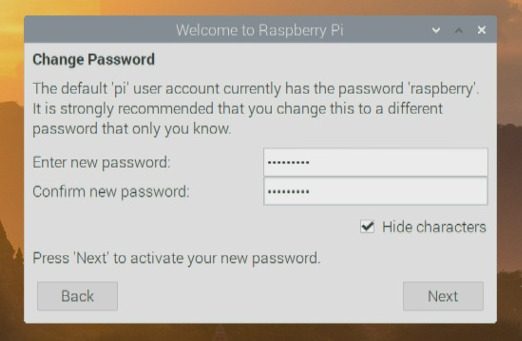
Set Password
If you were noticing a black border around the screen as in my case, you need to check the box “This screen shows a black border around the desktop” and then click Next. Raspbian will automatically adjust the screen resolution during the next boot, and the black border should vanish.
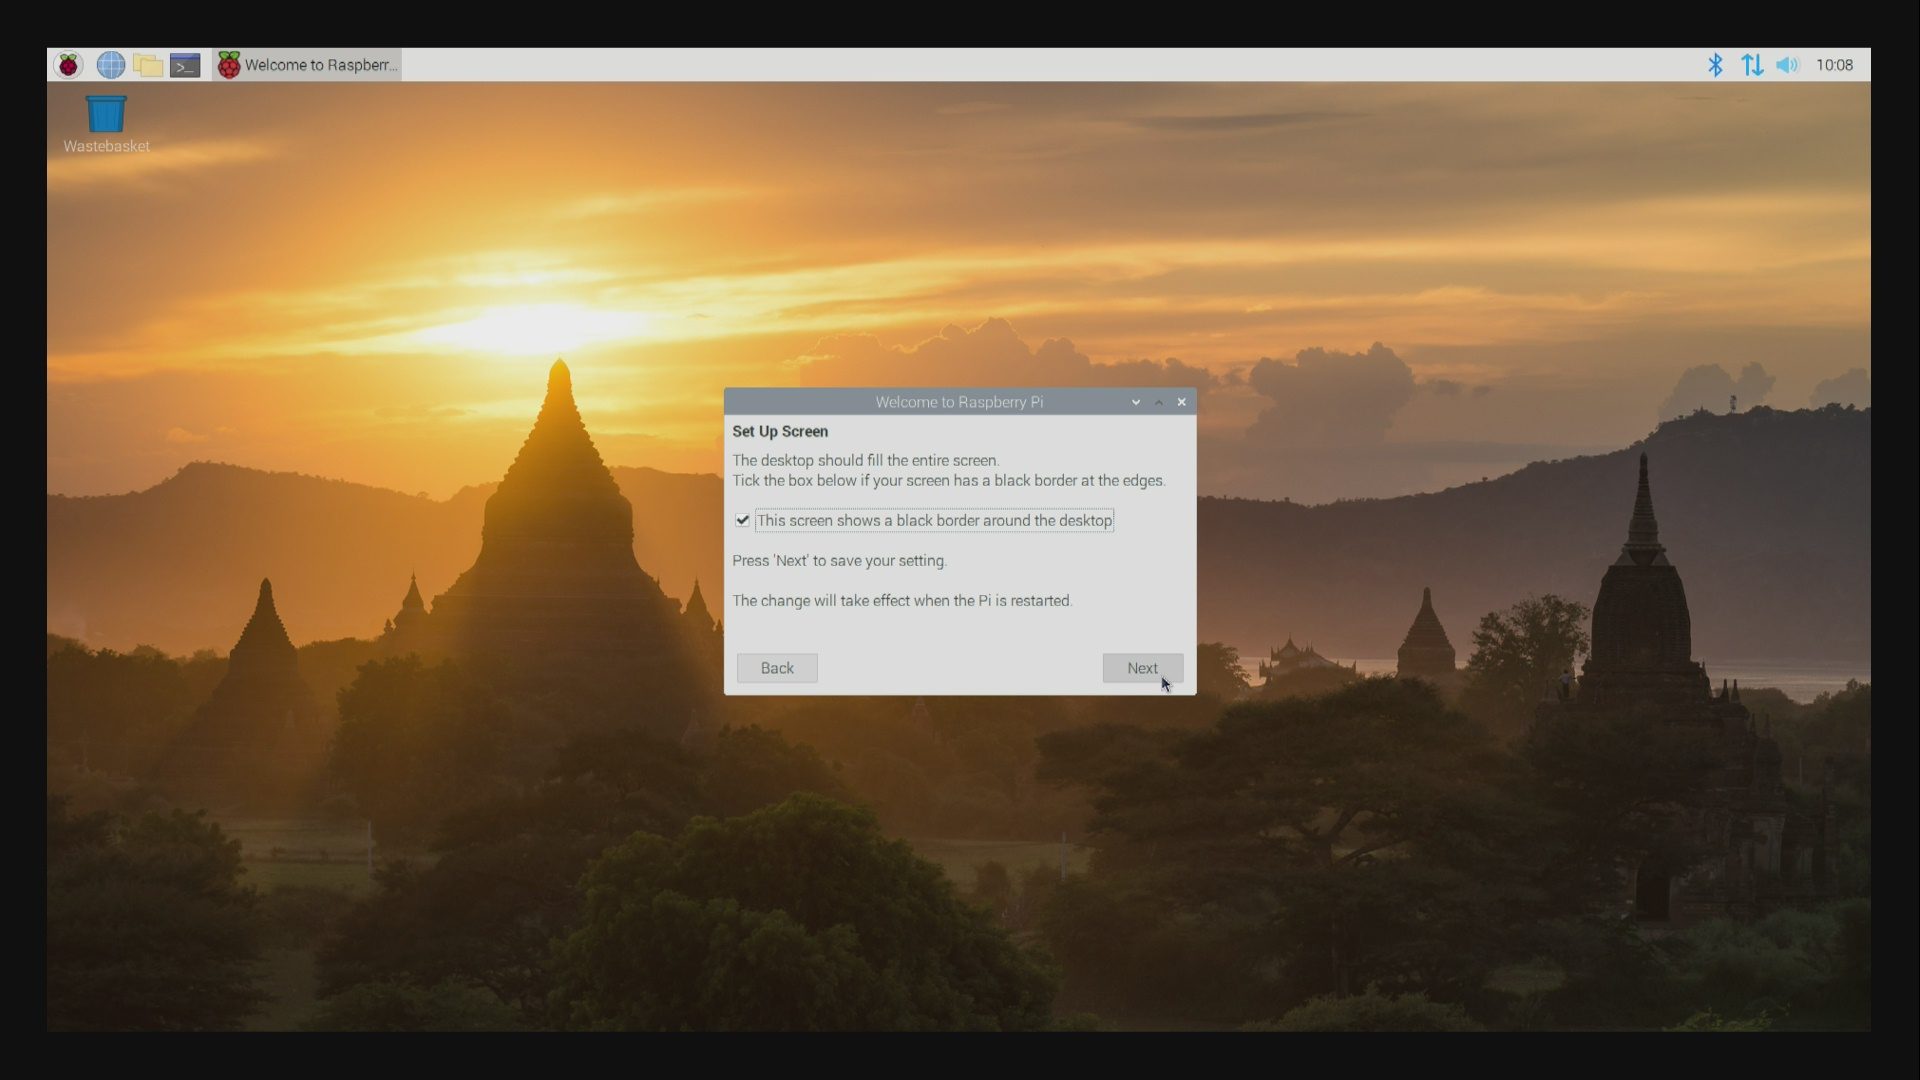
Screen Setup
Select the WiFi Network optionally or click Skip if you are on Ethernet.
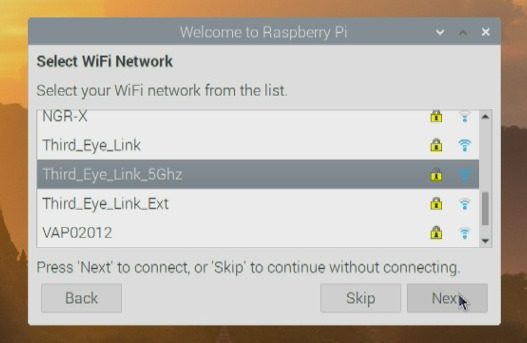
WiFi Setting
If you got time, you an click Next to download and apply the updates now. Or you can click Skip for now and do it later.
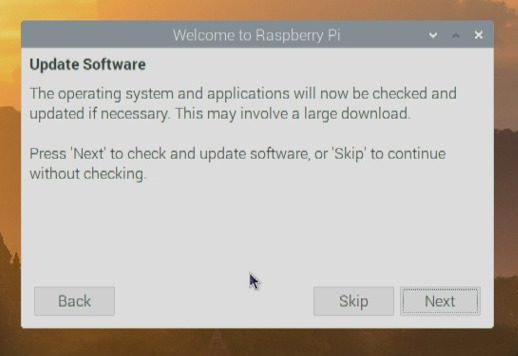
Update Software
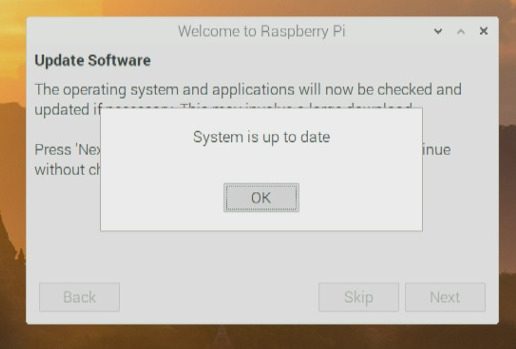
System Up-to-date
That’s it! Click Restart to let your Raspberry Pi reboot or do it using the Later button.
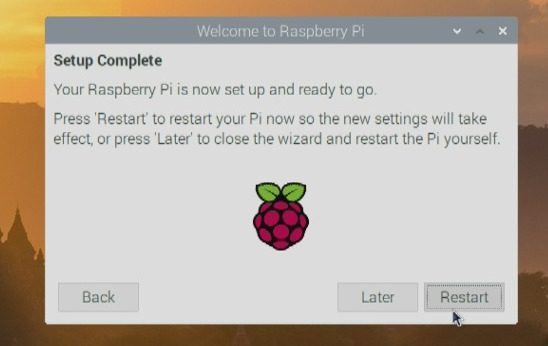
Setup Complete
Conclusion
That’s all about how to install Raspbian on your Raspberry Pi. Both the methods described here yield the same Raspbian installation. Apart from that, the full Raspbian version comes with plenty of pre-installed software from categories including Education, Programming, and System Tools.