
A Raspberry Pi is a small but incredible car-sized device that may be rendered useless without an operating system. Many people find it hard to install an operating system into a Raspberry Pi. Worry no more because this article brings you the ultimate solution to install NOOBS on your Raspberry Pi 4. What is NOOBS? This is an abbreviation of the New Out of Box Software, commonly known as the perfect choice for Pi newbies.
In other terms, NOOBS can be referred to as being an operating system manager for the Raspberry Pi. It is easy to use. That is why it is recommended for Pi newbies. NOOBS allows the user to choose the preferred operating system while doing the installation. How are NOOBS loaded? Worry less since this article has a complete guide on the installation of NOOBS on Raspberry Pi 4. You will need a Raspberry Pi 4, a MicroSD card, and a computer in this tutorial. Let us dive deep into the installation.
Requirements
Besides the Raspberry Pi 4, other vital peripherals needed are:
- A computer that has an SD card slot
- SD card with 8GB and above storage
If you have the peripherals mentioned above, let us now get onto the installation process.
Installing noobs on Raspberry Pi 4
Step 1: Downloading Required Files
Before we begin the installation, there are crucial files that should be downloaded. Use the links below to download the required files before beginning.
Download the Raspberry Pi Desktop from here
Download the SD Memory Card formatter from here
The Raspberry Pi desktop contains the famous Raspbian operating system plus other operating systems covered later on in the article. After the download process is complete, we are now good to go to the next step.
Step 2: Formatting the SD Card
Make sure your computer has an SD card slot. If not, you can purchase an SD card adapter. Put your SD card into the SD card slot of your computer.
Locate the download folder containing the SD card formatter and extract the zip file. Next, install the file into your operating system. Below is an image of a complete installation of the SD card formatter version 5.0.1. after the installation is done, click close and launch the SD card formatter. The next phase is to format our SD card.
In windows, make sure you select the FAT format while formatting the card. However, you can choose to erase the disk in MS-DOS/FAT format for MAC users. I am running a MAC, and therefore, I will illustrate using a MAC. Don’t freak out since the process is the same in Windows.
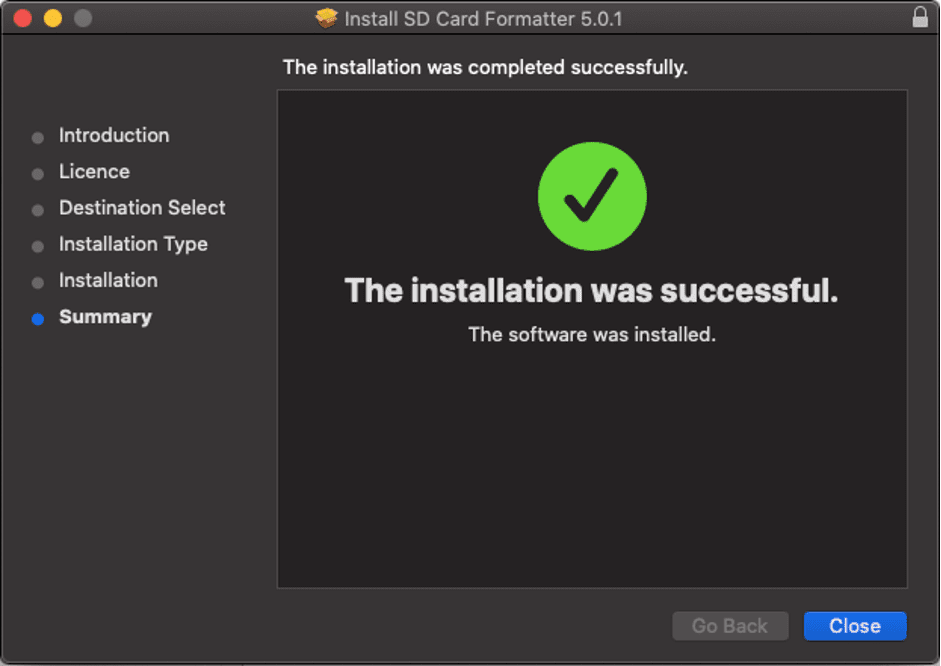
SD card formatter installer
After installing the SD card formatter, open it and select your card, after which you will choose the format type mentioned above then run the formatter. This will take a while, depending on the size of your memory card and computer speed. In completion of the formatting process, close and quit the SD card formatter.
Note: MAC users can use disk utility to format their SD card. Therefore, if you are not interested in downloading the SD card formatter, try the Disk Utility option.
Step 3: Extract and Copy Files From the Raspberry Pi Desktop to SD Card
Locate the Raspberry Pi Desktop that you had downloaded in step one. After locating, there are two methods one can use to extract and copy files from the Raspberry Pi Desktop to your formatted SD card.
The first method is to extract the files into a folder then copy the files into the SD card. This might be pretty tiresome as it has numerous steps. The second method which we recommend is directly extracting the files into the formatted SD card. This method is quite direct and uncomplicated. Right-click on the downloaded file and click extract to, then select the formatted SD card. When the process is complete, eject the SD card.
Step 4: Installation
Take the ejected SD card and put it into the SD card slot in the Raspberry Pi. With all the required files on the SD card, the installation process becomes much more manageable. Connect all the peripherals into the Raspberry Pi and power it on. You have to input your external mouse, keyboard, ethernet cable, and power cable. After ensuring all those peripherals are well-connected power on the device. The files contain a range of operating systems such as Raspbian (the primary operating system), OSMC, LibreELEC, and many others. Our aim in this tutorial is to install the Raspbian operating system.
Don’t be surprised by the terms mentioned above since that is what this step will cover. After powering on the Raspberry Pi, NOOBS will boot up, and you will be greeted by a GUI containing operating systems to choose the suitable one to install. In this case, you will select the Raspbian operating system, which in most cases is the first operating system on the list. If you are using Raspberry Pi 4, then the menu will look like the one highlighted below.
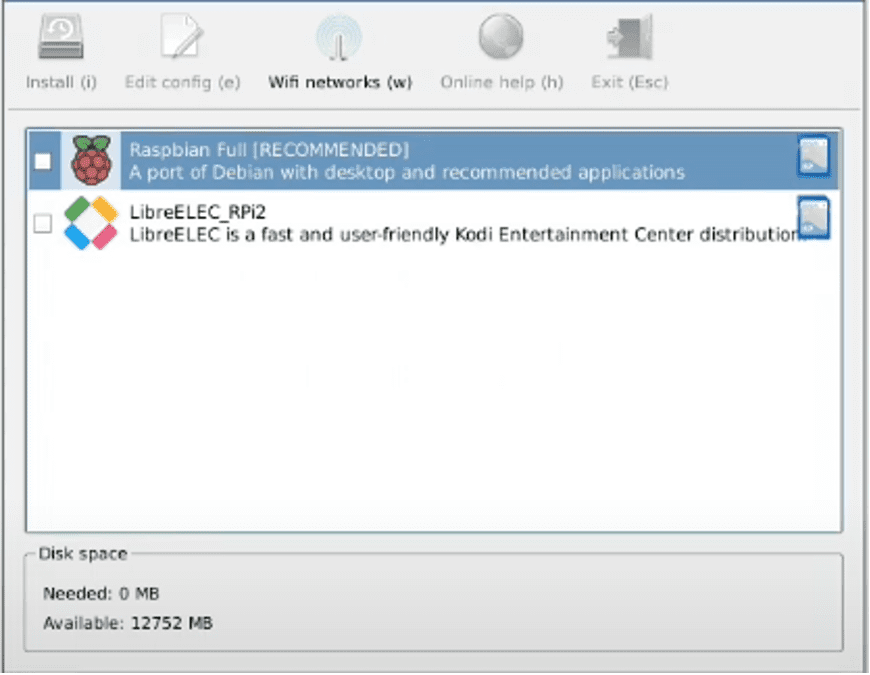
NOOBS Installation GUI
The output might be different if you are using a different version of Raspberry Pi since NOOBS is known to adapt to generation models of Raspberry Pi. From the example above, you can only see two operating systems, and that is because we are not connected to the internet. If you connect to the internet, you will have several other operating systems you can choose from.
As indicated earlier, in this tutorial, we shall use the recommended operating system, which is Raspbian. Select the check box next to Raspbian on your left, then click on install. You will then get a pop-up indicating that the SD card will be erased. Click ok and let the installer do its thing. Be patient as this process might take approximately 45 mins to 1 hour. When the installation is complete, you will see a pop-up saying OS(es) installed successfully, as shown in the image below:

Successful OS installation
Press OK. The next screen will tell you to select os to boot. You do not have to do anything at this stage. Just relax and let the installer do its thing. The Raspberry Pi will restart and boot into the Raspbian setup screen. Click next.
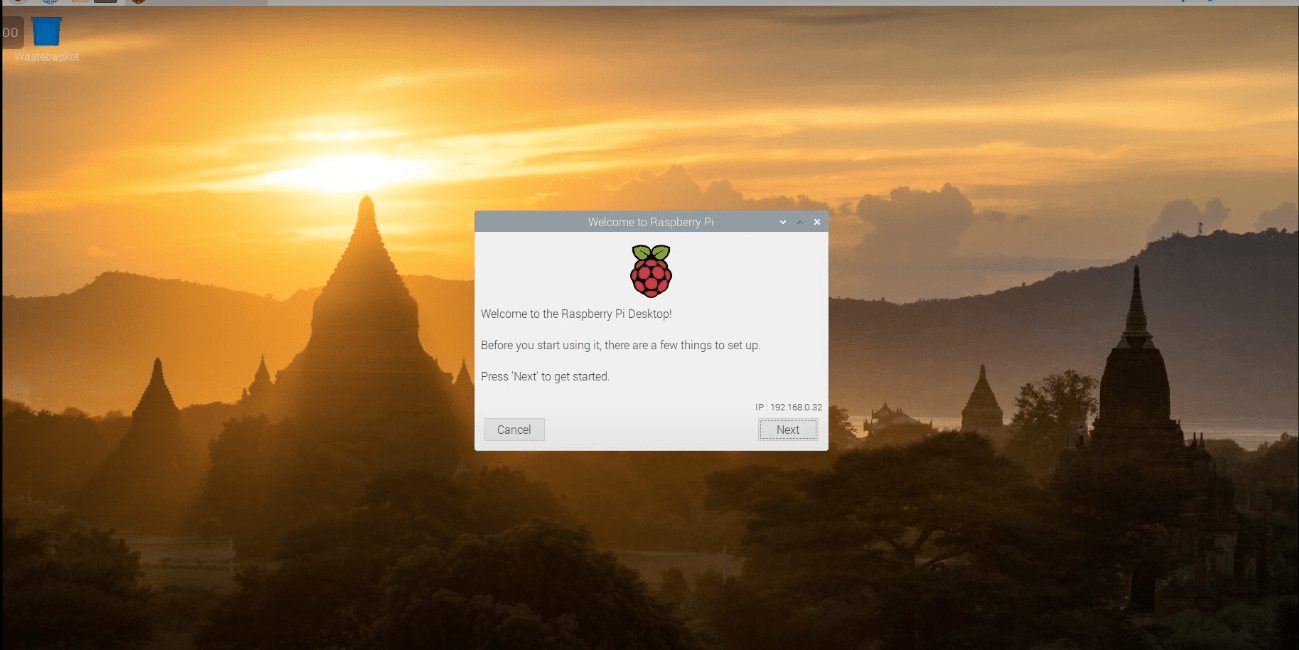
Raspbian Home Screen
You will then set up your location and language before pressing next to set your new Raspbian password. After selecting your password, you should be good to go. You are now ready to use and explore your Raspbian operating system. Before completing the installation process, you can choose to update your Raspbian system but note that this process takes a while to complete. And if you run it, you will approximately wait for around an hour for the update to complete.
As seen during the installation process, there are several other operating systems that the user can choose to install. Depending on your personal preference, you can select any operating system that suits your needs. For instance, the OSMC operating system acts as a media center, the LibreELEC operating systems boots into Kodi, a famous media center app. Therefore, depending on your preference, you can choose the operating system that suits you well. Once you decide which operating system to install, hit install, and your Raspberry Pi will boot into your operating system of choice.
I know some of you are worried and don’t what to do if they accidentally install an operating system that they did not intend to install. Worry less, reboot the Pi and hold the shift button on your keyboard while booting up. This will take you back to the NOOBS installation menu, where you can choose a different operating system.
Operating Systems Included in Noobs
These are the operating systems in NOOBS:
- Raspberry Pi OS
- LibreELEC
- OSMC
- RecalBox
- Lakka
- RISC OS
- Screenly OSE
- Windows 10 IoT Core
- TLXOS
Note: For the latest version of NOOBS, only the Rasberry Pi OS can be installed by default, while all the other operating systems require an internet connection to be installed.
The Optional Route: (Purchasing a Noobs SD Card)
The installation process is quite simple, but if you find it challenging, you can try the easy way out, purchasing a NOOBS SD card. The NOOBS SD card comes preloaded with NOOBS. Therefore, if you choose this step, you will jump directly to step 4, the installation phase. However, you should note that this method is costly compared to following steps 1,2 and 3. We recommend that you do the installation yourself to learn and explore more about the Raspberry Pi. It also saves your budget as the installation process is complimentary compared to buying a preloaded SD card.
Understanding the Difference Between Noobs and Noobs Lite
Although the download has changed to Raspberry Pi Desktop, some use older versions and will encounter NOOBS and NOOBS Lite. Don’t get stuck when you find yourself in such a situation. The difference between the two is that NOOBS is the full version of the Raspbian operating system. Meaning the operating system can be installed offline without any need to connect to the internet.
On the other hand, NOOBS Lite requires a network connection to install other operating systems as it does not come with any preloaded operating system, including the default Raspbian. Depending on your needs, your will choose to download and use either NOOBS or NOOBS Lite.
Conclusion
The article has shown step-by-step the installation process, and we now believe you can do the installation on your own. The article also has indicated the difference between the NOOBS and NOOBS Lite, making users work much easier during decision making. Purchase your Raspberry Pi 4 and give this tutorial a try.