
Kali Linux is one of the most popular operating systems for penetration testing and vulnerability assessment. Of course, we have other Linux distributions like Parrot and Black Arch, but Kali Linux still prides itself on its popularity over the years. It was launched on 13 March 2013.
For a long time, you could only install Kali Linux on your PC or run it as a Virtual Machine with the help of applications like VMware and Virtual Box. But that has long changed. Nowadays, you can efficiently run Kali Linux on your Android device or a small board computer like the Raspberry Pi.
Installing Kali Linux on Raspberry Pi 4
This post will focus on the latter, i.e., installing Kali Linux on Raspberry Pi 4. Even though most SBCs are not as powerful as the standard computer, the Raspberry Pi comes with enough resources to run Kali Linux efficiently. Additionally, we will not install the official Kali Linux ISO that you can install on your Desktop; we will use the Kali Linux ARM image.
Kali Linux ARM
Requirements
The requirements we will need for this project include:
- Raspberry Pi 4. Even though you can still download the ARM images for Raspberry Pi 2 (v1.2), 3, 4, 400 (64-Bit), and Pi Zero, we highly recommend using a Raspberry Pi 4 board.
- At least 8GB Micro SD Card
- A display monitor. With other projects, we always give an option of using VNC or SSH. However, you will need a display monitor for this project since the installation is done graphically.
- A Mouse and a keyboard
- An active internet connection. That will come in handy when configuring DHCP and time zones. Additionally, we will need to update our system after the installation.
Once you have everything in place, follow the steps below.
Step 1. Download the Kali Linux ARM image
As discussed above, we will not use the standard Kali Linux ISO that you use to install Kali on your laptop. This is because the computer uses an x86-64 architecture. At the same time, the Raspberry Pi runs the ARM architecture, and this architecture incompatibility makes it impossible to install the x86-64 Kali Linux ISO on the Raspberry Pi (ARM). However, if we were trying to install an application, we could have used software like Box64 or Box86, which allows installing an x86-64 application on the Raspberry Pi ARM.
To download the Kali Linux ARM image, head over to the official Kali Linux download page and scroll to the ARM images section. Then, select the image you wish to download depending on the Raspberry Pi board type.
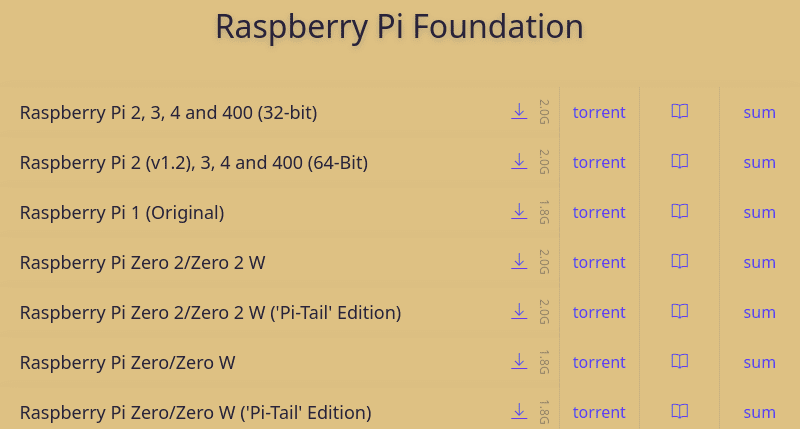
Download Kali ARM
In our case, we will download the Kali Linux ARM image for Raspberry Pi 4. This process might take quite some time since the file is around 2 GB. Please be patient.
Step 2. Flash the ISO image to the micro SD Card
Once you have downloaded the image on your PC, we need to flash it on the Micro SD card. There are different tools that we can use to d that. However, for this post, we will use the Balena Etcher app. It’s available for Windows, Linux, and macOS. Download and install Balena Etcher on your PC. For Linux users, you can efficiently run Etcher using the AppImage file. Also, ensure you have formatted your SD card using either Ext4, NTFS, and FAT32.
When you first launch Etcher, you will see a window similar to the image below.
- Flash from file: Use this option to select the Kali Linux image file you want to flash on the SD card.
- Select target: Use this option to select the target storage device where you want to flash the image. In our case, it’s a 16 GB SD card.
- Flash!: Click this button to start the flashing process.
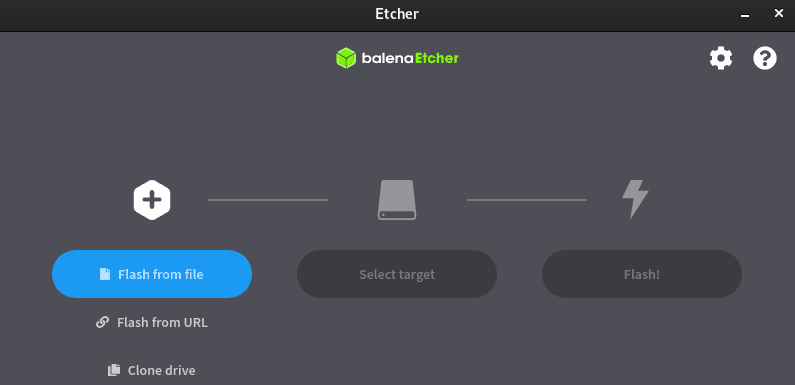
Balena Etcher
Once the process completes, insert the SD card into the Raspberry Pi, connect all the other peripheral devices and boot it up.
Step 3. Installing Kali Linux
With the ARM version of Kali Linux, you don’t need to do any installation configurations such as setting up the users, networking, disk partitioning, and much more. All that is done for you. When you boot up the Raspberry Pi, you will see the Kali login screen below. As of writing this post, the default login credentials are,
- Username: kali
- Password: kali
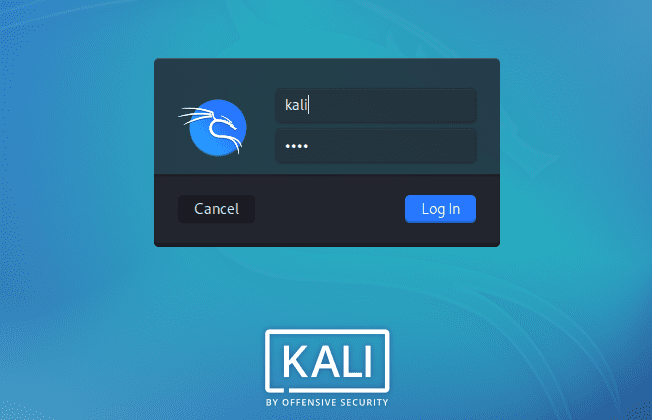
Kali Login Screen
After a successful login, you should see the Kali XFCE Desktop window.
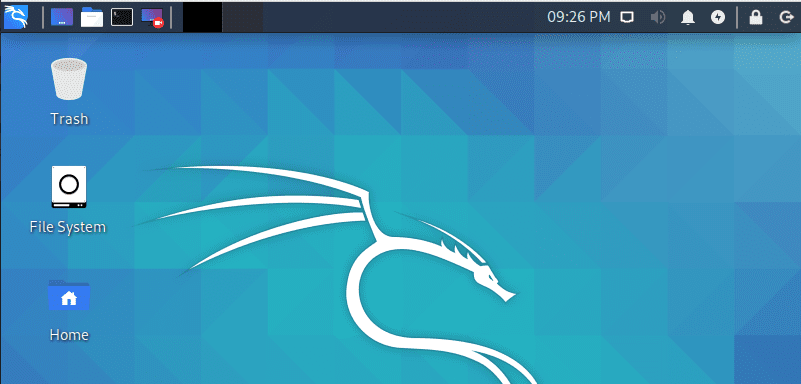
Kali Desktop
That’s it! You have successfully installed Kali Linux on the Raspberry Pi, and it was easy. Before you log off, we need to do a couple of things.
Step 4. Setting up Kali Linux
We first need to secure our system by changing the default credentials – especially the password. To do so, launch the Terminal and execute the command below.
sudo passwd [current_user]
e.g
sudo passwd kali
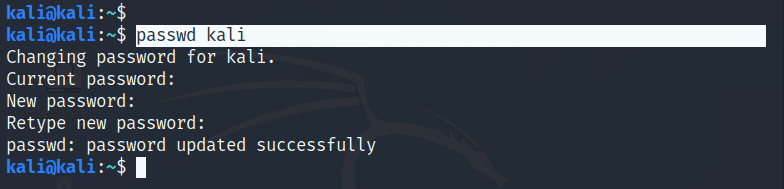
Change Password
If you can see black edges/ black borders around the monitor, you need to fix the overscan. Overscan excludes a few pixels from each corner of the screen, preventing the Desktop screen from filling up to the monitor’s edges. Most Kali Linux ARM images come with overscan enabled. However, it’s also straightforward to disable it.
Launch the Terminal and open the /boot/config.txt file with the nano editor as shown below.
sudo nano /boot/config.txt
On the file that will open, look for the lin disable_overscan=1. This line is commented by default, and Uncomment it by deleting the # sign.
Reboot the system to apply the new configurations.
sudo reboot now
After the system is back online, we recommend upgrading to ensure you are running the latest packages and repositories. Use the commands below.
sudo apt update
sudo apt upgrade
Step 5. Test Kali Linux Tools
Now that we have Kali Linux up and running on our Raspberry, what would be better than trying out one of the most popular security tools – Nmap. Nmap is an information-gathering tool that scans for devices on a network, the operating systems and services running on these devices, and much more.
We will do a simple Nmap scan on a device connected to our network using the command below.
sudo nmap -sV 192.168.1.35
Conclusion
This article has given you a step-by-step guide on installing Kali Linux on the Raspberry Pi. Up to this point, I believe you can now perform penetration testing or any vulnerability scanning with much ease. Did you encounter any problems during installation? If yes, please don’t hesitate to let us know in the comments below.