
Setting up an FTP server would be a great idea if you are a system admin or a regular user looking forward to getting the most out of their DietPI system. An FTP server brings live the idea of sharing/transferring files over the internet. This post will provide a comprehensive guide to setting up an FTP server on DietPi.
Setting up FTP server on DietPi
Pre-requisites
- A Raspberry Pi running the DietPi operating system
- Sudo/ root privileges
- An active internet connection
What is FTP?
FTP (File Transfer Protocol) is a standard network protocol for transferring files from one host to another over the internet or other networks. It was first defined in 1971 and has since become one of the world’s most widely used file transfer protocols.
FTP establishes a connection between two computers: a client and a server. The client sends commands to the server to initiate the transfer of files. These commands include requests for file listings, uploading files to the server, downloading files from the server, and deleting files on the server.
One of the main benefits of using FTP is that it allows for easy and efficient transfer of files between computers over the internet. It is also highly customizable and can be used for many file transfer tasks, including uploading and downloading large files, backing up data, and sharing files with others.
Another benefit of using FTP is that it is highly secure, as it allows for the use of encryption and other security measures to protect data during the transfer process. Additionally, many FTP servers offer features such as user authentication and access controls, which can help to enhance security further and protect sensitive data.
File servers available for DietPi
ProFTPD – ProFTPD is a highly configurable FTP server software widely used on Unix-based operating systems. It is known for its security features and flexibility and supports various authentication methods and access controls. ProFTPD is designed to be scalable and can handle many simultaneous connections, making it a good choice for enterprise-level applications.
Samba – Samba is a popular open-source software suite that allows Unix-based systems to share files and printers with Windows-based systems. It implements Windows’s SMB/CIFS protocol for file and printer sharing and can be used to create a file server, print server, or domain controller. Samba supports many features, including user authentication, access controls, and name resolution, and is widely used in home and enterprise environments.
vsftpd – vsftpd (Very Secure FTP Daemon) is a fast and secure FTP server software that is commonly used on Unix-based systems. It is designed to be lightweight and easy to configure and supports a wide range of features, including virtual users, bandwidth throttling, and SSL/TLS encryption. vsftpd is known for its security features and strongly focuses on preventing unauthorized access and abuse.
NFS – NFS (Network File System) is a distributed file system protocol used primarily in Unix-based systems. It allows a computer to access files over a network as if they were on its own local disk. NFS is designed to be highly scalable and fault-tolerant and supports features such as file locking, access controls, and caching. It is commonly used in enterprise environments to share files and data between servers and clients.
How to install ProFTPD on DietPi
This section will give you a comprehensive guide on installing ProFTPD on your DietPi system and how to access the FTP server from the command line or a graphical client. Let’s dive in.
Step 1. Update the system
You must ensure the system is up-to-date since you will install additional packages. Execute the command below on the Terminal.
sudo apt update
sudo apt upgrade
Depending on your internet connection and the last time you updated your system, this process might take some time. However, once done, you can install ProFTPD on your system.
Step 2. Install ProFTPD
The ProFTPD package is included in the DietPI repositories. Therefore, you don’t need to add any third-party PPAs. Instead, execute the command below on the Terminal.
sudo apt install proftpd
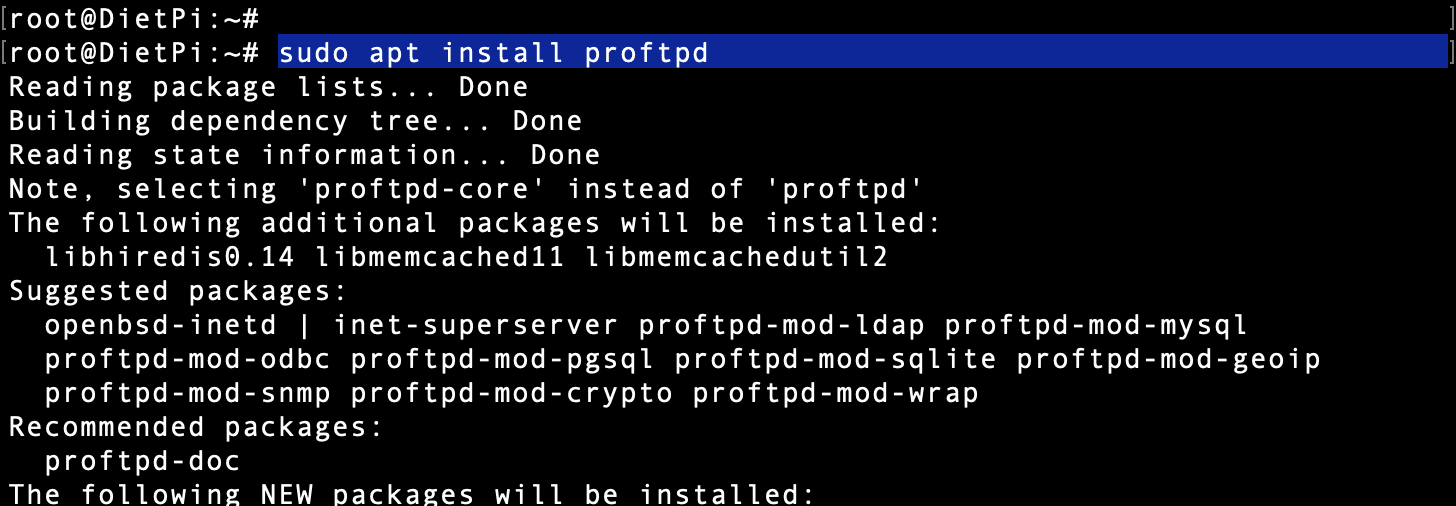
Install ProFTPD
ProFTPD is not a huge package and shouldn’t take long to install. Execute the command below when done to start the ProFTPD service.
sudo systemctl start proftpd
You can check the status of the service – whether it’s running or not – by executing the command below.
sudo systemctl status proftpd
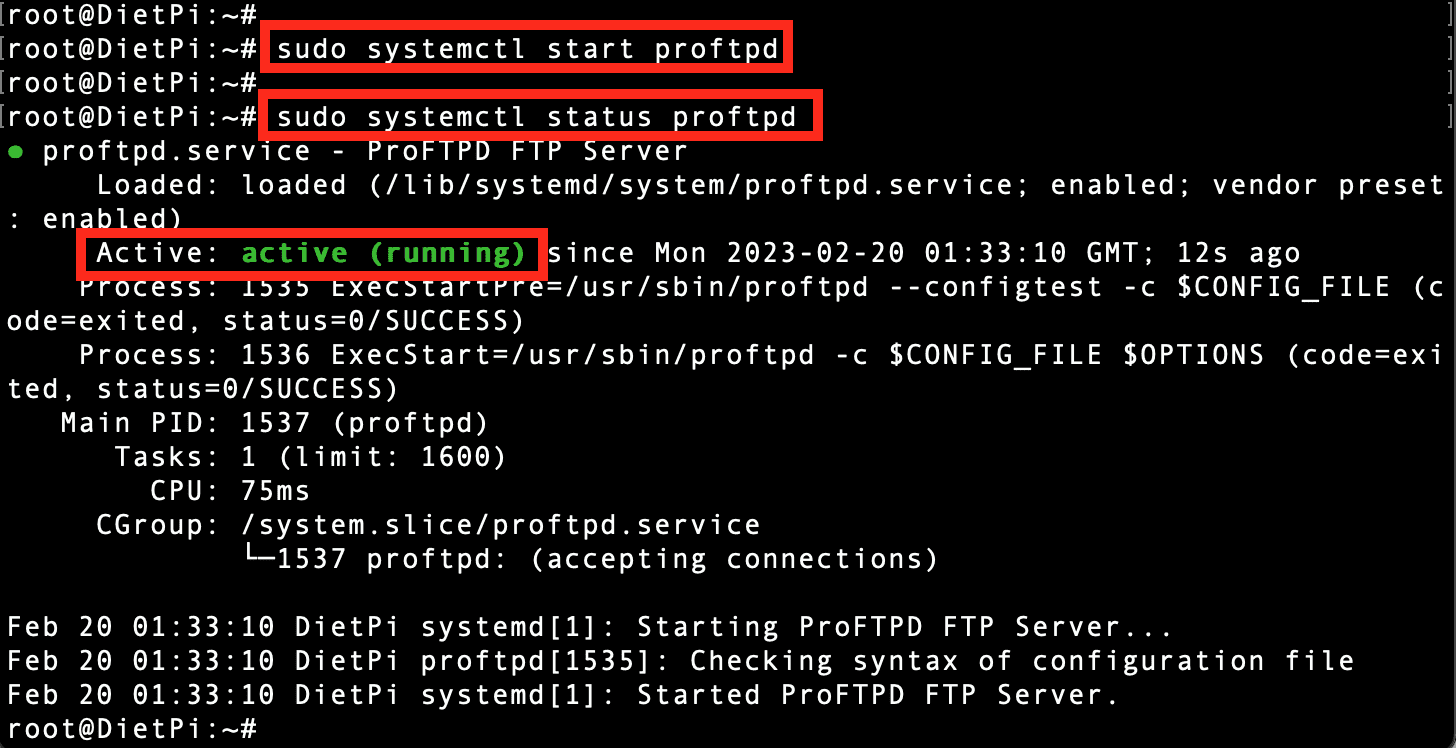
ProFTPD Service
Looking at the image above, you can see that the service is “Active” and “running” on our system.
Until now, ProFTPD has been successfully installed and running on your DietPI system. This service runs on port 21 by default. You can verify by running the command below.
ss -antpl | grep 21

Check if the Service is Running
Step 3. Configure ProFTPD
Even though ProFTPD can work with the current default settings, you can perform various configurations, like customizing the parameters below.
- Server name
- Port number
- Whether to support IPV6 or not?
Execute the command below to open the ProFTPD configuration file using the nano editor.
sudo nano /etc/proftpd/proftpd.conf
Scroll through the various and change the following parameters (you can also leave them with their default value).
ServerName DietPI_FILE_SERVER
UseIPV6 on
Port 21
SystemLog /var/log/proftpd/proftpd.log
DefaultRoot ~

Configure ProFTPD
Save the file (Ctrl + O, then Enter to save and Ctrl + X to exit) and restart the ProFTPD service with the command below.
sudo systemctl restart proftpd
Step 4. Create an FTP user
You need to create an FTP user that will be accessing the FTP server running on the DietPI system. For example, if you are on Ubuntu or Windows, you will use this user to access the FTP server. Think of this as a security measure.
We will use the adduser command to add a new user to our system. Execute the command below.
adduser <user-name>
e.g,
adduser test_user
You will see a series of prompts. Just type the password and full names. Leave the other fields blank.
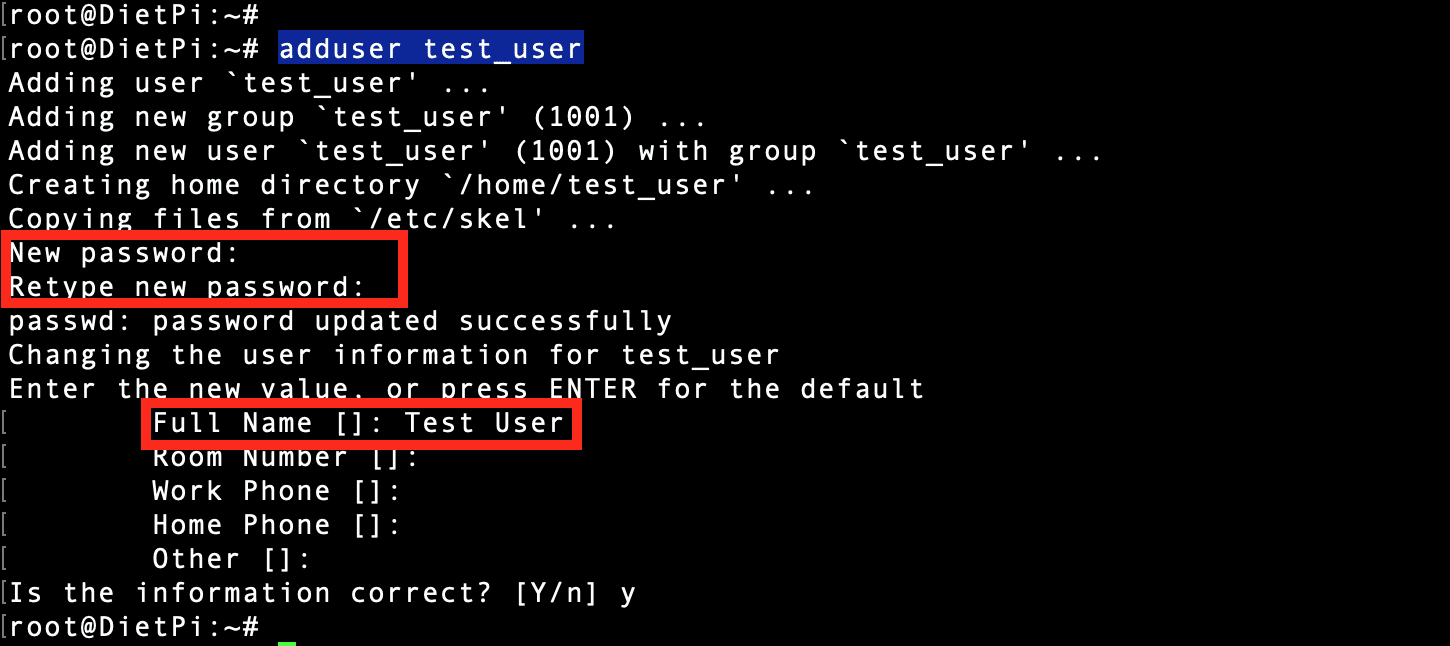
Add New User
Next, log in with the new user in the Terminal using the command below.
su - <user-name>
e.g,
su - test_user
You will notice that the Terminal prompt will change to show the new user username. Create several dummy files and directories that you will access from the client system. See the image below.

Dummy files and directories
Access the FTP Server from the command-line
Now that you have the FTP server up and running on the DietPI system, you can connect to the server from the command line. For this post, we will use a Debian client.
Follow the steps below.
1. First, install FTP on Debian using the command below.
sudo apt install ftp
2. Connect to the FTP server using the FTP command shown below.
ftp [dietpi-IP-addres]
e.g,
ftp 192.168.1.4
3. You will see a prompt to enter the username and password. Use the details of the user you created in “Step 4” above.
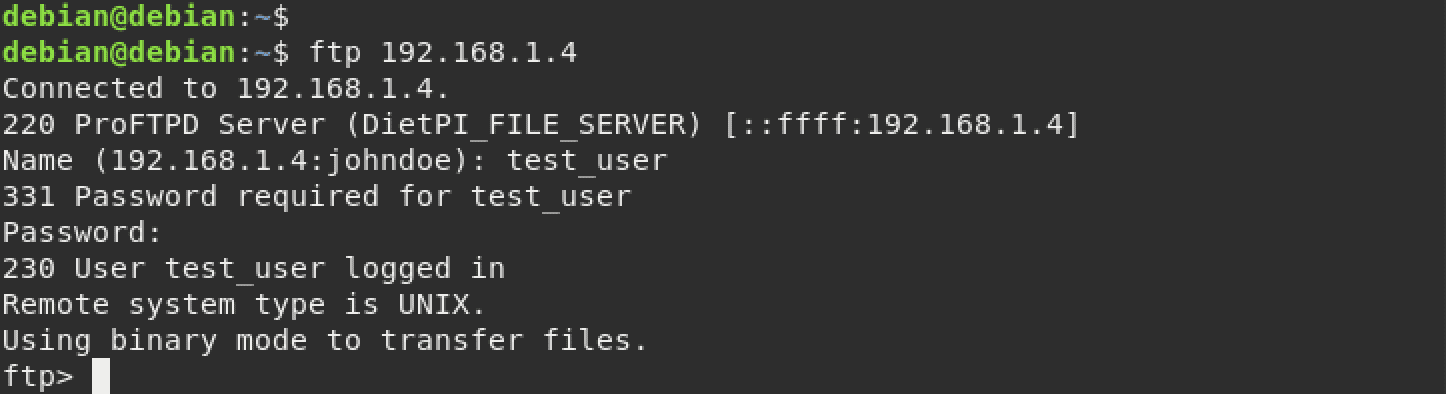
Connect to FTP Server
That’s it! You have successfully connected to the FTP server. You can now execute any Terminal commands on the Terminal. Remember, all these commands will run on the remote system.
Tip: Not all Terminal commands are supported by FTP. Use the “help” command to list all the commands you can execute.
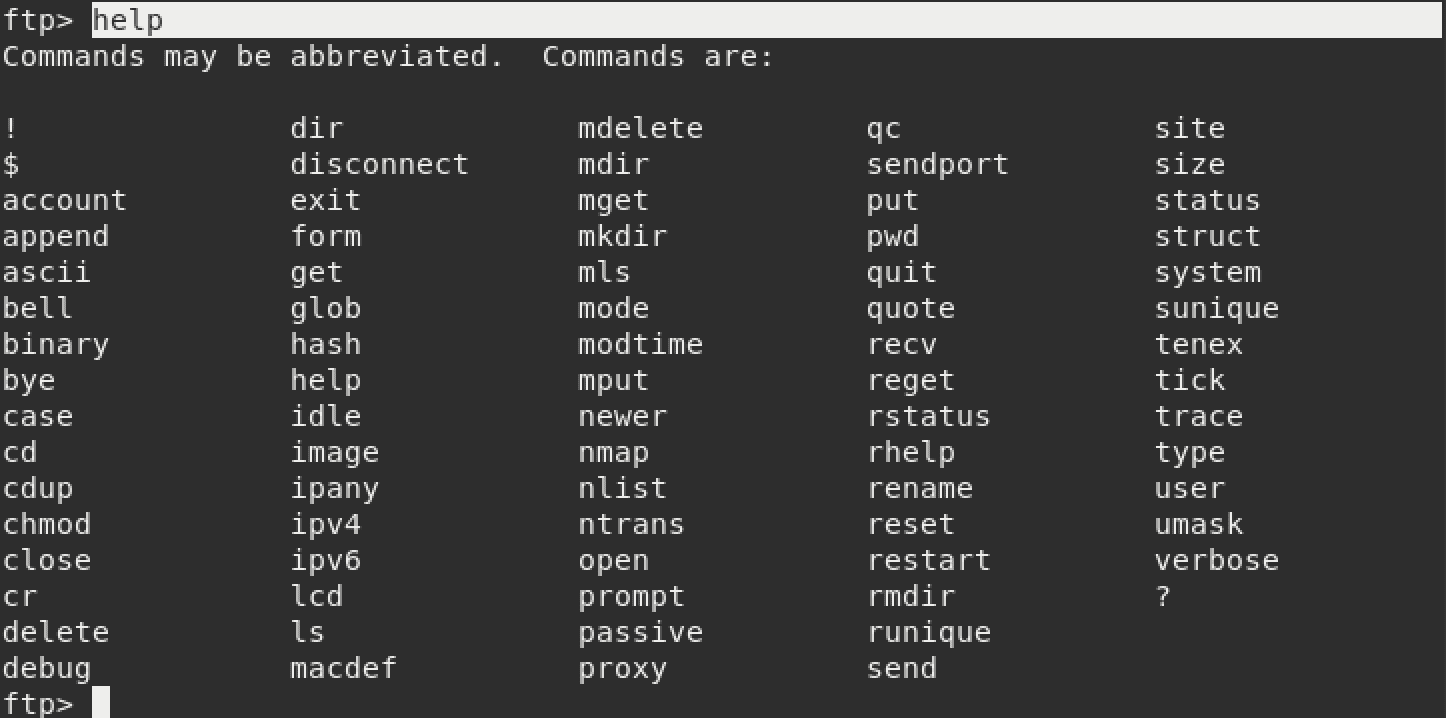
FTP help command
Access the FTP Server from the Graphical Client
One of the most popular graphical FTP client utilities is FileZilla. It is available for Windows, Linux, macOS, Raspberry Pi, etc. In this post, we have FileZilla installed on macOS and will use it to access our FTP server on DietPI. Follow the steps below.
1. Launch Filezilla and fill in the following parameters at the top of the window.
- Host: The IP address of the DietPI system
- Username: The username of the user you created on the DietPI system.
- Password: The password of the user you created on the DietPi system.
- Port: 21.
2. Once done, click the “Quick Connect” button.
3. Filezilla will connect to the FTP server and list all the files and directories on the remote system.
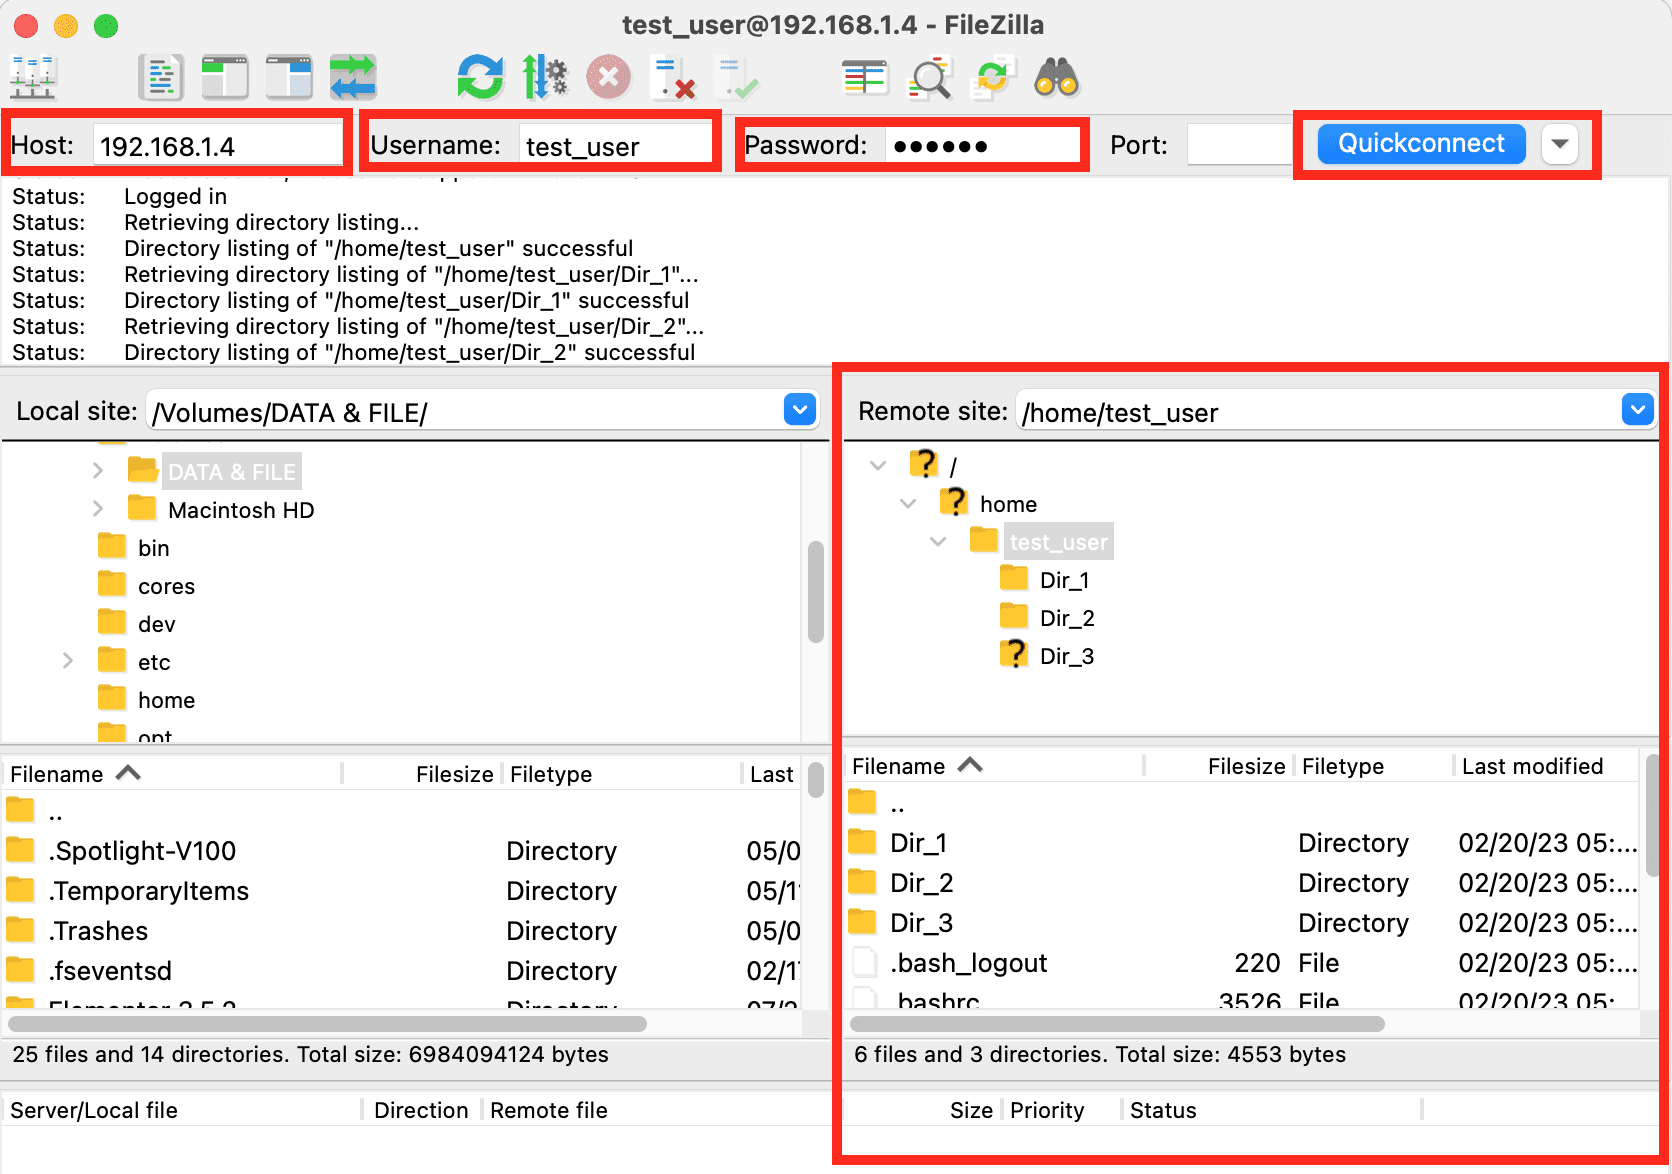
Filezilla
Secure ProFTPD with SSL/TLS on DietPI
Currently, the FTP server is not secure. That means all the files sent over the network are not encrypted, a critical security issue. To solve that, we need to secure ProFTPD with SSL/TLS. Below are some of the reasons why you should secure your FTP server.
Protects data confidentiality: When you transmit data over an unencrypted channel, such as standard FTP, anyone accessing the network can intercept and read the data. Using SSL/TLS encryption, the data is encrypted during transit, making it unreadable to anyone who does not have the encryption key.
Protects data integrity: SSL/TLS encryption ensures that the data transmitted between the client and the server has not been tampered with during transit.
Prevents unauthorized access: SSL/TLS encryption ensures that only authorized users can access the ProFTPD server. The SSL/TLS handshake process includes authentication and key exchange, providing that the client is connecting to the intended server and that the server is authenticating the client.
Compliance requirements: Many regulatory and compliance standards, such as PCI DSS, require SSL/TLS encryption for transmitting sensitive data over the network. Failing to use SSL/TLS encryption can result in non-compliance and penalties.
Follow the steps below to secure your FTP server with SSL/TLS.
Step 1. Create a directory to store your SSL/TLS certificate and key. You can use the following command to create a new directory:
sudo mkdir /etc/proftpd/ssl
Step 2. Generate a self-signed SSL/TLS certificate and key using the following command:
sudo openssl req -x509 -nodes -newkey rsa:2048 -keyout /etc/proftpd/ssl/proftpd.key -out /etc/proftpd/ssl/proftpd.crt -days 365
This will generate a new certificate and key valid for 365 days and store them in the /etc/proftpd/ssl directory.
Step 3. Open the ProFTPD configuration file using your preferred text editor. You can use the following command to open the file in the nano editor:
sudo nano /etc/proftpd/proftpd.conf
Add the following lines to the configuration file to enable SSL/TLS support and point to the certificate and key files:
# Enable SSL/TLS support
TLSEngine on
TLSLog /var/log/proftpd/tls.log
TLSProtocol SSLv23
TLSOptions NoCertRequest

# Set the SSL/TLS certificate and key
TLSRSACertificateFile /etc/proftpd/ssl/proftpd.crt
TLSRSACertificateKeyFile /etc/proftpd/ssl/proftpd.key
Save and close the configuration file.
Step 4. Restart the ProFTPD service to apply the changes using the following command:
sudo service proftpd restart
Test your SSL/TLS connection by connecting to the ProFTPD server using an FTP client that supports SSL/TLS, such as FileZilla. Ensure that you specify the protocol as “FTPES” or “FTPS” (depending on your client) and that you select “Require explicit FTP over TLS” or “Require explicit FTPS” in the client settings.
That’s it! You have successfully secured your ProFTPD server with SSL/TLS on DietPi.
Conclusion
Setting up an FTP server on DietPi is a helpful way to share files within a network or make them available online. ProFTPD is a reliable and secure FTP server software that can be easily installed on DietPi using the command line. Once installed, you can configure ProFTPD to allow users to upload and download files using FTP clients, such as FileZilla.