
A web server is a software application that enables you to deliver web content, such as HTML files, images, and videos, to users who request it via their web browsers. Nginx and Apache are two popular web servers that you can use to serve web content. DietPi is a lightweight, minimalistic operating system that runs on single-board computers like the Raspberry Pi. It is optimized for low power consumption and high performance, making it an ideal choice for running a web server.
Web Servers available for DietPI
If you plan to set up DietPi for web development, you are lucky, as this operating system supports several web servers. They include,
Apache: Apache HTTP Server, commonly called Apache, is a widely-used web server that can be run on various operating systems. It is open-source software and is known for its flexibility and extensibility, as well as its robustness and stability.
Nginx: Nginx is a lightweight, high-performance web server that is designed to handle a large number of simultaneous connections. It is often used as a reverse proxy or load balancer and is known for its speed and efficiency.
Lighttpd: Lighttpd (pronounced “lighty”) is a lightweight, open-source web server designed for high-performance environments. It is often used as an alternative to Apache or Nginx for serving static content or as a reverse proxy.
Tomcat: Apache Tomcat is a web server and servlet container for Java-based web applications. It is open-source software known for its scalability, robustness, and support for the Java Servlet, JavaServer Pages (JSP), and Java Expression Language (EL) specifications.
We will focus on only two web servers in this post which are also the most popular.
- Apache
- Nginx
Install and configure Apache on DietPi
Apache is the way to go if you are beginning web development. It has no complicated setup process, and the user community is enormous. That means you will quickly get a solution wherever you encounter an issue. There are two main characteristics of the Apache web server.
- Memory use: Apache can consume a lot of memory compared to Nginx. However, that can vary depending on how each web server is configured and its specific workload.
- Multithreaded: Yes, Apache is a multithreaded web server. Each incoming request is typically handled by a separate thread or process, which allows multiple requests to be processed simultaneously.
Step 1. Update the system
Since you will be adding new packages to your system, it is highly recommended that you ensure the existing packages are up-to-date. Execute the command below on the terminal.
sudo apt update
sudo apt upgrade
Step 2. Install Apache on DietPi
Apache is included in the DietPi repositories. That means you don’t need to add any third-party PPAs. Execute the command below to install Apache.
sudo apt install apache2
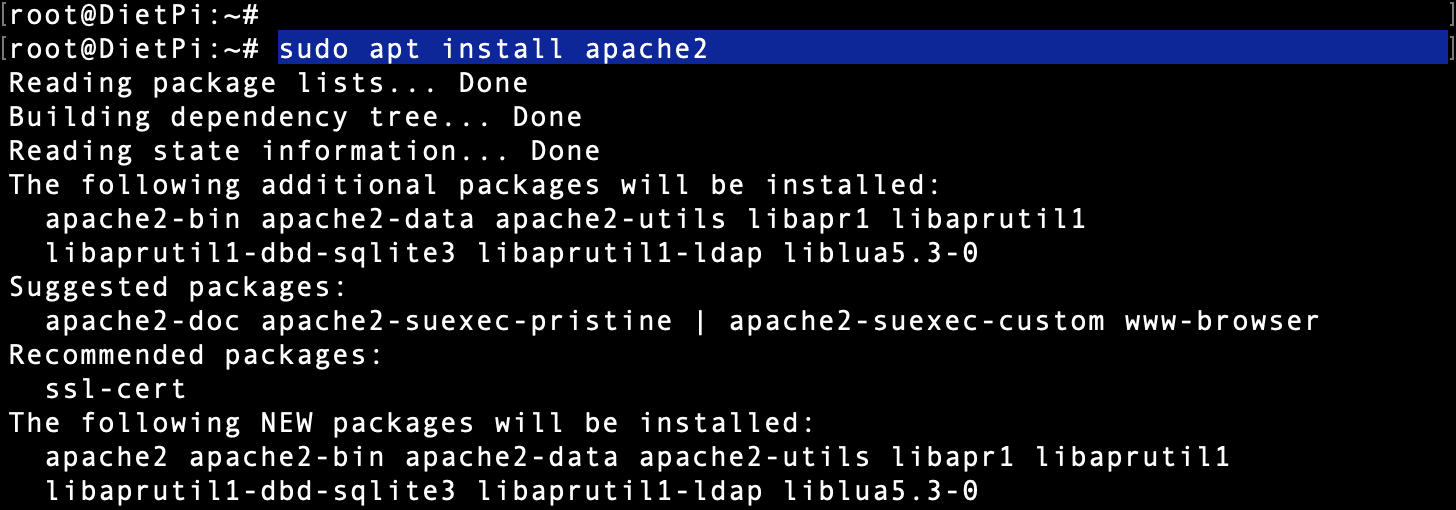
Install Apache
Apache is not a huge package and shouldn’t take long to install.
Step 3. Verify Apache installation
Once the installation completes successfully, open the browser and type the IP address of your DietPI system (webserver). If you see a page similar to the image below, Apache has been successfully installed on your system.
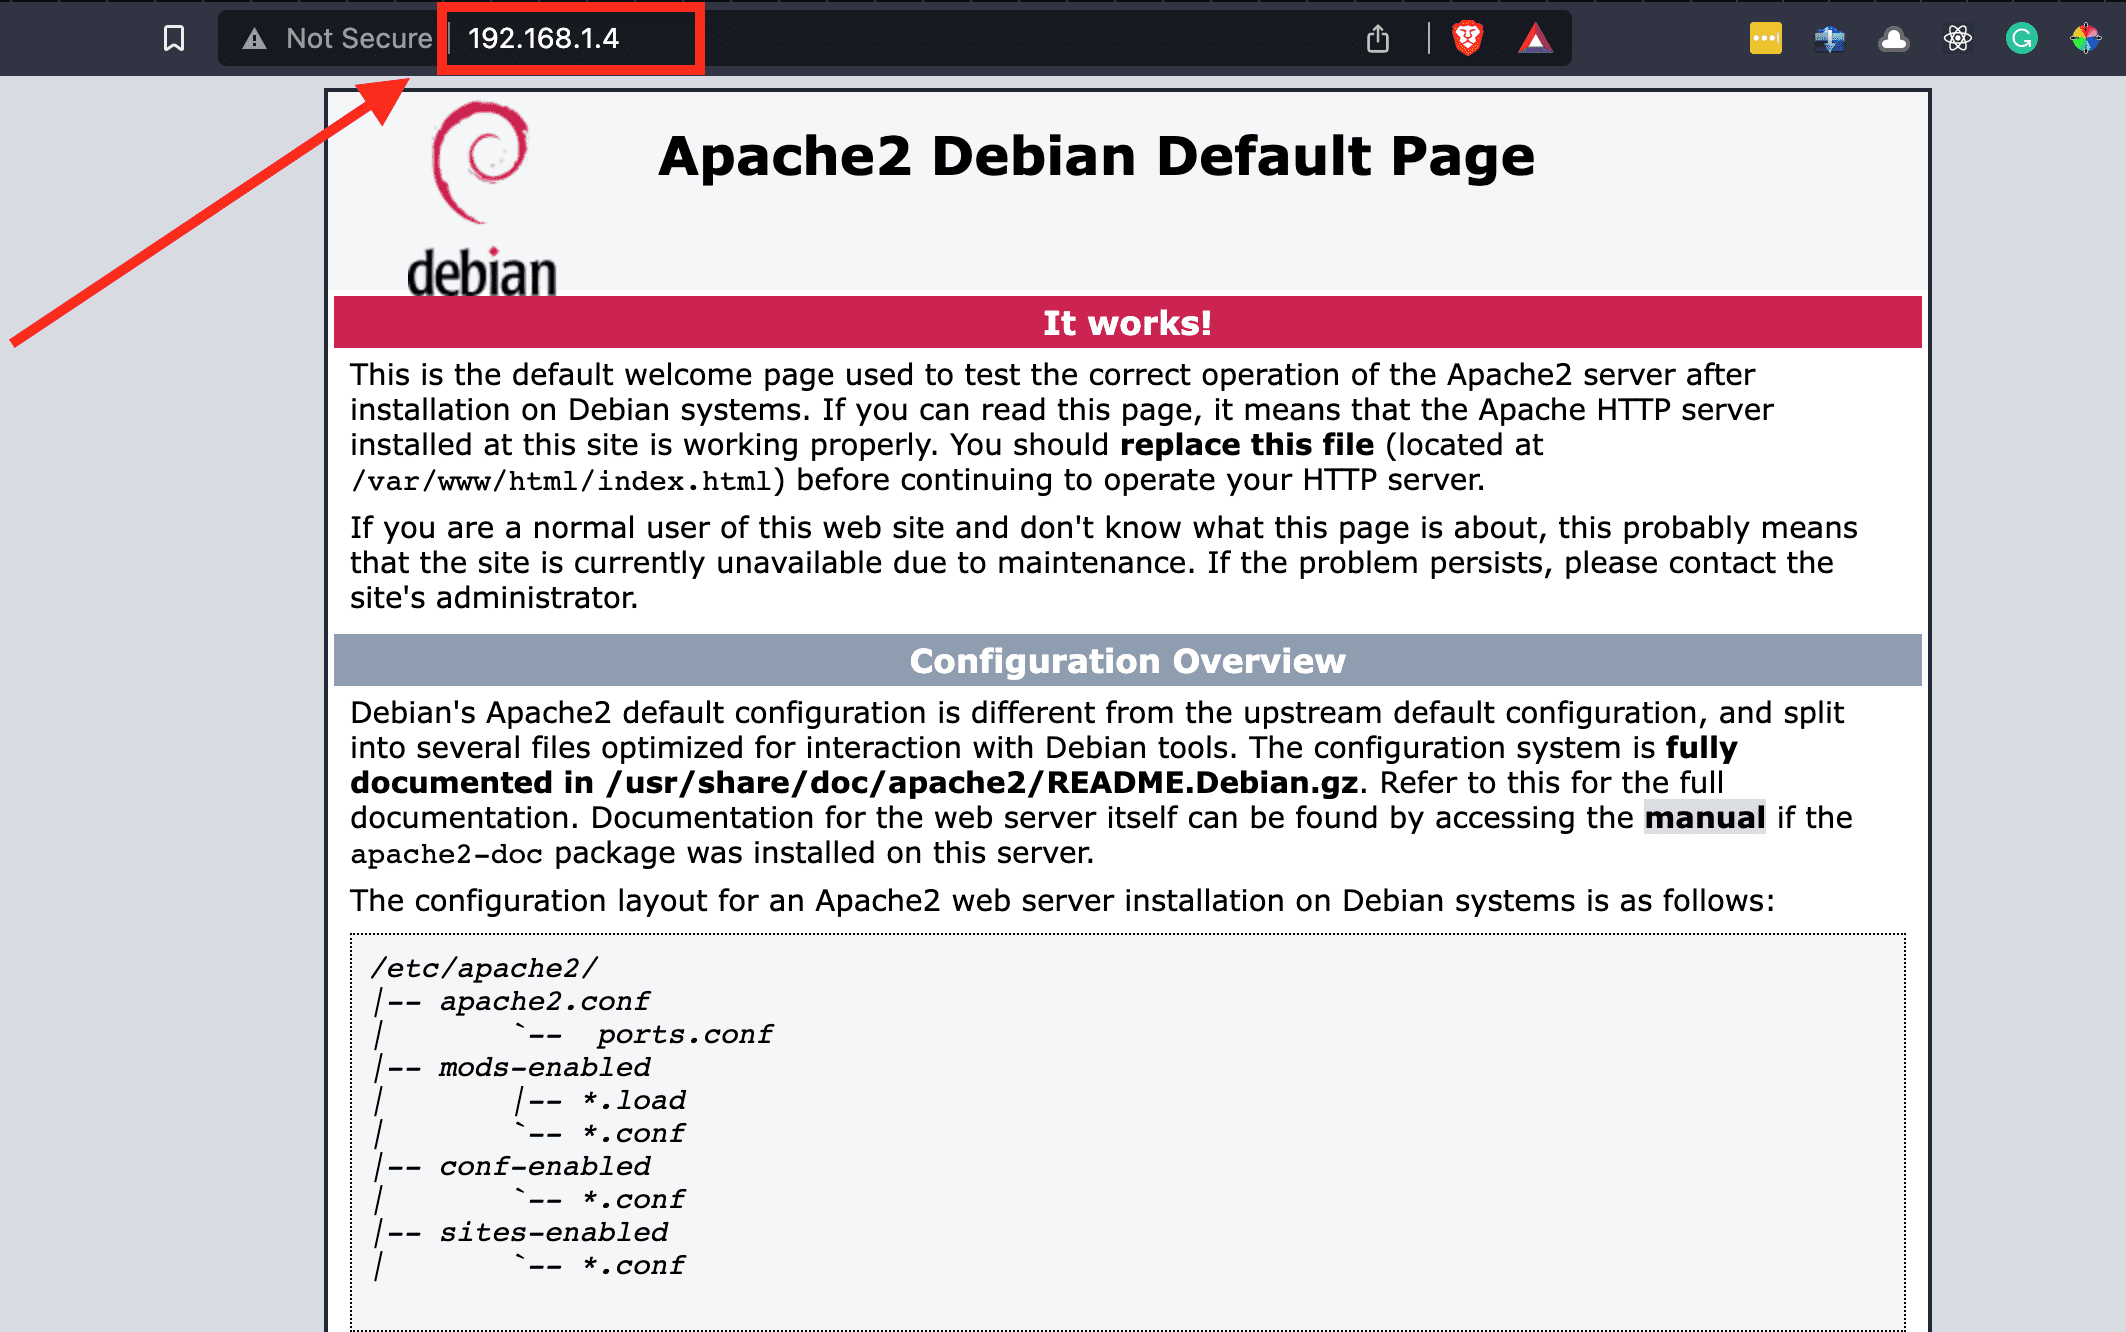
Verify Apache Installation
This default page that you see after installing Apache is typically called “index.html” or “index.php” and is located in the “DocumentRoot” directory of your Apache installation. On a fresh installation of Apache, the default page will usually contain basic information about the server, including the Apache version number, the server’s hostname, and some basic configuration details. However, you can customize this default page to suit their needs better.
Step 4. Create your website
The site you accessed when you typed the web server IP address on the web browser is the basic website that comes bundled with Apache. Luckily, Apache supports hosting multiple websites (virtual hosts) on the same server. Each website can have its domain name, content, and configuration settings.
Follow the steps below to learn how to create and host your website on Apache.
1. Choose a domain name (You can skip this step if you are testing out Apache locally): The first step is to choose a domain name for your website. You can purchase a domain name from a domain registrar such as Namecheap, GoDaddy, etc.,
2. Create a website directory: After installing Apache, create a directory to store your website files. You can do this using the mkdir command. For example, you might create a directory called “site_one” using the command:
sudo mkdir /var/www/site_one

Create a Directory
3. Create a basic HTML file: Use the cd command to navigate inside the new directory you just created and create a new file called index.html using the command below.
cd /var/www/site_one
sudo nano index.html
Paste the HTML code below. Feel free to edit it to your liking.
<!DOCTYPE html>
<html>
   <head>
     <title>My Website</title>
   </head>
<body bgcolor="skyblue">
   <h1>Welcome to my website!</h1>
   <h1>It is running on Apache Web Server</h1>
   <h2>This is some example content.</h2>
</body>
</html>
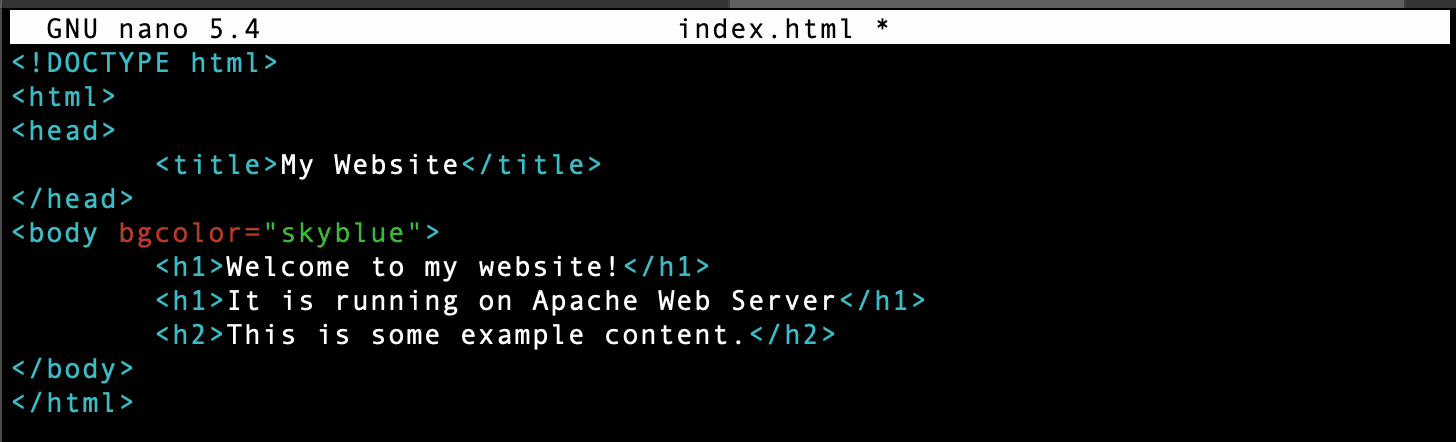
Sample Website
Save the file (Ctrl + O, then Enter) and Exit (Ctrl + X).
4. Configure Apache virtual host: To serve your website, you must create a virtual host configuration file for Apache. Open the terminal and create a new file in the /etc/apache2/sites-available directory. Name this file with the “.conf” file extension.
sudo nano /etc/apache2/sites-available/site_one.conf
Paste the sample configuration below.
<VirtualHost *:80>
    ServerName your_domain.com #Edit this line
    ServerAlias www.your_domain.com #Edit this line
    DocumentRoot /var/www/site_one #Edit this line

    ErrorLog ${APACHE_LOG_DIR}/error.log
    CustomLog ${APACHE_LOG_DIR}/access.log combined
</VirtualHost>
Save the file (Ctrl + O, then Enter) and Exit (Ctrl + X).
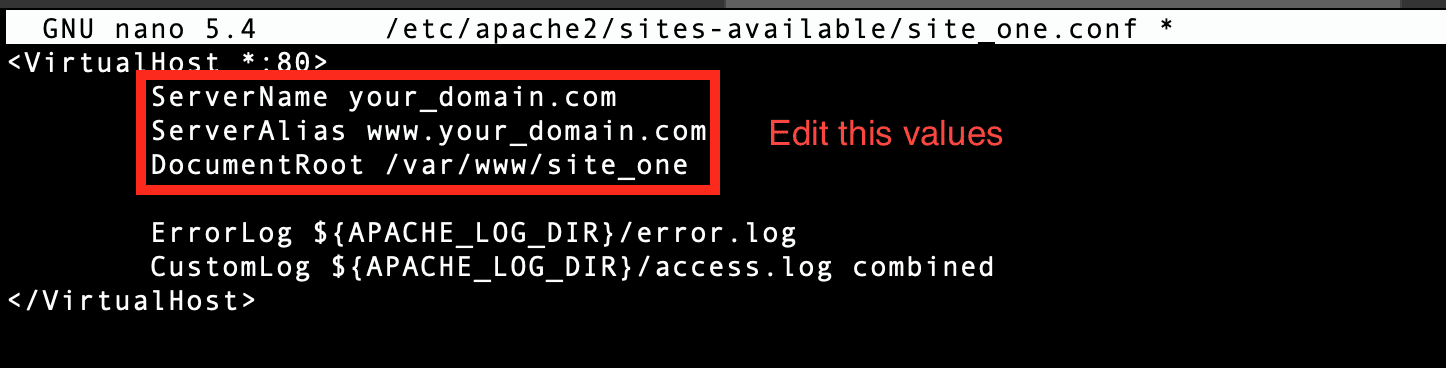
Create Conf File
This configuration file tells Apache to listen on port 80 (HTTP) for requests to example.com and www.example.com and to serve files from the /var/www/site_one directory. The ErrorLog and CustomLog directives specify where Apache should log errors and access requests.
5. Enable the virtual host: To enable your new virtual host, run the following commands:
sudo a2ensite site_one.conf
sudo systemctl reload apache2
The a2ensite the command enables the virtual host configuration file and the systemctl reload apache2 command reloads Apache’s configuration to apply the changes.

Enable site
6. Test your website: Finally, you can test your website by visiting example.com or www.example.com in a web browser. You should see the content of the index.html file you created in step 3.
Install and configure Nginx on DietPi
Nginx, or Engine-X, is a high-performance web server and reverse proxy known for its speed, reliability, and scalability. It is commonly used to serve static content but can also serve dynamic content and act as a load balancer.
There are two main characteristics of the Nginx web server.
- Memory use: Nginx uses less memory than Apache, mainly when serving static content. This is because Nginx uses an event-driven architecture that is more efficient at handling many connections with minimal memory usage. However, the amount of memory Nginx uses will depend on the configuration and workload.
- Multithreaded: Yes, Nginx is a multithreaded web server.
Step 1. Install Nginx on DietPI
Execute the command below to install Nginx on Raspberry Pi.
sudo apt install nginx
After a successful installation, launch your web browser and type the IP address of your Nginx web server (DietPI system). If you see a web page similar to the image below, Nginx is successfully installed and running on your system.
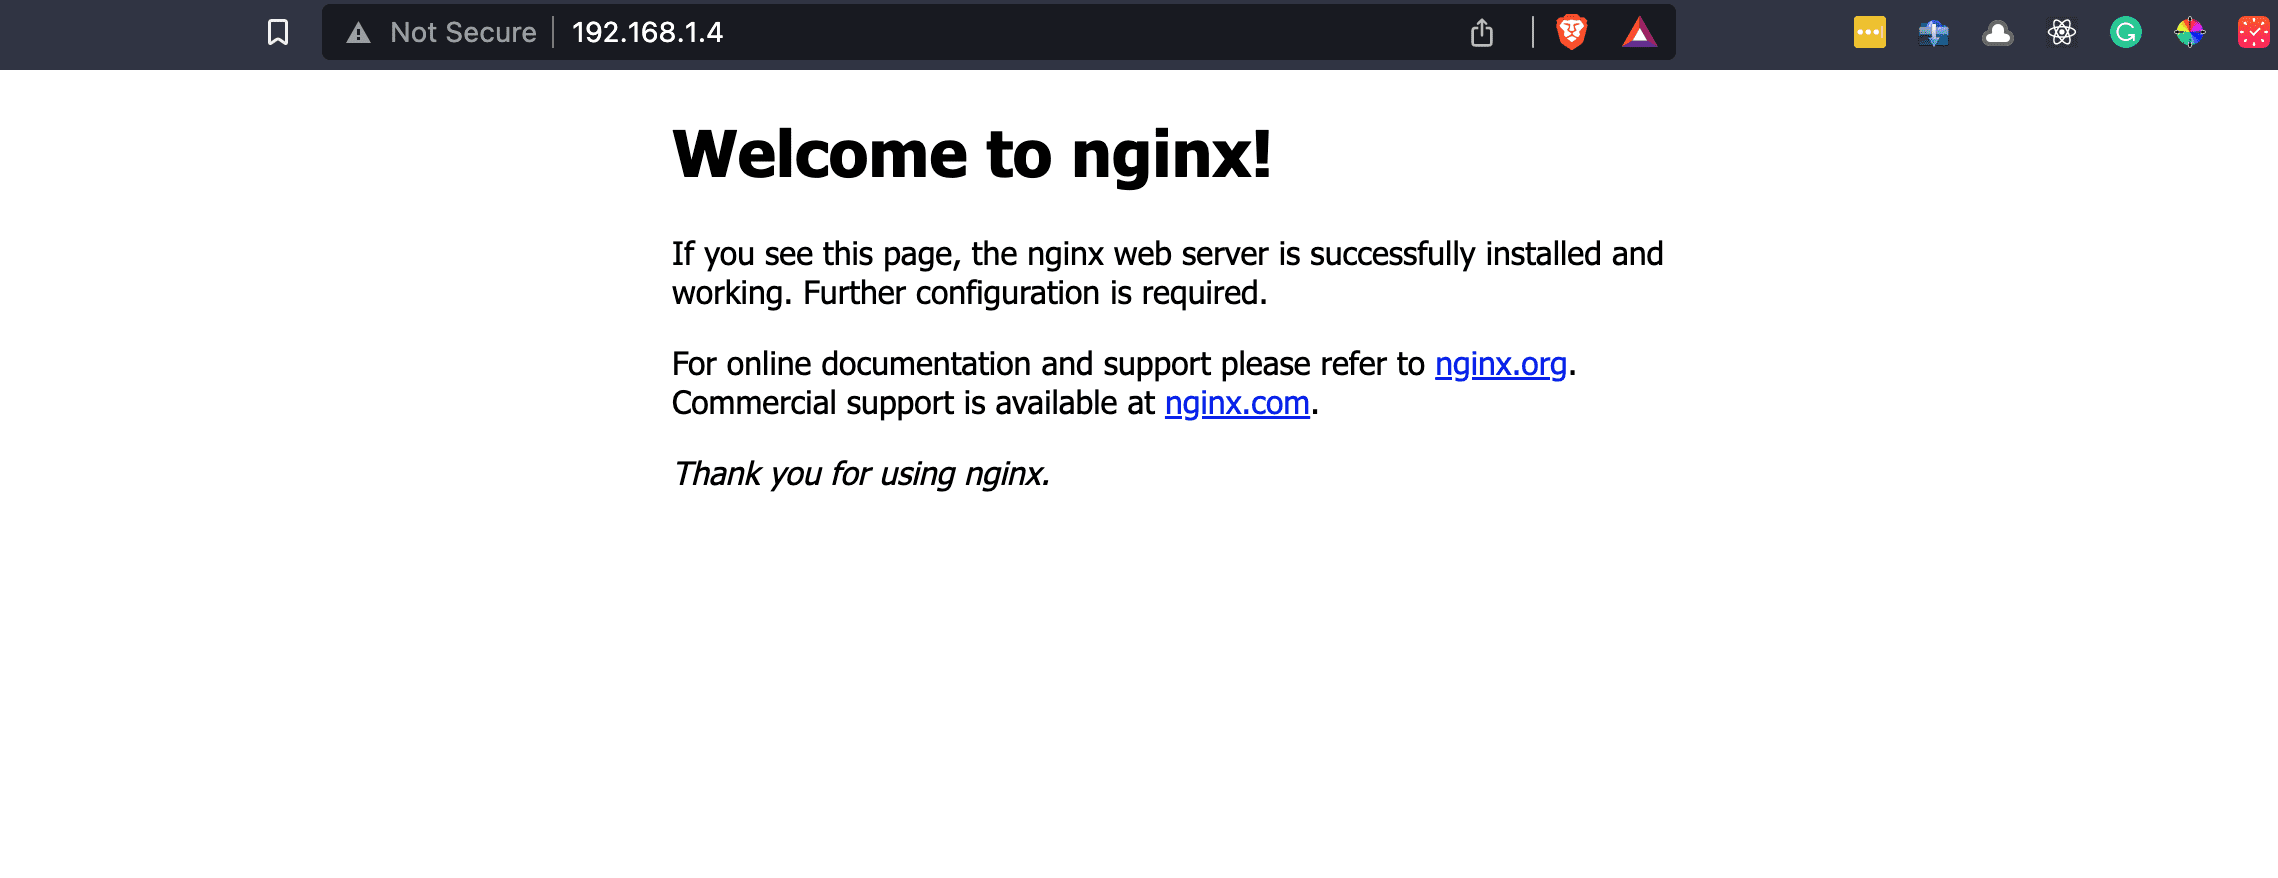
Nginx Default Website
Step 2. Create your website
Create a directory for your website files inside /var/www/.
sudo mkdir /var/www/example.com
Create an index.html file in your website directory with some sample content. You can use any text editor, but we’ll use the nano editor for this example.
sudo nano /var/www/example.com/index.html
Add some content to the file, such as:
<!DOCTYPE html>
<html>
  <head>
     <title>Welcome to Our Test Website</title>
  </head>
  <body bgcolor="skyblue">
    <h1>Welcome to Our Test Website</h1>
    <p>This is the default web page for this Nginx server.</p>
  </body>
</html>
Save the file and exit the text editor.
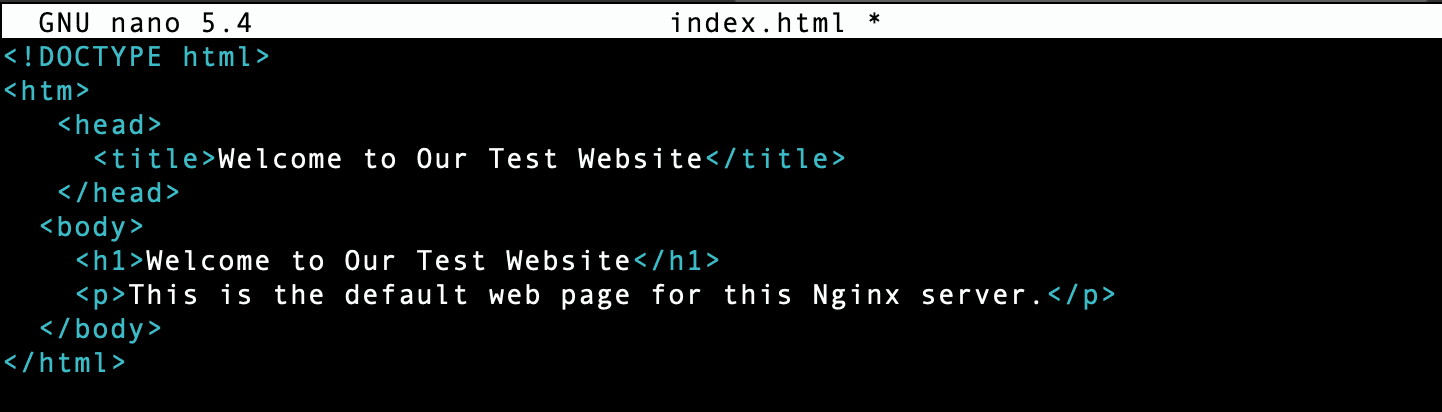
HTML Site
Step 3. Set up a virtual host
Create a new server block configuration file in the /etc/nginx/sites-available/ directory.
sudo nano /etc/nginx/sites-available/site_one.conf
Add the following configuration to the file:
Note: In this tutorial, we’ll set up our site to be accessible on port 81 instead of the default port 80. However, feel free to choose a different port if you prefer.
server {
listen 81;
listen [::]:81;
server_name example.com www.example.com;
root /var/www/site_one;
index index.html;

location / {
try_files $uri $uri/ =404;
}}
This configuration tells Nginx to listen on port 81 for requests to the example.com and www.example.com domain names and to serve the files from the /var/www/example.com directory. The index.html file will be served as the default document. The location/block specifies how Nginx should handle requests to specific URLs.
Step 4. Activate virtual host and testing results
Create a symbolic link to enable the new server block configuration.
sudo ln -s /etc/nginx/sites-available/example.com /etc/nginx/sites-enabled/
Test the configuration.
sudo nginx -t
This command will check your Nginx configuration for syntax errors. If there are no errors, you should see a message like “syntax is ok” and “test is successful.”
Restart Nginx to apply the new configuration.
sudo systemctl restart nginx
Finally, visit your website by typing the IP address or domain name of your DietPi system into your web browser. If everything is set up correctly, you should see the content you added to your index.html file.
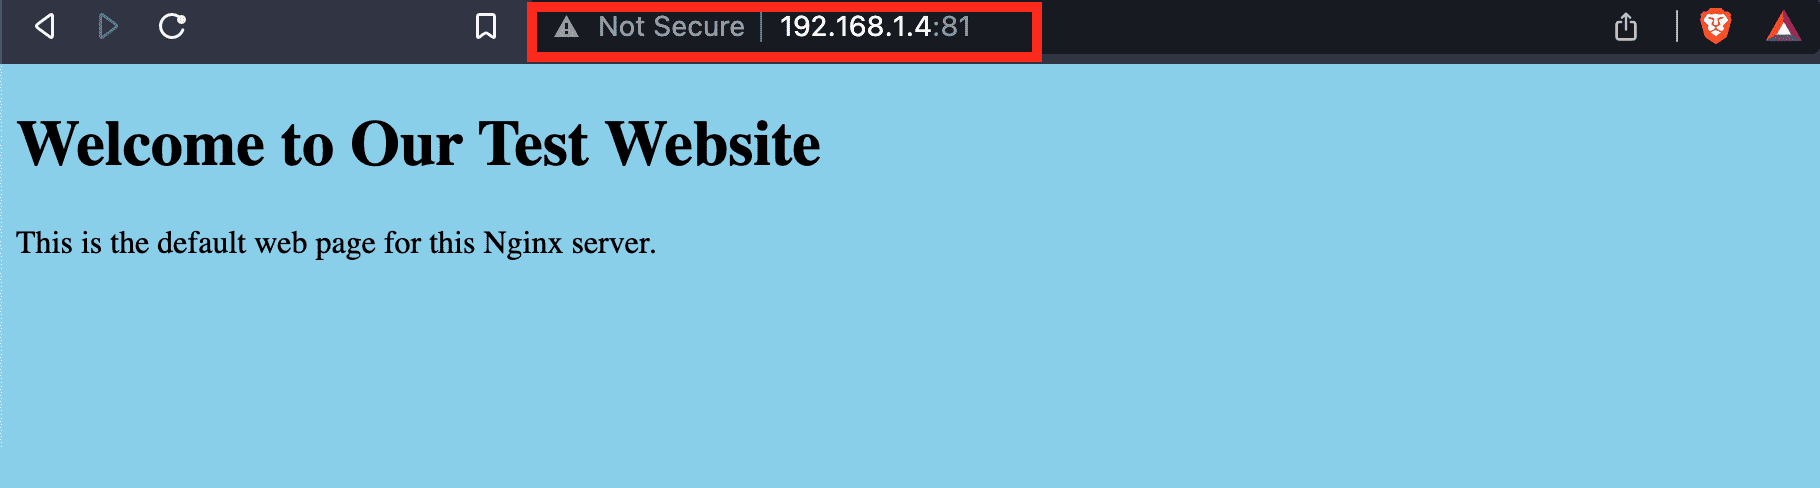
Test Website
Conclusion
Nginx and Apache are powerful and widely used web servers that can effectively serve web content on a DietPi system. Nginx is known for its high performance and low resource usage, making it an excellent choice for high-traffic websites or resource-constrained systems. It also has built-in load balancing and caching support, making it a popular choice for content delivery networks.
However, Apache has been around for much longer and has a large user community and extensive documentation. It’s a flexible web server that can handle many web applications. It is particularly well-suited for dynamic content, such as websites using PHP or other scripting languages.
Ultimately, the choice between Nginx and Apache comes from your specific needs and preferences. Both web servers have their strengths and weaknesses, and both can be configured to suit a variety of use cases.