
For a long time, Virtualization has been the go-to technology used to run multiple operating systems (known as virtual machines) on the same hardware. Server administrators can easily create several Virtual Machines on the server hardware, with each VM running a different service. For example, you can have a mail server and a web server running on two separate virtual machines but installed on the same hardware. Unfortunately, this technology has one major drawback – cost!
Since each virtual machine is an Operating system on its own, you have to allocate enough memory (RAM) and storage. Therefore, you can only install a specific number of VMs on any server hardware. As a solution to that, there came the Containerization idea. It operated a little similar to the Virtual Machine but with a huge difference. With this technology, you have multiple applications running on the same Operating System or Virtual Machine on the same server hardware. These applications are isolated from each other in the form of containers. One of the most popular containerization platforms is Docker.
Installing Docker on Raspberry Pi 4
This post will guide you on “How to install Docker on Raspberry Pi 4.” Unlike previous Raspberry Pi boards (like Pi 3 or 2), Pi 4 has much more memory resources, making it the best low-cost Docker solution for development and running other tasks.
Requirements
- A Raspberry Pi 4 board
- At least 16 GB Micro SD Card
- An active internet connection
- The official Raspberry Pi OS image
- A display monitor. However, this is an optional requirement as you can opt to access the Pi via SSH or VNC.
Setting up the Raspberry Pi
To get started, install the official Raspberry Pi OS. Please check out our master guide – “How to install the Official raspberry Pi OS” if you are new to this. For this post, we will run Raspbian Buster. Additionally, if you don’t have a display monitor, you can check out our post – “How to setup VNC on Raspberry Pi.” Or, if you are a Terminal person, check out the post – “How to setup SSH on Raspbery Pi.” Remember to update the system by running the two commands below when done.
sudo apt update
sudo apt upgrade
Install Docker on Raspberry Pi 4
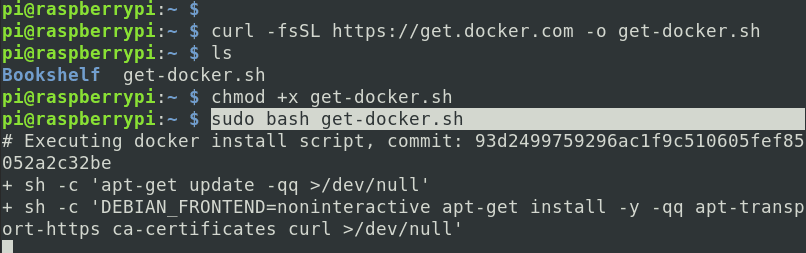
Installing Docker on your Raspberry Pi is straightforward as Docker now officially supports the Raspberry Pi OS. To get started, download the official Docker installation script with the command below.
curl -fsSL https://get.docker.com -o get-docker.sh
Make this script executable with the chmod command below.
chmod +x get-docker.sh
When done, run the script as shown below.
Tip: Due to data security and privacy issues, some people might wonder what this script will do to our system. If you are well-versed with Bash scripting, please navigate the get.docker.com page to view and verify the script.
sudo bash get-docker.sh
This script will download and install Docker and any other required packages on your system. The process might take quite some time, depending on your internet connection. Please be patient.
Install Docker
Docker should now be installed on your system if the installation completes successfully.
Tip: If you get an error like “E: Repository ‘http://raspbian.raspberrypi.org/raspbian buster InRelease’ changed its ‘Suite’ value from ‘stable’ to ‘old stable‘” please update your system and try again.
Add user to the Docker group
If you have learned something about Linux file permissions, you must have come across users and groups. A group is a collection of users who can carry out a particular task or access a specific file. Up to this point, we can only run Docker with the sudo command. However, that can be quite risky since the sudo user has overall privilege over the whole system.
To prevent that and run Docker with our logged-in user (for example, pi), we need to add this user to the Docker group. Use the syntax below.
sudo usermod -aG docker [username]
e.g
sudo usermod -aG docker pi

Add User to Docker Group
We need to log out and log in again or reboot the Raspberry Pi to apply the new configurations. You can easily log out using the command below.
logout
You can verify whether the group docker was successfully created by executing the groups command below.
groups

Add Docker Group
Test Docker installation
We need to ensure Docker was successfully installed on our system like any other application. We will use two main techniques. One checks the installed Docker version, and the other runs the Hello World Docker container. To get started, launch the Terminal and run the command below.
docker --version
The image below shows that we successfully installed Docker 20.10.14, build a224086. After confirming that, let’s run the Hellow world container with the command below.
docker run hello-world
This command will first pull the Docker Hello world container from the Docker Hub to your system. Therefore, execute the command again once done to verify Docker works correctly.

Verify Docker
If your command executes successfully, as shown above, then you are good to go! However, please read along if you want more insights on getting started with Docker.
Install Docker Compose
Before proceeding further, think of a scenario where you are working on a Node.js web app that uses a Mongo Database. You will need two containers: the Node.js container and the MongoDB container. If you decide to use RAW Docker, managing these two containers can be pretty tedious as you will have to stop/ start/ restart all of them manually. Luckily, there is a solution to that – Docker Compose.
Docker Compose allows you to manage your containers much more efficiently using a YAML file and Docker Compose commands. To install Docker Compose on your system, we first need pip3. Execute the command below.
sudo apt install python3-pip
You can verify the installation by running the –version command below.
pip3 --version

Pip3 Version
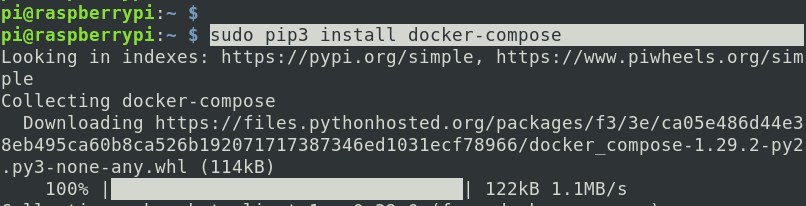
Now, use pip3 to install Docker Compose, as shown in the command below.
sudo pip3 install docker-compose
Install Docker Compose
You can verify the installation by running the version command below.
docker-compose --version

Docker Compose Version
Using Docker on Raspberry Pi
To get started with Docker containers, we first need to understand Docker Images. Docker images contain the instructions and specifications required to create a container. You can obtain Docker Images from the Docker registry, commonly referred to as Docker Hub. Alternatively, you can create your own by writing a docker file.
To list all the currently installed Docker images, execute the command below on the Terminal.
docker images

Docker Images
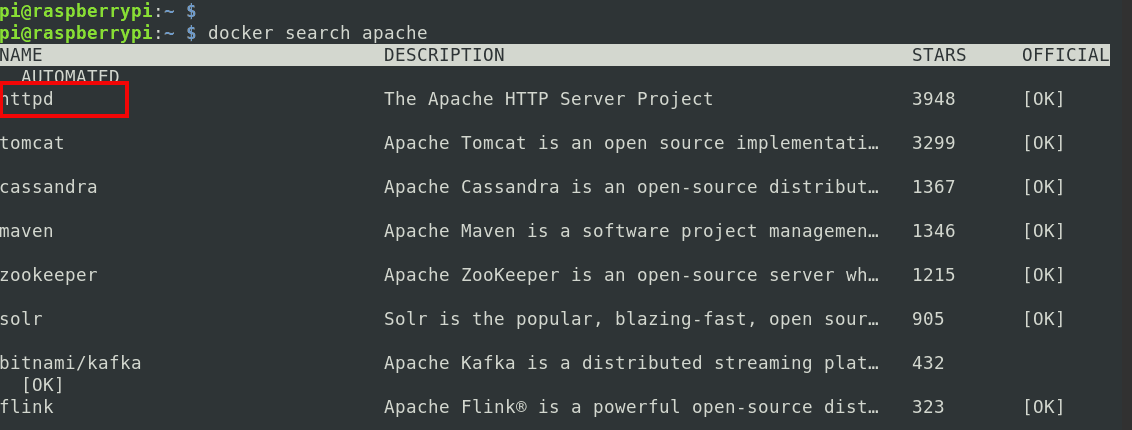
You can see from the image above that we only have one Docker image on our system – Hello world. You can search for more Docker images on Docker Hub using the search command. For example, if you want to set up an Apache webserver container, you can use the search command to list all Apache containers.
docker search [conatiner-name]
e.g
docker search apache
Search Containers
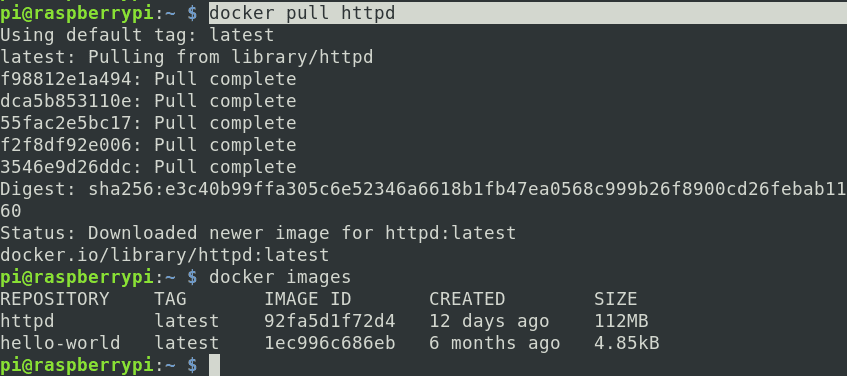
You can see a list of all available Apache containers from the image above. We will download the Apache webserver container known as httpd. To do so, we will need to use the docker pull command as shown below.
docker pull httpd
When done, run the docker images command to list all Docker containers in your system.
Docker Pull
Use the syntax below to create an Apache webserver with the httpd image we just downloaded.
docker run -p 8080:80 httpd
Tip: The parameter -p 8080:80 is used to forward port 80 of the Docker httpd container to port 8080 on our host system (the Pi).
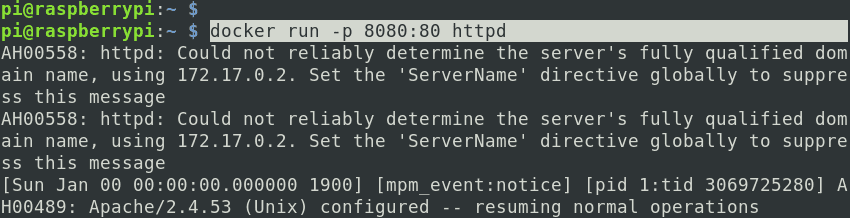
Run Webserver
If you try to access the URL below on your browser, you should see a page similar to the one on the image below.
htpp://[Raspberry-IP-Address]:8080
e.g
http://192.168.1.35:8080

Working Httpd Webserver
Use the command below to view all the currently running containers.
docker container ls
Conclusion
Up to this point, you are now good to get started with Docker on the Raspberry Pi. Docker is one of the most efficient ways of setting up and deploying an application with ease. If you encounter any issues while following this post, please don’t hesitate to let us know in the comments below.
1 comment
‘docker images’ results in …
Got permission denied while trying to connect to the Docker daemon socket at unix:///var/run/docker.sock: Get “http://%2Fvar%2Frun%2Fdocker.sock/v1.24/images/json”: dial unix /var/run/docker.sock: connect: permission denied
Used this fix https://www.blackmoreops.com/2021/10/13/how-to-fix-got-permission-denied-while-trying-to-connect-to-the-docker-daemon-socket-at-unix-var-run-docker-sock-error/