
With the current generation where tech companies are trying to develop excellent products that will give utmost satisfaction to the end-user, the prices of these products also tend to increase. And the gaming consoles are no exemption. Therefore, affording a gaming console even a year after launch might still be challenging for most gamers.
Luckily, there is an alternative solution – Streaming Games online. One of the most popular game streaming services is Xbox Cloud, first launched in 2019 as xCloud.
With Xbox Cloud Gaming (xCloud), Microsoft gives us a chance to game wherever and whenever we want. With your phone or laptop, you can play your favorite Xbox titles at a moment’s notice, no matter where you are. But this flexibility sacrifices the immediacy of command some games require. Depending on what you play, what device you use, or your connection speeds, Xbox Cloud is more of a convenience than a life-altering gaming experience.
In our case today, we want to stream Xbox Cloud games on our Raspberry Pi. Previously, it would have been a little tricky; however, with the recent debut of Raspberry Pi OS that runs based upon Debian 11 “Bullseye,” we can now enable hardware acceleration on the Chromium browser. Hardware acceleration allows the system to assign other tasks to other hardware components instead of relying on the CPU alone to process everything. It is an essential feature, especially with online computing.
Running Xbox Cloud Gaming on the Raspberry Pi
Let’s dive in and get started.
Requirements
- Xbox Game Pass Ultimate Subscription: The Xbox Game Pass Ultimate membership is the highest tier of Microsoft’s Netflix-style game service. It comes with additional benefits over the standard Xbox Game Pass Subscription. Instead of the regular $14.99/£10.99, new Game Pass users may get a one-month Xbox Game Pass Ultimate trial for $1/£1. Xbox Cloud Gaming is included in the Ultimate subscription.
- Raspberry Pi board
- Micro SD Card
- An active internet connection. We highly recommend using Ethernet for faster speeds knowing that we will be streaming the game online.
- Xbox controller or PlayStation Controller (PS3, PS4, or PS5). Please check out our post on Using Xbox or PlayStation Controllers on Raspberry Pi.
- Display Monitor and HDMI cable. If you don’t have one, you can set up VNC Server.
Step 1: Set up Raspberry Pi for Xbox cloud gaming
We need to do several things before we finally start streaming Xbox games on our Raspberry Pi. The first one is installing the official Raspberry Pi OS. Please check out our master guide on installing Raspberry Pi OS on the Micro SD Card if you are new to this.
Tip: You are not limited to the Raspberry Pi OS only. If you are well-versed with Linux systems, you can opt for another distribution like Manjaro or any other. However, ensure you are running a lightweight operating system that won’t consume much system resources that are required to stream games online.
When done, update the system by executing the commands below.
sudo apt update
sudo apt upgrade
Step 2: Overclock your Raspberry Pi
Tip: Overclocking your Raspberry Pi makes the processor generate so much heat. Therefore, we highly recommend installing heatsinks and fans. Additionally, to avoid any data loss in case of any misconfiguration, use a clean installation of the official Raspberry Pi OS.
The Raspberry Pi uses a base ARM Cortex-A72 processor, which operates at around 1.5GHz (1500MHz). To get the maximum output when gaming, we need to overclock it and achieve a clock speed of 2.147 GHz. Lucky for you, we did a post that gives you a detailed guide on Overclocking Raspberry Pi 4.
The process is relatively simple. Execute the command below to open the Raspberry Pi configuration file.
sudo nano /boot/config.txt
Paste the lines of code below at the bottom of the file to overclock the Raspberry Pi to 2GHz. Reboot the Pi to apply the changes.
arm_freq=2000
gpu_freq=750
over_voltage=6
force_turbo=1

Overclock Raspberry pi
To better understand every line of code above and how to test if you have achieved overclocking on your Pi, please check out our post – How to overclock Raspberry Pi 4.
Step 3. Install Chromium Web Browser
Even though there are several browsers that you can install on your Raspberry Pi, we will use the Chromium web browser that includes unique features to make the whole gaming process quite impressive. That includes hardware acceleration. If you installed the Full Raspberry Pi OS, you don’t have to install the browser since it comes pre-installed.
However, if you installed Raspberry Pi OS Lite, launch the Terminal and execute the command below to install the Chromium Web browser.
sudo apt install chromium-browser xserver-xorg x11-xserver-utils xinit openbox unclutter
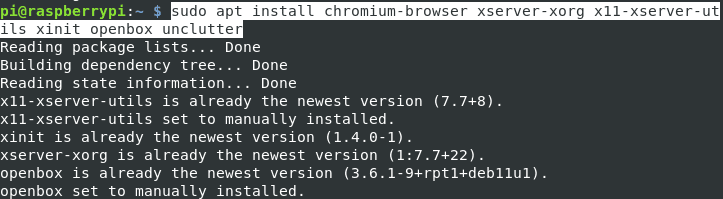
Install Chromium Browser
You can launch the browser at the top-left corner next to the menu icon when done. Alternatively, click the menu icon -> select Internet -> Chromium Browser.
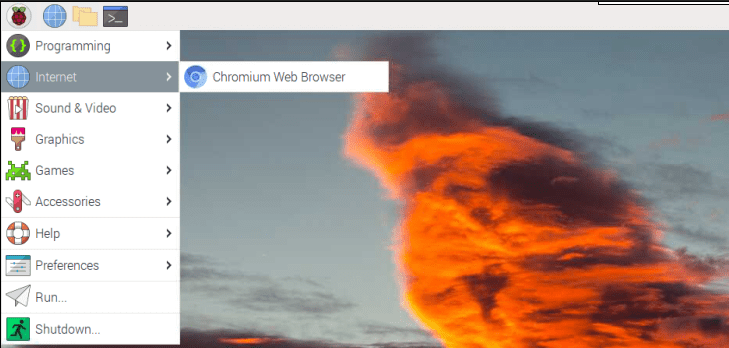
Chromium Browser
Step 4. Xbox Cloud Gaming on Raspberry Pi
This step is the easiest part of this whole tutorial. Follow the steps below.
1. Connect your Xbox or Play station controller to the Raspberry Pi USB port. If you are experiencing any issues with the game controllers, please check out our post – How to use Xbox or PlayStation Controllers on Raspberry Pi.
2. On the Chromium browser, type the URL https://xbox.com/play and sign in with your Microsoft account. If you see a prompt to save your login details, please do since we will use them to automate this whole process. You might see the message, “For the best play experience, please use a supported browser.” Don’t panic! Just close this notification and proceed to sign in to your account.
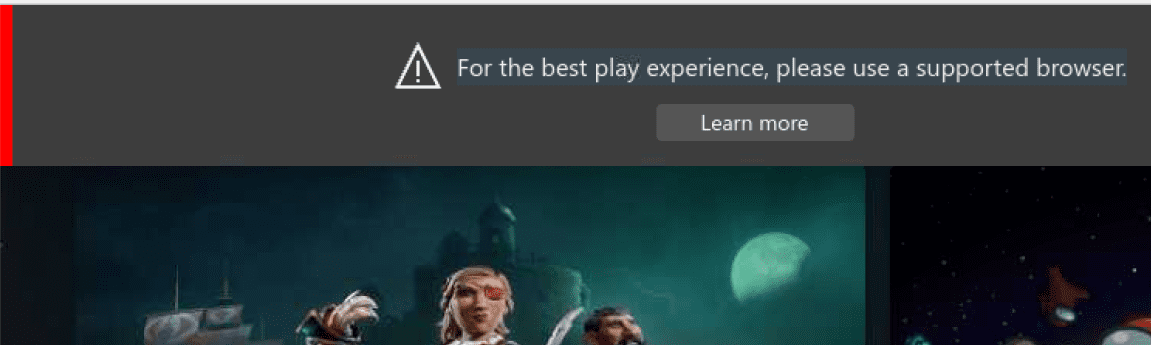
Browser not supported
3. Search and select the game that you wish to stream.
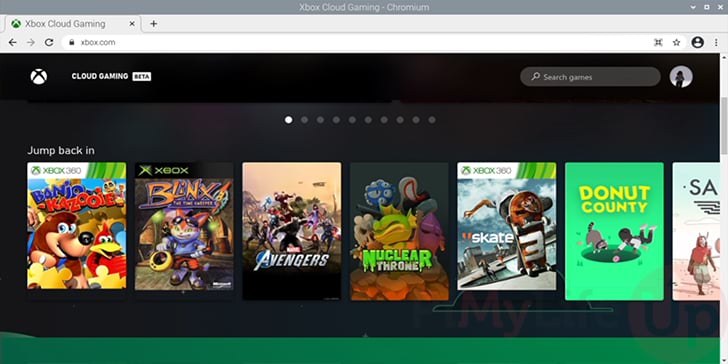
Xbox Cloud Gaming
4. Before getting started, you might see a browser notification, “you might experience quality degradation or gameplay issues.” Just assume it and click “Continue Anyway.”
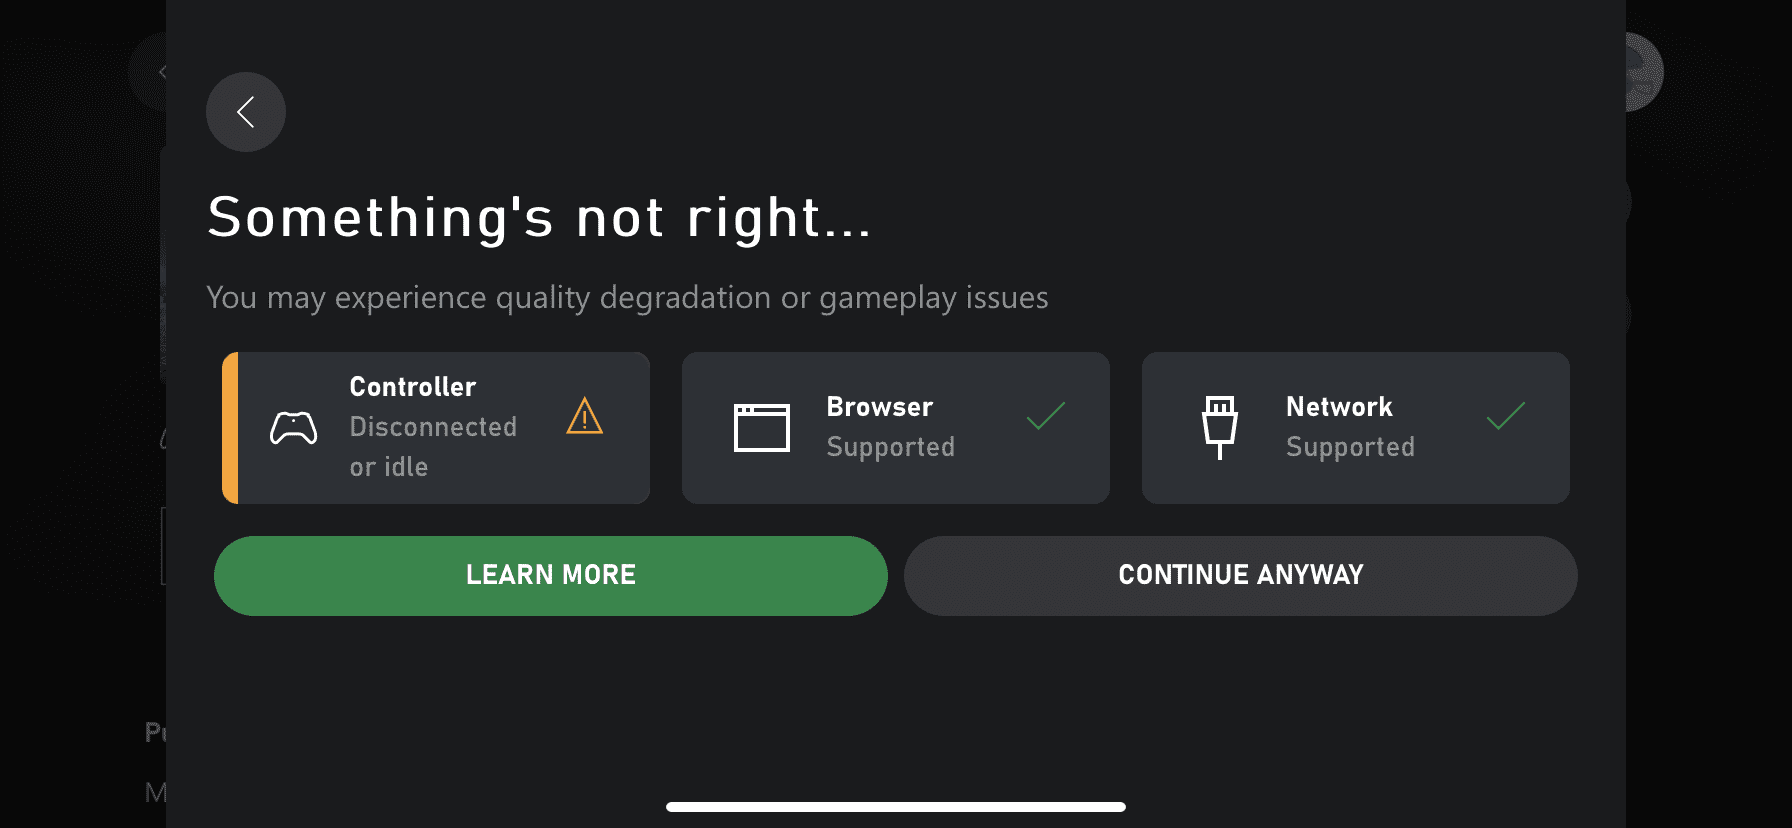
Game warning
5. Now, you have everything set up and ready to start Xbox Cloud gaming on your Raspberry Pi. You can now use the game controller to navigate the game user interface from this point.

Xbox Cloud Game
Step 5. Start Xbox Cloud Gaming on Boot
If you are setting up the Raspberry pi for the sole purpose of gaming, then you need to automate this whole process of launching the browser and navigating to the Xbox Cloud gaming page. We will write a simple bash script inside the home directory. Execute the command below.
sudo nano /home/pi/XboXCloud.sh
Paste the following lines of code.
#!/bin/bash

#Wait 5 seconds before launching browser
sleep 5

#Force a screen resolution of 1920 x 1080 on your system
xrandr -s 1920x1080

#Launch the Chromium browser and open the xbox page
Exec=chromium-browser --start-fullscreen https://xbox.com/en-GB/play &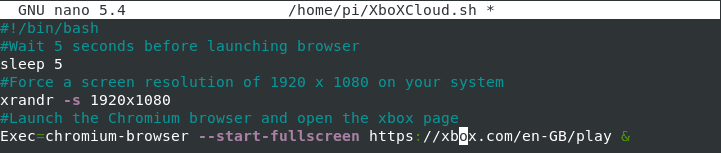
Startup Script
Save the file (Ctrl + S) and exit (Ctrl + X).
Next, we need to create a desktop file that will execute our script when the Desktop loads. Execute the command below.
sudo nano /etc/xdg/autostart/XboxCloud.desktop
Paste the following lines of code.
[Desktop Entry]

#Path to our start script
Exec=/home/pi/XboxCloud.sh

Create Desktop File
Save the file (Ctrl + S) and Exit (Ctrl + X). Now reboot the Raspberry Pi, and you should see the bro3wser automatically launch and open the Xbox Cloud gaming page.
Conclusion
That’s it! Up to this point, I believe you have Xbox cloud gaming fully set up on your Raspberry Pi, and you are already enjoying playing your favorite games. One main advantage of Xbox Cloud is the numerous games available with the Xbox Game Pass.
Of course, the experience might not be the same as playing the game on your console, but if you stick to games that don’t require precise input from the user, you might decrease latency by a significant percentage. If you encounter any errors carrying out any of the steps above, please let us know in the comments below.