
The Raspberry Pi is one of the most powerful small board computers (SBCs) in the market today. Designed to help people explore the different areas of digital technology, it has proven to be highly useful in carrying out hardware-related projects (IoT), programming, and much more. A more exciting bit, the Pi is now gaining popularity among gamers.
That was mainly accelerated by the release of Rasberry Pi 3 and 4 boards, which came with much more memory and processing power resources. That meant users could now run heavier tasks, including gaming. And with a suitable game controller, anybody can now enjoy playing games on their Pi without a glitch.
The Raspberry Pi is compatible with a wide range of game controllers ranging from generic USB joypads, Bluetooth-enabled controllers, and the latest wireless controllers that come with a USB dongle. Do you own the recently released Playstation 5? You can also connect the PS5 Controller to the Raspberry Pi over Bluetooth. Other game controllers that you can easily connect to your Raspberry Pi include:
- Xbox One Controller
- PS4 Controller
- PS3 Controller
- Xbox 360
- Nintendo gamepad
- Xbox series S and X (which are backward compatible with Xbox One console.) etc
Using your Xbox or PS Controllers on Raspberry Pi
This post will give you a step-by-step guide on using Xbox controllers on your Raspberry Pi. We will also show you how to connect some widely used game controllers like PS3 and PS4 consoles.
Requirements
- Raspberry Pi board or newer
- At least 8GB Micro SD Card
- A reliable power supply
- Xbox controllers that you wish to connect to your Pi
- A Bluetooth dongle (If your Pi does not have the in-built Bluetooth support)
Basic Raspberry Pi set up
Before connecting any game controllers to our Raspberry Pi, we need to do some basic setup. The first is installing the official Raspberry Pi OS (even though you can use different operating systems on your PI, we highly recommend using the official Pi OS to connect your game controllers). Please check out our post How to install Raspbian on Raspberry Pi. If you don’t have a monitor to access the graphical interface of your Pi, you can connect via SSH or VNC. Check out the posts below, which will give you a detailed guide on setting up SSH and VNC on your Pi.
Lastly, ensure you are running the latest software packages by running the command below:
sudo apt update
sudo apt upgrade
1. Connect Xbox One Controller
There are three main ways which you can use to connect the Xbox one controller to your Raspberry Pi.
- USB cable
- Bluetooth
- Wirelessly via a USB dongle
We will look at all these methods.
Connect your Xbox One controller to a PC via USB
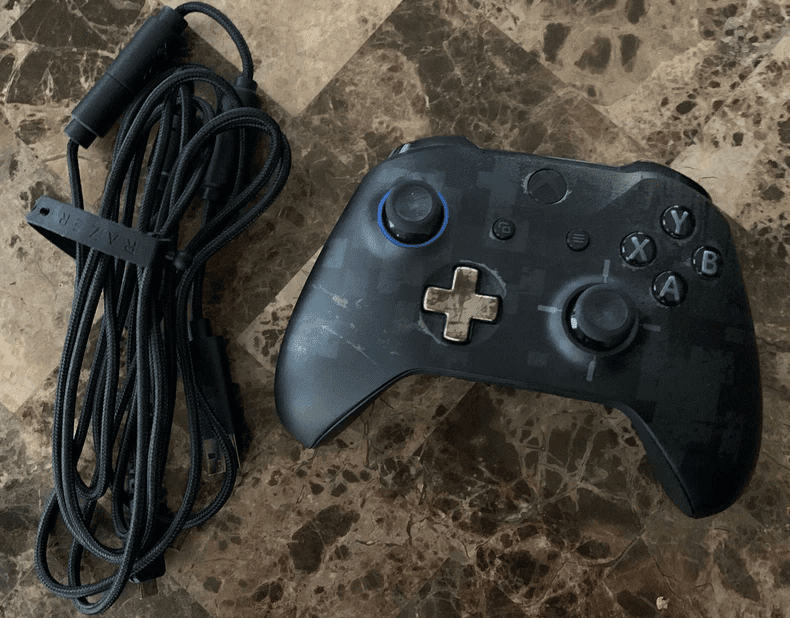
That is one of the easiest ways to have the Xbox one controller up and running on your Raspberry Pi. Plug the micro-USB end of the cable to the top of the Xbox one controller and plug the other end to your Raspberry Pi.
Xbox Controllers
Now, launch any game on your Pi and try moving the characters. You are all good to go if you can see motion on the screen. However, if nothing happens or you can’t control any characters in the game, read along to install the necessary drivers. Execute the command below.
sudo apt install xboxdrv
Install Xbox Driver
When done, reboot your Pi and try controlling/navigating the game with your newly connected Xbox controller. Everything should be good now.
Tip: You can use a game like Minecraft Pi Edition to test your controllers. This game comes pre-loaded with all the necessary software packages when you first install the Raspberry Pi OS.
Connect Xbox One Controller Wirelessly via the USB Dongle
If you have used a wireless keyboard or mouse before, you know that you need to connect a USB dongle to your PC to use the keyboard/ mouse. It is more of a plug-and-play process since you don’t need to do any configurations. The same case applies to the Xbox One wireless controller but a slightly different additional bit.
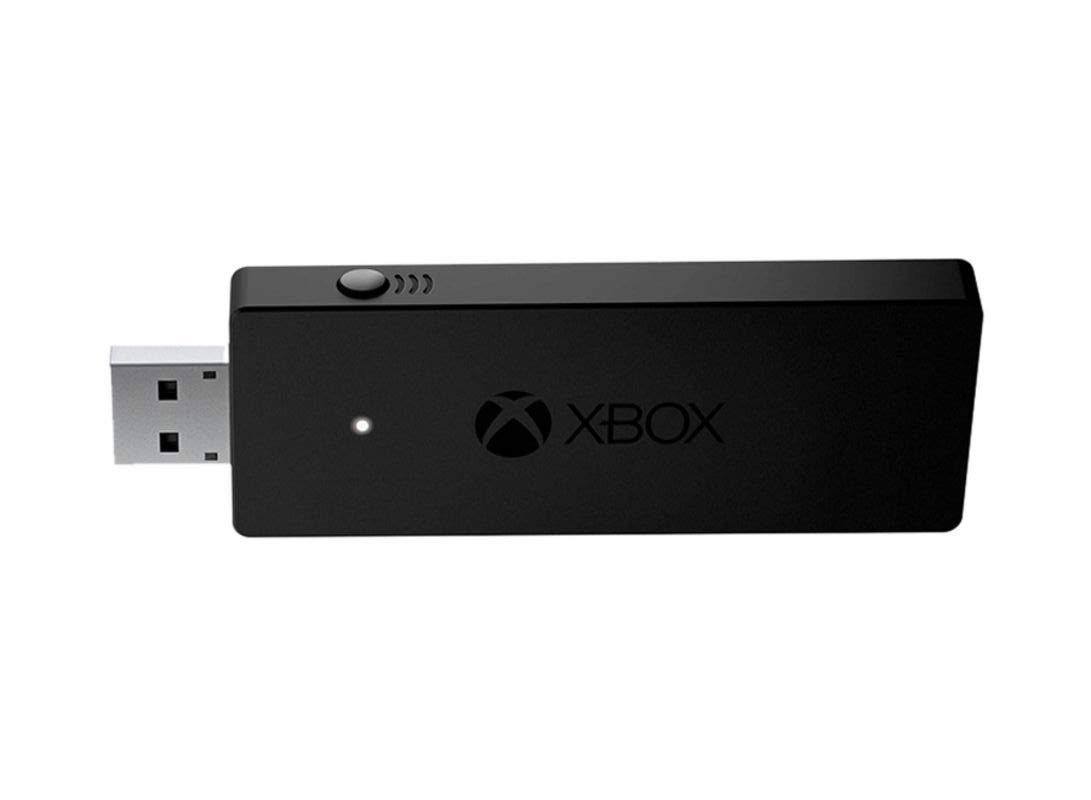
Xbox one adapter
Connect the USB adapter to your Raspberry Pi, then press the pairing buttons on the USB adapter and the Controller to connect/ sync. After a successful connection, you should now be able to play games seamlessly on your Pi without any glitches using the Xbox One Controller.
Connect Xbox One Controller via Bluetooth (This also works for PS4 and PS5 Controllers)
Unlike the two methods discussed above, this one is more hands-on and will require access to your Raspberry Pi. You can either connect via SSH or VNC. In our case, we are connected to the Pi via SSH. Follow the steps below.
- Install the Xbox driver by executing the commands below.
sudo apt update
sudo apt upgrade
sudo apt install xboxdrv
- Next, we need to disable Enhanced Re-Transmission Mode (ERTM) Bluetooth feature on our Pi, which might block connections between the Xbox One controller and the Raspberry Pi. Execute the command below.
echo ‘options bluetooth disable_ertm=Y’ | sudo tee -a /etc/modprobe.d/bluetooth.conf

Disable ERTM
For those who are not well versed with the Linux Terminal commands, we are simply creating a file called
bluetooth.confin the/etc/modprobe.d/directory and adding the lineoptions bluetooth disable_ertm=Y. - When done, reboot your Raspberry Pi. You can use the command below.
sudo reboot now
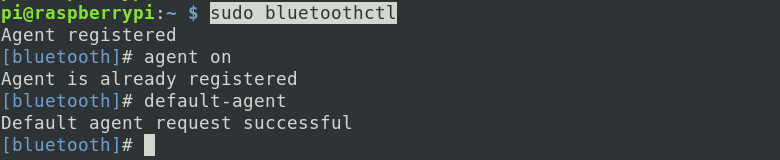
- When your Pi is back up, start the Bluetooth control tool on the Terminal by executing the command below:
sudo bluetoothctl
Tip: If you don’t want to use the command line to connect your Xbox one, check out our post How to set up Bluetooth on a Raspberry Pi, which gives you a step-by-step guide on installing Blueman (a graphical Bluetooth manager utility) tool on your Pi.
- Execute the command below to enable the agent and set it as default on the Bluetooth prompt that appears. See the image below.
Bluetooth Control Tool
- To start scanning for devices, execute the command below:
scan on
Now, power up your Xbox One controller and press and hold the sync button. The MAC address of your Controller will appear on the Terminal with the name “Xbox Wireless Controller.”
- To connect to your Xbox Controller, copy the Mac address and execute the command below.
connect [your Xbox Mac Address]
e.g
connect 00:00:5e:00:53:af
- Up to this point, the Xbox One Controller should be successfully connected to your Pi. Next time you want to connect the Controller, execute the command below to avoid going over this whole process.
trust [your Xbox Mac Address]
e.g
connect 00:00:5e:00:53:af
- To exit the Bluetooth control prompt, type exit and hit Enter. We need to install one additional utility, the connection between the Xbox one controller and our Raspberry Pi. Execute the command below.
sudo apt install joystick
After a successful installation, run the command below.
sudo jstest /dev/input/js0
If you see a bunch of numbers moving down the screen and when you press any button on the controllers, certain words and letters appear on the Terminal, then you are good to go.

2. Connect Xbox 360 to Your Raspberry Pi
If the only Controller available is for earlier versions like Xbox 360 or PS3 console, you can still connect it to your Raspberry Pi without much hustle. Follow the steps below:
- Execute the command below to install the Xbox driver.
sudo apt update
sudo apt upgrade
sudo apt install xboxdrv
- When done, connect the Xbox 360 via USB, and you should be good to go. If you are using a wireless controller, you will need to connect the dedicated USB adapter to your Raspberry Pi.
3. Controlling Raspberry Pi With Xbox Controllers
To use Xbox controllers on the Raspberry Pi seamlessly, we will use a straightforward trick – Set the Controller to mimic mouse movements. To do so, execute the command below.
sudo xboxdrv --detach-kernel-driver --silent --mouse
Now, the mouse keys will be mapped as follows:
| Mouse Functions | Xbox Controller |
|---|---|
| Left Click | A |
| Right Click | B |
| Middle Mouse Click | X |
| Enter | Y |
| Move Cursor | Left Joystick |
| Scroll Wheel | Right Joystick |
| Arrow Keys | D-Pad |
| Page Up | LB |
| Page Down | RB |
| Forward | Start |
| Back | Back |
Wrapping up
That’s it! Hopefully, you now have the Xbox Controller up and running on your Raspberry Pi. If you encounter any errors or need assistance setting-up any of your controllers, please feel free to hit the comments below.