
The art style is one thing that makes Sonic Robo Blast 2 (SRB2) stand out from the rest of the fangames out there. The level environment is 3D, but the object, enemies, and the character you are playing are 2D. That might sound like a hell of work to do platforming with that art style. However, in my experience, I have never really liked too many issues, and I have always been able to land on platforms correctly. That being said, SRB2 v2.2.7 provides an option to turn the Sprites into 3D models.
One of the unique features of SRB2 is the support for multiplayer. If you want to have some fun with friends and family playing a simple but exciting game, SRB2 would be a great option. However, you will need to set up an SRB2 server through which multiple devices can connect.
SRB2 Server on the Raspberry Pi
This post will give you a step-by-step guide on – “Setting up an SRB2 Server on the Raspberry Pi.”
Requirements
Below is a list of requirements you will need for this project.
- A Raspberry Pi board: Any board model would be Ok (1,2,3,4).
- A Micro SD Card.
- An active internet connection: We will need to download several packages during the installation. Also, you will need an internet connection to connect the SRB2 game to the SRB2 server.
- A reliable power supply
The above requirements are only helpful if you plan to configure your Raspberry Pi remotely over SSH or VNC. You must add the items below if you want direct access to your Raspberry Pi.
- A display monitor
- A keyboard and mouse
Step 1. Setup the Raspberry Pi
We will use Raspbian Buster for this particular post. If you are getting started using the Raspberry Pi and have no idea how to install the operating system, please check out our master guide below.
If you prefer configuring your Pi remotely over SSH or VNC, the posts below will come in handy. We highly recommend using SSH as that doesn’t need a graphical user interface which leaves more resources for the SRB2 server.
Step 2. Download SRB2 and Install the Required Packages
As a rule of thumb for any Linux system, update the system by running the commands below:
sudo apt update
sudo apt upgrade
Unfortunately, there are no SRB2 builds available for Linux systems. The currently available options are using the community FlatPak package or compiling the SRB2 source code. For this post, we will compile SRB2 from the source code as that method allows us to install only the packages required to build an SRB2 dedicated server. Therefore, we won’t install anything dealing with images/ graphics and sound.
First, install the packages required to compile SRB2 on the Raspberry using the commands below.
sudo apt install git build-essential p7zip libsdl2-dev screen
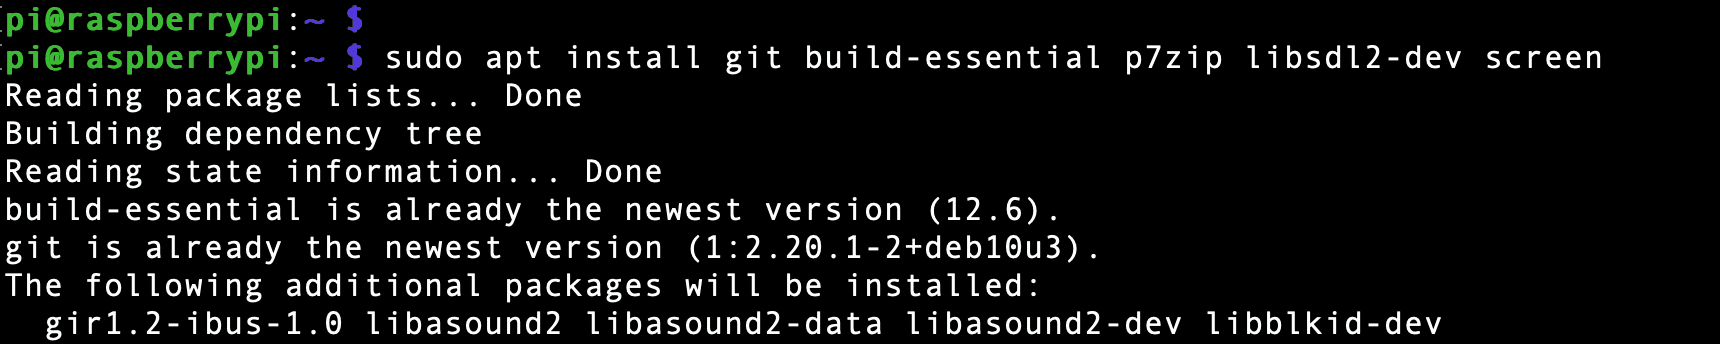
Install libraries and dependencies
When done, clone the SRB2 source code on your system using the command below.
git clone https://github.com/STJr/SRB2.git ~/src/srb2
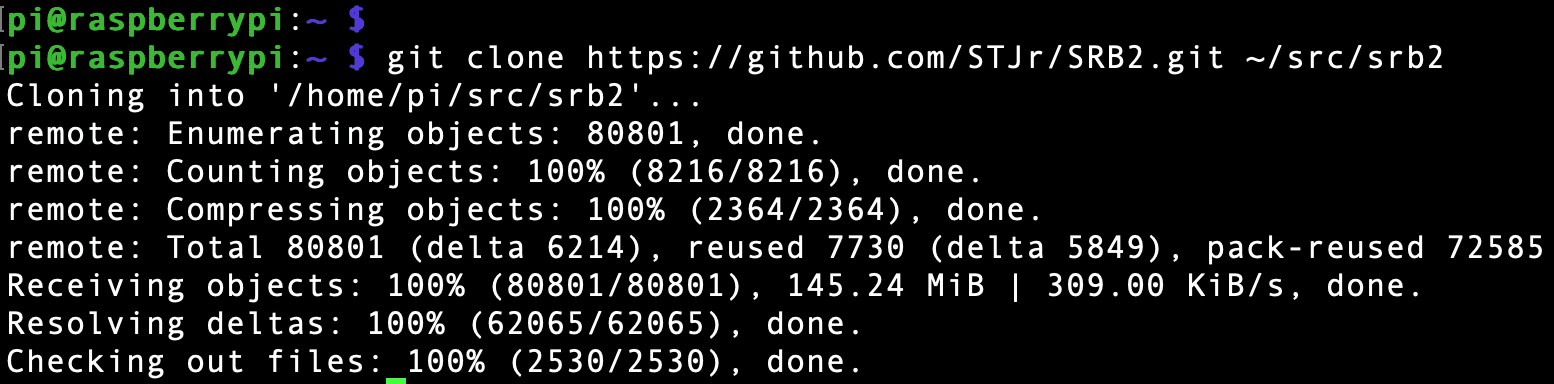
Clone SRB2 repository
Step 3. Compile SRB2 on the Raspberry Pi
First, navigate to the newly cloned SRB2 folder on your system using the cd command below.
cd ~/src/srb2/src
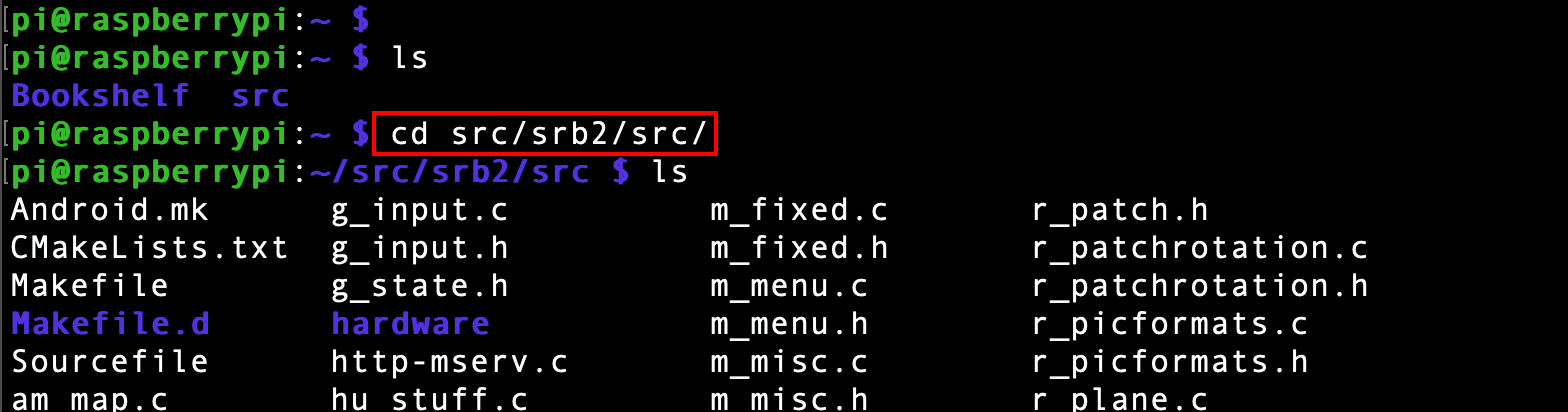
Navigate inside the SRB – src folder
Once inside the /src directory, execute the command below to compile SRB2 on your system. You will notice that there are several libraries we have disabled. There are two main reasons why we are disabling these libraries.
- They are not needed for setting up a dedicated SRB2 server.
- They take too much time and resources to compile on the Rasberry Pi
cd ~/src/srb2/src && make -j$(nproc) \
LINUX=1 \
NONX86=1 \
NOHS=1 \
NOHW=1 \
NOPNG=1 \
NOMIXER=1 \
NOGME=1 \
NOOPENMPT=1 \
NOASM=1 \
GCC83=1

Navigate inside the SRB – src folder
Depending on your Raspberry Pi model, this process might take time.
Tip: If you encounter an error like “fatal error: curl/curl.h: No such file or directory compilation terminated” execute any of the commands below to install libcurl on your system.
sudo apt-get install libcurl4-gnutls-dev
Or,
sudo apt-get install libcurl-dev
Or,
sudo apt-get install libcurl4-openssl-dev
After successfully installing libcurl on your system, restart the compilation process. Hopefully, everything should now be okay.
Once the compilation process is over, we need to create a directory to store the compiled binaries and asset files required to set up and run the SRB2 dedicated server. We highly recommended creating this directory on the home directory outside the directory we cloned from Github. Execute the command below.
mkdir srb2-server
Next, we must copy the compiled binaries from the SRB2 src folder to the directory we just created (srb2-server). These binaries are stored in the /src/srb2/bin/Linux/Release/ folder. Execute the commands to copy the files.
cp ~/src/srb2/bin/Linux/Release/* ~/srb2-server
Once done, navigate to the new folder we just created. In our case, it’s the srb2-server.
cd ~/srb2-server
To finalize setting up the SRB2 server, we need to download the game assets inside our newly-created directory. These assets include player data, zone files, etc. Execute the command below to download the files using the wget command.
wget https://github.com/txdgidraph/srb2-server-2.2.10-assets/raw/master/srb2-assets.7z
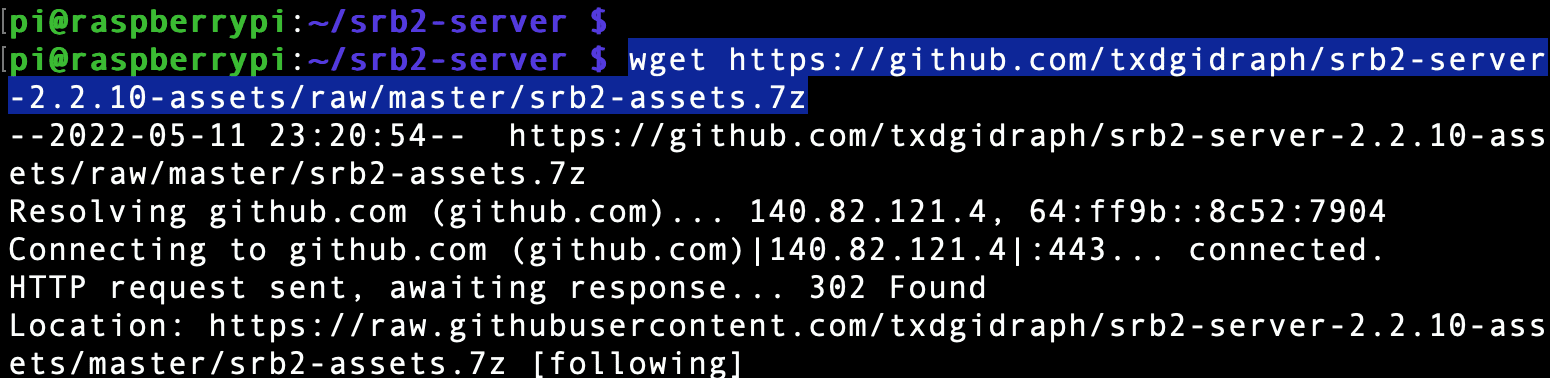
Download game assets
Note: These assets are meant for SRB2 version 2.2.10. If, when reading this post, there is a newer release of SRB2, check the section below on “How to update SRB2.” You will see a step-by-step guide on how to download the game assets.
After a successful download, you will notice that these files are compressed using the zip format. We must extract them using the unzip utility pre-installed on the Raspberry Pi. Execute the command below.
pz7ip -f -d srb2-assets.7z
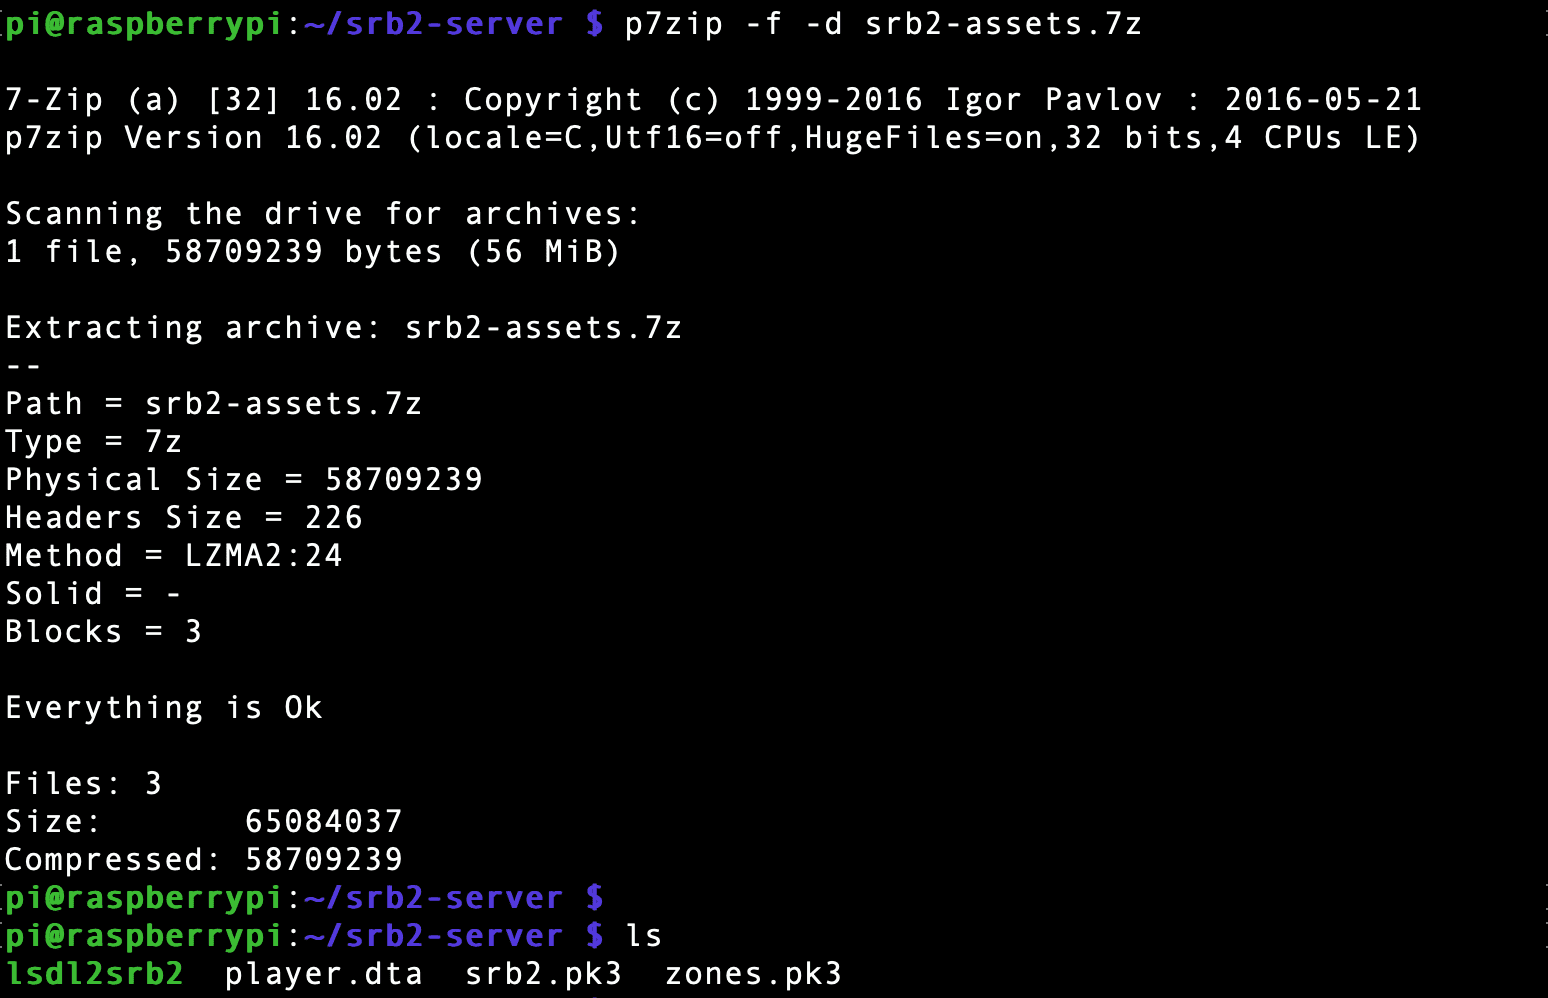
Unzip files
When you run the ls command, you should see three files, namely – player.dta, srb2.pk3 and zones.pk3. After successful extraction, we can now proceed to run the SRB2 dedicated server.
Step 4. Running the SRB2 Dedicated Server
SRB2 supports two main types of multiplayer gaming:
Split screen/2-player gaming: This is a scenario where two players play from the same computer, but the screen is divided/ split into two gaming windows. From that explanation, you can see that this mode is limited to only two players at a go.
Network games (net games): This is one of the most utilized multiplayer gaming modes. It is a scenario where players play together but connect via a network. That is the mode we are using for this particular tutorial. It supports a maximum of 32 players at a go.
Since we will be connecting to our SRB2 server via a network, we need to know the IP address of our Raspberry Pi. Execute any of the commands below. In our case, the IP address is 192.168.1.35.
hostname -I
or,
ifconfig
or,
ip a s
To run the SRB2 dedicated server, you only need to run the command below and add a -dedicated parameter. Remember, we are executing this command inside the folder we created in our home directory. In our case, it’s srb2-server.
./lsdl2srb2 -dedicated

Run SRB2 as a dedicated server
That’s it! Your SRB2 server is now online, and you can connect to it from your SRB2 game client. In our case, we will try to connect to the SRB2 server from our Ubuntu system.
Tip: I managed to install SRB2 on Ubuntu using the Flatpak package.
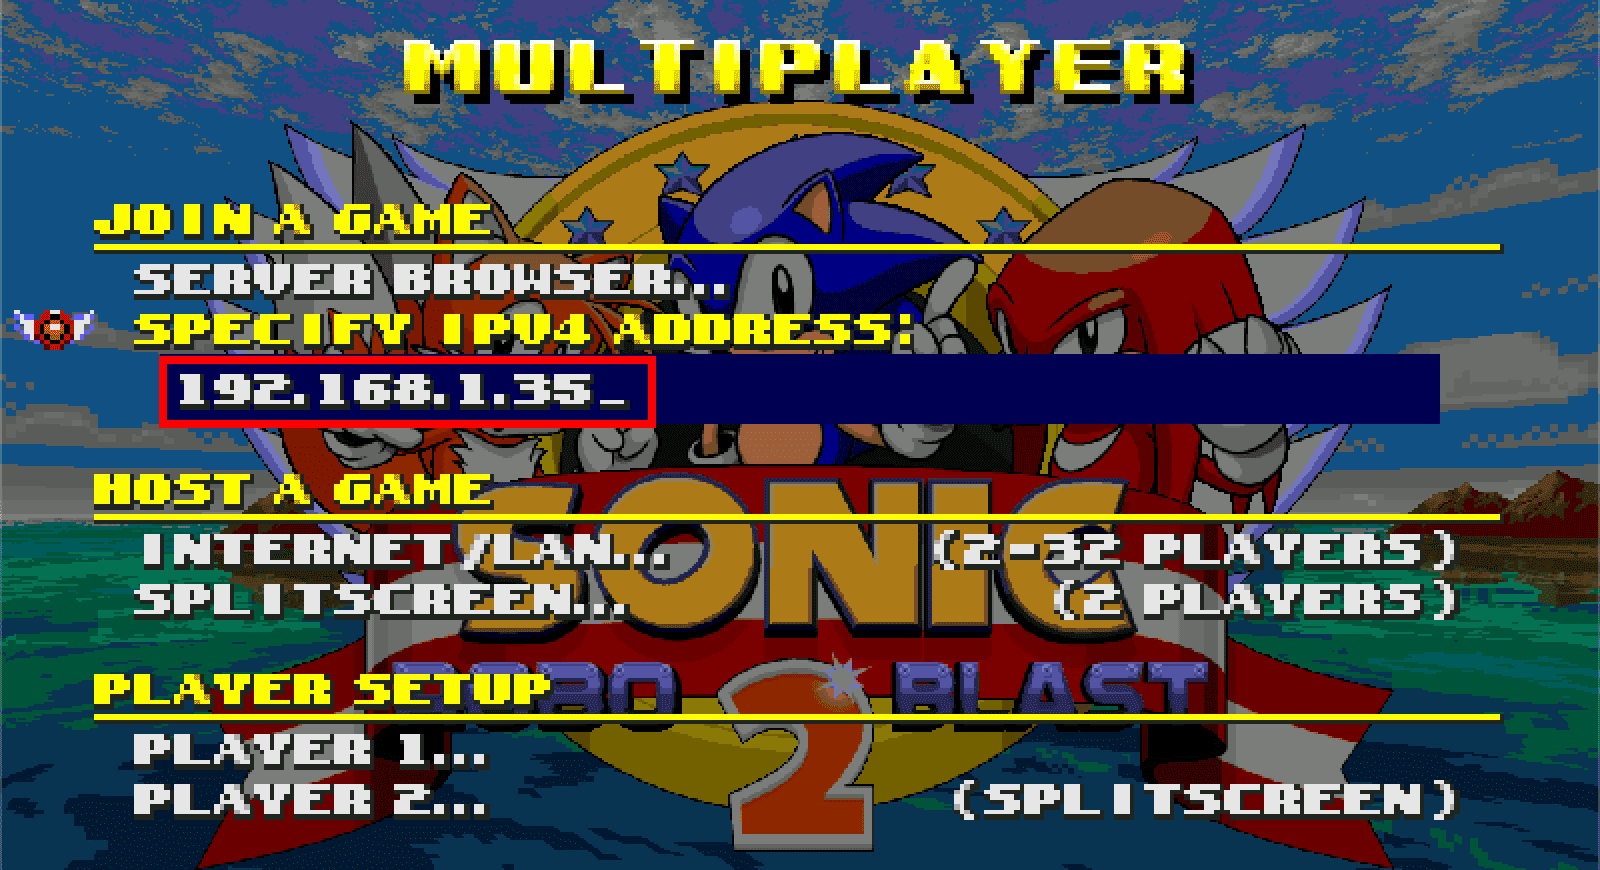
Join SRB2 server
If you want your server to be available publicly on the SRB2 Master Server (SRB2MS), where anybody can join, you must set the room ID. There are four main room IDs you can use.
- 33 – standard
- 28 – casual
- 31 – OLDC
- 38 – Custom game types
For example, we will use the command below to set the room ID as standard.
./lsdl2srb2 -dedicated -room 33
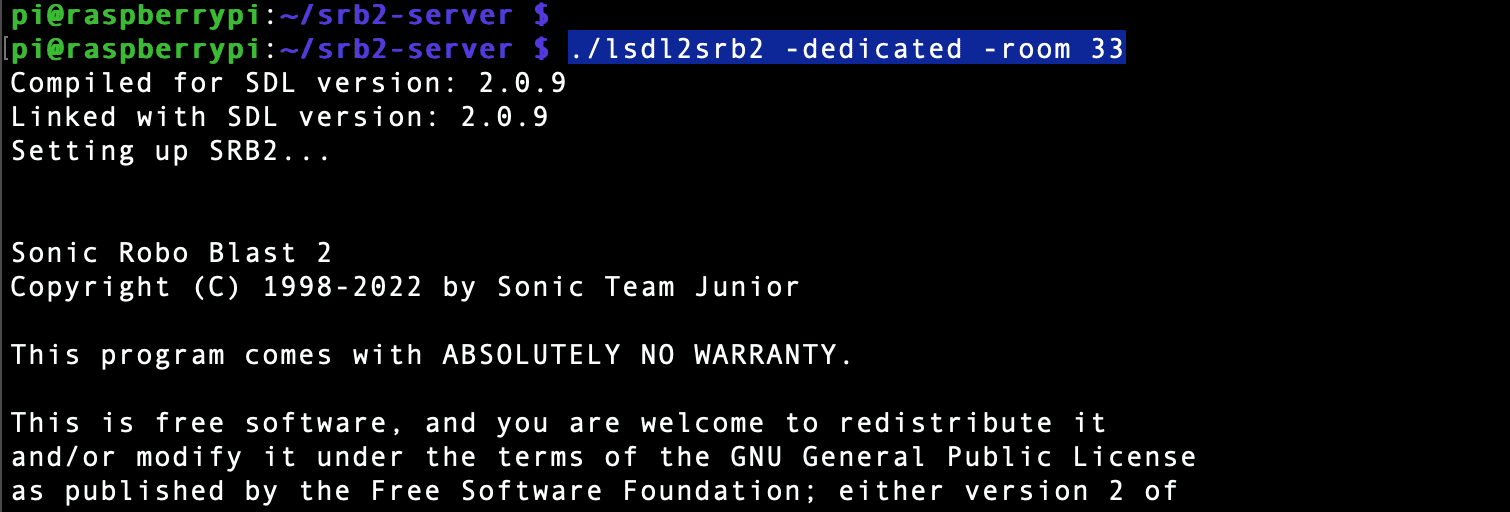
Create a standard room
Step 5. Start SRB2 Server on Boot
We need to make the SRB2 dedicated server start on boot to keep everything simple and easy. You don’t need to launch the console and execute the program manually. First, we need to create a service file inside the /etc/systemd/system directory. Use the command below to create the file with the nano editor.
sudo nano /etc/systemd/service/srb2-server.service
Copy and paste the lines of code below.
Note: Please replace the bolded path in the following line with your SRB2 server directory.
- ExecStart
- ExecStop
- WorkingDirectory
[Unit]
Description=SRB2 Dedicated Server
Wants=network-online.target
After=network-online.target

[Service]
Type=forking
User=pi
Group=pi
ExecStart=/usr/bin/screen -d -m -S srb2 /home/pi/srb2-server/lsdl2srb2 -dedicated$
ExecStop=/usr/bin/pkill -f /home/pi/srb2-server/lsrb2sdl
WorkingDirectory=/home/pi/srb2-server
Restart=always

[Install]
WantedBy=multi-user.target
When you look closely at the ExecStart line, you will notice we are using the Screen utility to run our SRB2 server. The advantage of that is we can always open the SRB2 console and get a quick look at how our server is running and ensure there are no errors. Save the file (Ctrl + S) and Exit (Ctrl + X).
Execute the commands below to enable and start our SRB2 service.
sudo systemctl enable srb2-server.service
sudo systemctl start srb2-server.service
You can also use the status command to confirm your service is running.
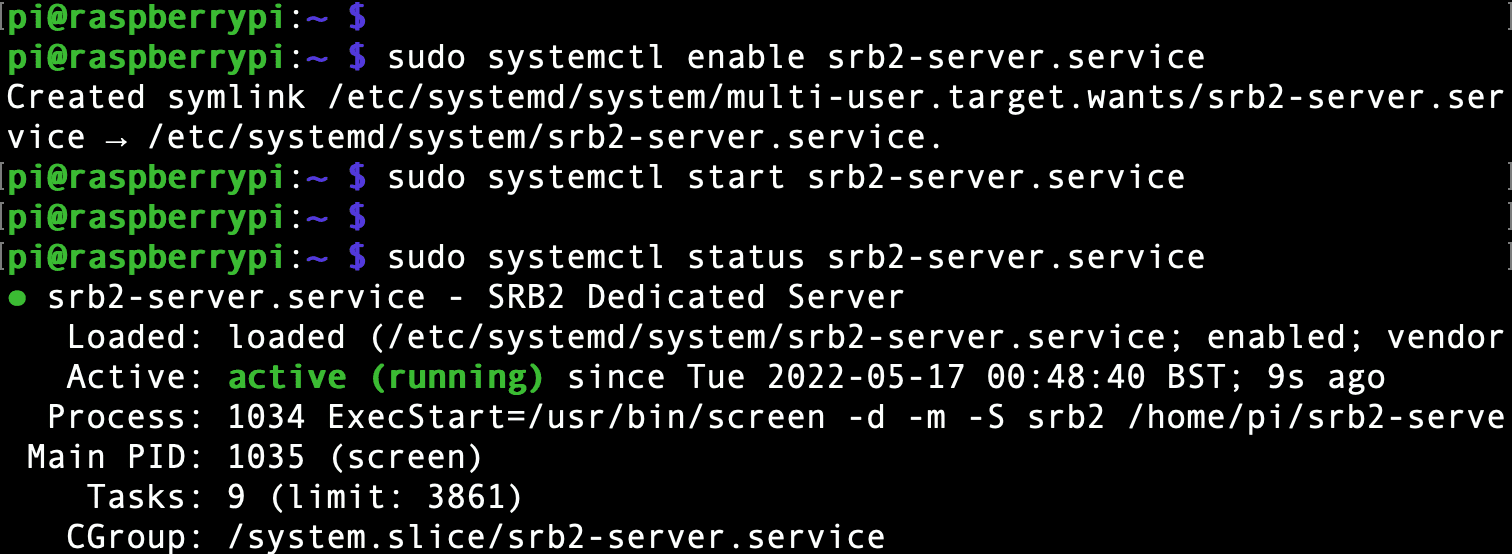
Start the SRB2 service
Wrapping Up!
This post has given you a step-by-step guide on installing and running the SRB2 server on the Rasberry Pi. Please let us know if you encountered any issues in the comments below. Also, check out our post “15 high-rated games to play on a Raspberry Pi” to know some of the best games you can run on the Raspberry Pi.
2 comments
hi, I compiled the game but there was no folder called Linux in the bin folder
If you get this error: fatal error: miniupnpc/miniwget.h: No such file or directory
just do: sudo apt-get install libminiupnpc-dev
I was on the latest up to date rpios bookworm