
Google is famously known for Gmail, Search Engine (Google), YouTube, and the Google Cloud Platform (GCP). Nobody expected Google to enter the gaming space since Microsft Xbox and the Play Station series had taken this market by storm. However, they did so in 2019 and launched the Google Stadia game controller. Yes! A game controller.
Most gamers expected that Google would also launch their unique Console, like Play Station 4 or Xbox; however, they only released a simple game controller called Stadia. However, this was only one side of the puzzle.
As every business strives to provide something unique to its customers, Google launched a site where gamers could stream their favorite games from any screen display device instead of a game console. The Google Stadia Gaming Platform. Like movie streaming services like Netflix, Hulu, etc., Stadia allows you to stream AAA games from your Phone, PC, TV, and Raspberry. (Which we will use for this post).

Google Stadia
How is it possible to run Stadia on the Raspberry Pi?
At this point, you might have one main question in your mind – Does the Raspberry Pi have enough computing resources to run a heavy graphics game? Of course, NO! There would be no match when you compare the Raspberry Pi to a high-end gaming PC or the Console. But here is the catch! When playing a game on Stadia, the device that does the whole computing process is a server hosted miles away from your location. Therefore, the device you use to stream the game only needs a good internet connection and enough computing resources to run a client application that will enable you to stream the game.
Requirements to run Stadia on Raspberry Pi
To run Google Stadia smoothly on the Raspberry Pi, here are a few requirements that you need to meet.
- A Raspberry Pi 4 board. We recommend going for the 4 GB RAM, but 2 GB is also acceptable.
- An ethernet connection. Even though you can still connect to your WIFI network, an ethernet connection would be better for high internet speeds. Additionally, the bandwidth usage might be pretty high because you are streaming a game.
- Micro SD Card
- A game controller. We highly recommend using the Stadia game controller. However, if that is hard to come by, you can use an Xbox or Play Station controller. Please check out our post – How to use Xbox or PlayStation Controllers on Raspberry Pi.
Some optional items that you can also include are:
- A fan and heat sink. Since you are playing a game continuously, these two will be significant additions to prevent the Raspberry Pi from overheating.
- A raspberry pi case. That will be great for easy handling of the Pi. Check out our post – Top 10 Raspberry Pi accessories to see other fantastic items you can add to your projects.
Follow the steps below to set up Google Stadia on a Raspberry Pi.
Step 1. Setup the Operating System
Here, you have three options:
- If you are well versed with Linux systems, you can opt for any lightweight Raspberry pi-compatible distribution like DietPi, piCore/Tiny Core Linux, Arch, Ubuntu Mate, etc.
- You can install the Official Rasberry Pi OS with a full-featured Desktop Interface.
- Install Raspberry PI OS Lite (Recommended). Rasbian Lite is a minimal version of the Official Rasberry Pi OS that is lightweight and comes with a minimal number of packages.
Option 1: Install the Official Rasberry Pi OS
If you want to install the Official Raspberry Pi OS with a full-featured Desktop, please check out the post – How to install Raspbian on Raspberry Pi. It will give you a step-by-step guide from formatting your SD Card to flashing the OS image on the SD card using tools like Balena Etcher.
Option 2: Raspberry PI OS Lite (Recommended)
Alternatively, suppose you only want to use the Raspberry Pi for playing Stadia games and doing other simple tasks like browsing and managing files. In that case, I highly recommend installing the Raspberry Pi OS Lite. It is a minimal version of the Official Raspberry Pi OS and doesn’t have a graphical user interface. We will establish a lightweight Desktop Environment like XFCE to get the Desktop interface. Follow the steps below.
- Download Raspberry Pi OS Lite.
- Flash the OS image on the SD card using a tool like Balena Etcher or Power ISO if you are on a Windows system.
- Enable SSH connection: After flashing the OS image on the SD card, you will see a new partition called “boot” on the SD Card. Open this partition and create an empty text file called “ssh.”
Note: Don’t use file extensions like ‘.txt.’ It should only be an empty text file called “ssh.” Please check out our post – Connecting to Wi-Fi & Enabling SSH Without Monitor on Raspberry Pi to get a detailed guide. - Connect all your peripherals to the Pi, insert the SD card, and boot the Raspberry.
- To connect to the PI over SSH from your PC, you can use an application like Putty (for Windows) and Terminal (for Linux). Use the credentials below:
Username: pi
Password: raspberry
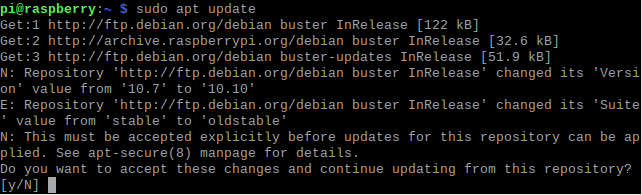
- After successfully creating an SSH session, execute the commands below to ensure you use the latest package repositories as a rule of thumb.
sudo apt update
sudo apt upgrade

sudo apt update raspberry Pi
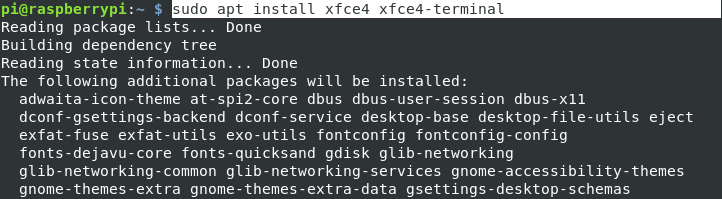
- When done, execute the commands below to install the XFCE Desktop Environment.
sudo apt install xserver-xorg
sudo apt install xfce4 xfce4-terminal
Install XFCE
- This process can take quite some time. When done, reboot the system by executing the command below.
sudo reboot now
At this point, if you have connected a display monitor to the Raspberry Pi, you should be able to see the login window of the XFCE Desktop environment. See the image below.
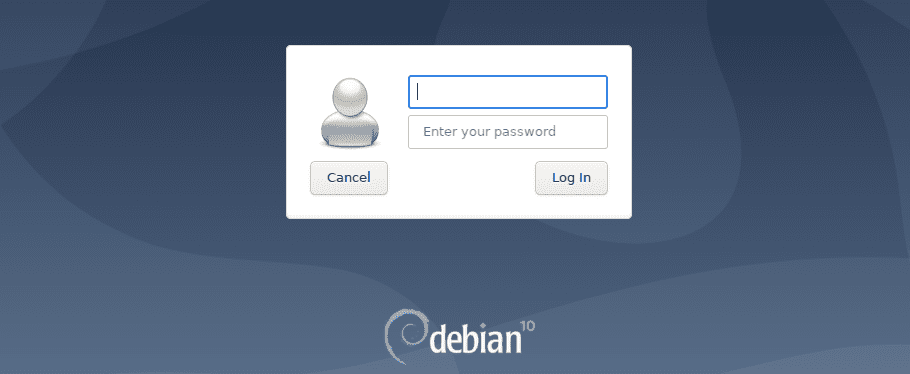
XFCE Login window
You should log in with the credentials below unless you have done any configurations.
- Username: pi
- Password: raspberry
Step 2. Install Chromium Browser
Writing this post, Google Stadia officially supports only the Google Chrome browser. However, you should still play Stadia games with other browsers like Microsft Edge (Version 79 or higher) and Brave. If you installed the official Raspberry Pi OS, you could skip to the next step since it is installed with the Chromium browser.
However, if you installed Raspberry Pi OS Lite as we did in this post, you will need to install the Chromium browser by executing the command below.
sudo apt install chromium-browser
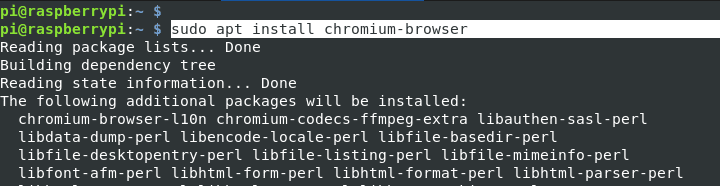
Install Chromium Browser
Step 3. Increase the memory dedicated to the GPU
To improve the whole gaming experience on our Pi, we need to increase the amount of memory assigned to the GPU. So first, open the Raspberry Pi configuration tool by executing the command below.
sudo raspi-config
Scroll to the bottom of the window that pops up and select “Advanced Options.” Press Enter.
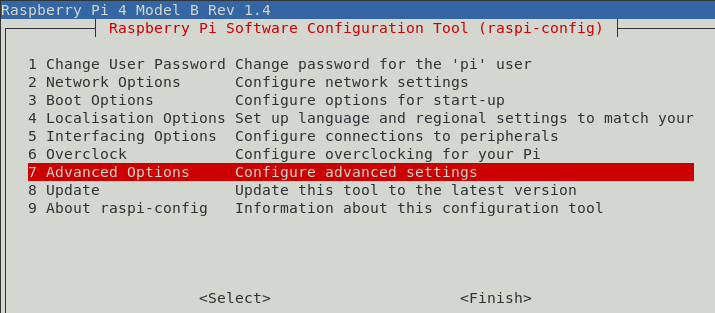
Advanced Options
On the new screen that appears, select the option “A3 Memory Split Change the amount of memory made available to the GPU.” Press Enter.
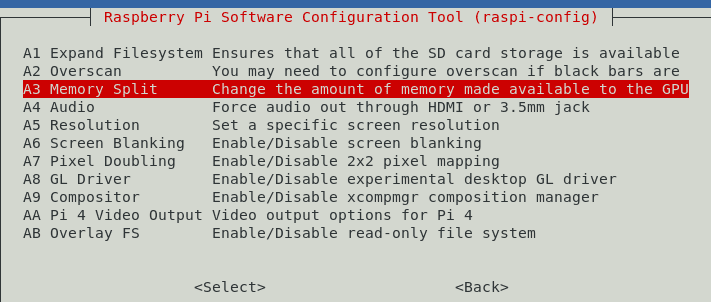
Memory Split
A screen will appear, and you will need to enter the amount of memory you want to assign. Change this value from 64 to 128. Or, if you have 8 GB RAM, you can set it to 256.
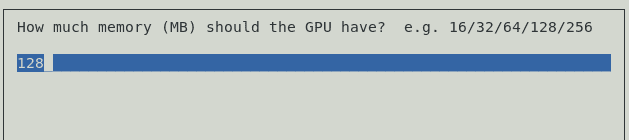
Set GPU Memory
Press Enter when done and select Finish. You will see a prompt to reboot the PI to apply the changes.
Step 4. Running Stadia on Raspberry Pi
Up to this point, we have everything set up, and we can start playing Stadia games on our Raspberry Pi. To get started, launch the Chromium browser. You can do so from the Graphical User Interface (GUI) or by executing the command below on the command line.
chromium-browser
Once you have the browser running, open the URL below.
https://stadia.google.com
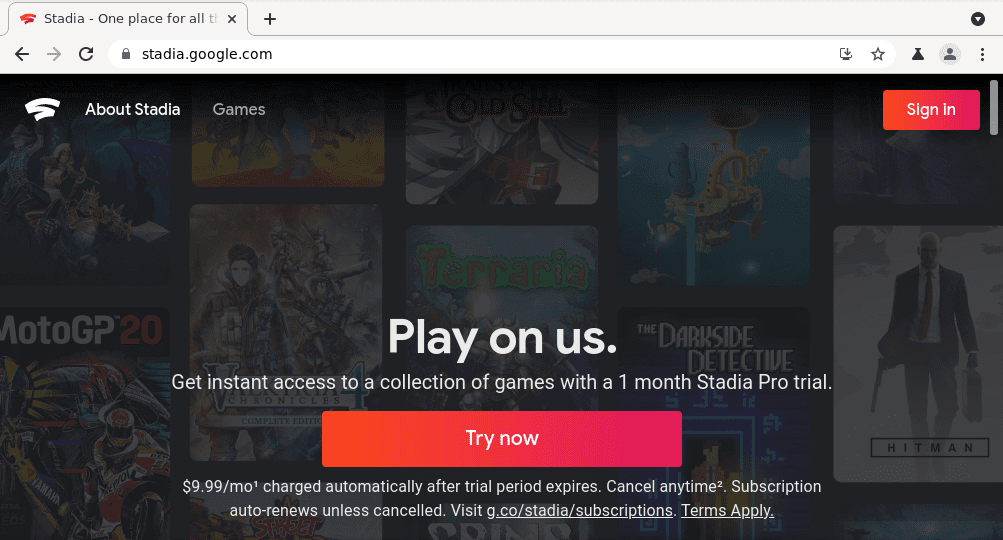
Google Stadia
Once you are here, you can either log in with your existing account or create a new one. Google Stadia works with most game controllers, including Xbox and Play station controllers. Additionally, some games can play well by just using your keyboard and mouse.
The general performance of Stadia on Raspberry Pi
The performance of Stadia on Raspberry entirely depends on the kind of names that you play. For example, games like Grid 2, Farming Simulator 19, Tekken 7 ran smoothly when tested on Raspberry Pi 4 with 4 GB RAM. At 720p 60 fps, there were no visible lags. However, multiplayer games with dense graphics had pretty noticeable lags at 720p 60 fps. These include PUBG, Marvel’s Avengers, and Assassin’s Creed Odyssey.
Wrapping up
At this point, you now have your Raspberry Pi entirely set up, ready to play Stadia games. Even though Raspberry might not have the required high-end requirements to run games, services like Stadia and Xbox Cloud enable gamers to have a similar experience to owning a console. On that note, check out our post – Running Xbox Cloud Gaming on the Raspberry Pi. That is another game streaming service provided by Microsoft.
Did you encounter any issues when setting up Stadia on the Raspberry Pi? If yes, please leave a comment below.