
This post will guide you on running 64-bit software on the Raspberry Pi, which you know uses the ARM processor. Before diving further. Let’s get a good understanding of the difference between x86/x64 and ARM CPU architectures.
Difference between x86/x64 and ARM
If you have used the Raspberry Pi for some time now, you might have realized that there are operating systems that you can install on the Pi while others you cannot. For example, if I wanted to run Kali Linux on Raspberry Pi, I would have to download the Kali Linux ISO for Raspberry and not the regular ISO you use on your laptop. The reason behind that is the difference in CPU architectures. Your laptop probably uses an x86/x64 CPU, while the Pi uses an ARM CPU.
x86/x64 processors: These processors are fast and can run heavy programs. Due to these features, these processors also tend to use a lot of power and are mainly used in devices that can easily plug into the wall socket. Most laptops and Desktop computers either run x86 or x64 processors.
ARM processors: These processors are not as powerful as the x86 or x64 processors, and therefore, they are low-power and don’t need much power to run. Due to these features, the ARM processors are mainly used in smaller devices like smartphones, microcontrollers, and Small Board Computers (SBCs) like the Raspberry Pi.
Because each of these processors executes program instructions differently, theoretically, a program written for an x86/x64 device cannot run on an ARM device. The vice-versa is also true. In this post, however, we will use a software called Box64 which will enable us to run x64 software on the Pi (ARM)
What is Box64?
Box64 is an emulation software developed by ptitSeb (the developers behind Box86) which enables you to run x64 software on a Raspberry Pi (ARM). This application works by converting every x64 program instruction to an equivalent ARM instruction. Additionally, it adds some optimization by recompiling the x64 code to make it run better and faster on the ARM processor.
Running a 64-bit app on a Raspberry Pi
Requirements
- An x64 Raspberry Pi OS
- x64 Raspberry Pi boards (e.g., Pi 3, Pi 4, Pi Zero 2, Pi 400)
- An active internet connection
- Micro SD Card
Setup the Raspberry Pi
We need to use an x64 operating system as stated in the requirements. Please check out our ost – Installing the official Raspberry Pi OS. If you don’t have a monitor and keyboard connected, you can connect to your Raspberry Pi via SSH or VNC. Luckily, you can also find this guide on our website – How to SSH into Raspberry Pi.
Note (Important): Before proceeding with this tutorial, please confirm that you have installed a 64-bit operating system by executing the command:
uname -m
If you get an output like arm7l, you run a 32-bit OS. However, if you get an output like aarch64, you run an x64 OS.

Check CPU architecture
As a rule of thumb, the first thing after setting up your Pi is to update the system. Execute the commands below.
sudo apt update
sudo apt upgrade
Next, you will need to install the packages that we will require to build and compile Box64 on our system. Run the command below.
sudo apt install git build-essential cmake
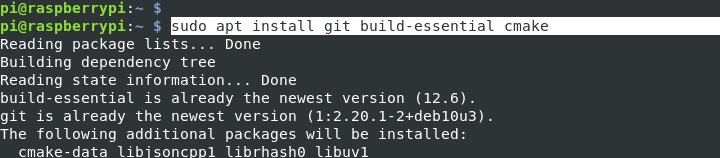
Install Packages
Let’s have a detailed look at these three packages.
- Git: This utility downloads the latest version of Box86 into our system.
- Build-essential: These are meta-packages necessary for compiling Box64.
- Cmake: This is a utility for controlling the compilation process and generating the necessary build file to run the program.
After successfully installing the above packages, you can now clone the Box64 repository on your system with the command below.
git clone https://github.com/ptitSeb/box64.git
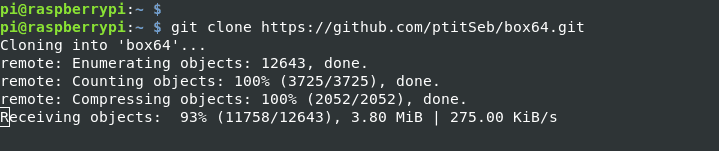
Clone Box64
Compile Box64 on the Raspberry Pi
We have everything ready to install Box64 on our system up to this point. Follow the steps below.
1. Navigate to the cloned Box64 folder using the cd command as shown below. Remember to execute this command on the directory where you cloned Box64. Otherwise, you will get the error “No such file or directory.”
cd Box64
2. Now, we need to create a directory where we will compile Box64. For convention purposes, we recommend naming this directory as “build.” Execute the commands below.
mkdir build
cd build

Create Build Folder
3. We need to generate configuration files that will guide the Pi on how well to compile Box64. Execute the command below.
cmake .. -DRPI4ARM64=1 -DCMAKE_BUILD_TYPE=RelWithDebInfo
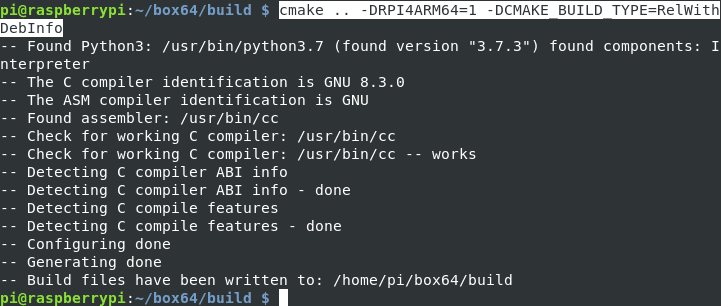
Generate Configuration files
When you run the ls command inside the build folder, you should see several files and folders generated by the CMake command.
4. To compile Box64, execute the make the command below in the build directory.
make -j$(nproc)
or
make -j4
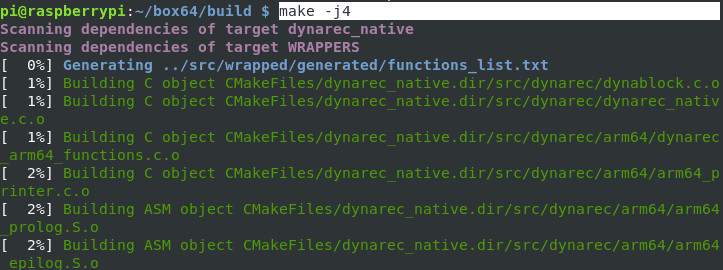
Compile Box64
We are using the -j argument to tell the Raspberry how many processes it will use for the compilation process. The nproc value specifies that we want to use all the available cores in the Raspberry Pi.
Tip: If you encounter errors, error: unknown type name ‘__uint128_t’ __uint128_t u128; you are running a 32-bit OS. Please format your SD Card and install a 64-bit OS.
5. After the compilation process is complete, install Box64 with the command below.
sudo make install
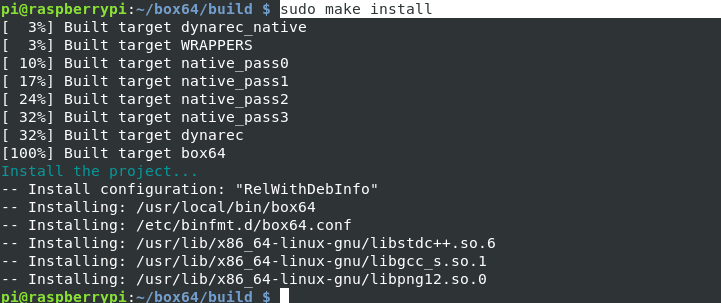
Install Box64
6. Lastly and most importantly, you need to restart the system-binfmt service. That will enable the Raspberry Pi to understand that it can run any x64 applications using Box64. Execute the command below.
sudo systemctl restart systemd-binfmt
If you encounter any errors executing the command above, reboot the Raspberry Pi to apply the configurations. You can use the command below.
sudo reboot now
Run an x64 Application with Box64 on raspberry Pi
Up to this point, we have everything set up to run x64 software on the Raspberry Pi using the Box64 emulator. To ensure that everything is working as expected, let’s try to install an x64 application. A good example we can use is the construction and management simulation game – Factorio, as it is available as an x64 Linux binary. Follow the steps below.
1. Execute the command below to download the headless build of the Factorio server.
wget https://factorio.com/get-download/stable/headless/linux64 -O factorio.tar.xz
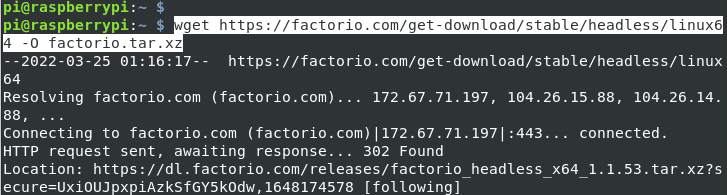
Download factorio
2. After the download completes, you will notice the file is compressed in a tar.xz format when running the ls command. To extract the files, execute the command below.
tar -xJf factorio.tar.xz
3. Once done, navigate to the bin folder and execute the --create command to generate a game save.
cd factorio/bin/x64
./factorio --create /home/pi/factorio/saves/my-save.zip
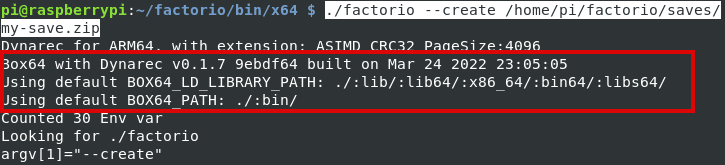
Generate Save game
From this image, you can see that the application is running using Box64.
Conclusion
Up to this point, I believe you have a good understanding of how to install and use Box64 to run x64 applications on the Raspberry Pi. Of course, some applications might not run smoothly because converting the x64 instructions to ARM might have some toll on the CPU. If you encounter any errors when running an application with Box64, please raise an issue on the official Github page. However, if you face problems executing any of the commands above, please let us know in the comments below.
2 comments
Could you add steps for full 32-bit support please? Including builds and how to instal stand alone packages, like say appimage?
Error Util.cpp:83: Error in assignID: entity with name ‘spidertron-leg-1’ does not exist