Are you looking forward to changing the look and feel of your Raspberry Pi desktop? You might have a few ideas, like removing the Official Raspberry Pi OS and installing a different Linux distribution. But there is one major problem with that; you will lose some fantastic features that you would only get on the Raspbian OS. Features like the rasp-config tool or even the ability to update the Raspberry Pi firmware.
What if I told you there is an OS that is much more familiar to the official Raspberry Pi OS but comes with an excellent user interface and desktop themes. Welcome, Twister OS!
What is Twister OS?
Twister OS is a pretty new distribution in the market for Raspberry Pi 4. Of course, you can install it on a Pi 3, but we highly recommend installing it on a Pi 4, which has more resources – especially the RAM. Developed by the same creators of Raspbian Nighthawk and iRaspbian, Twister OS features excellent Desktop themes and comes pre-installed with popular programs like Box86 and Wine.
Please check out our posts on Box 86 and Box 64. Box 86 is an application that allows you to run a 32-bit application for the x86 architecture on the Raspberry Pi ARM architecture. On the other hand, Wine is a program that will enable you to run Windows OS apps on Linux systems.
Raspbian X and iRaspbian were recently discontinued due to the glaring similarities between macOS and Windows 10. However, there has been a significant demand for both distributions, so they re-imagined some of the icons and created Twister OS, which gives us the best of both worlds (Windows 10 and macOS). And as the name implies, you can easily twist from running Raspbian X, which provides us with a Windows 10 look, to iRaspbain, which offers us a macOS look.
Installing Twister OS on Raspberry Pi
This post will guide you on installing Twister OS on your Raspberry Pi. Let’s get started.
Project requirements
- Twister OS. You can download the image file from their official download page.
- At least 16 GB SD card
- An active internet connection
Other optional requirements include:
- A display monitor
- Keyboard
- Mouse
We refer to these as optional requirements because you can opt to access your raspberry pi via VNC. Twister OS is pretty much similar to the official Raspberry Pi OS, and the following post might be of great help to you. “Connecting to Wi-Fi & Enabling SSH Without Monitor on Raspberry Pi” and “How to Set up VNC Server on Raspberry Pi.“
The default login credentials for Twister OS are:
- Username: pi
- Password: raspberry
They are similar to those used by Raspbian OS.
Setup your Raspberry Pi
After successfully downloading the Twister OS image file, you need to flash it on the SD card. For this post, we will use Balena Etcher. Follow the steps below.
- Insert the SD card into your PC
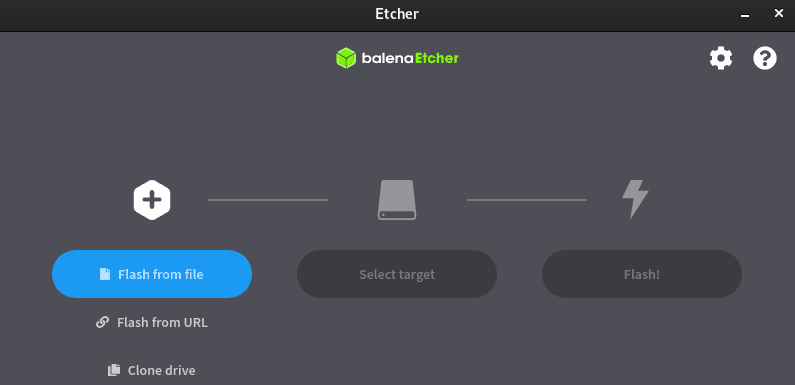
- Launch balena Etcher

Balena Etcher
- Click “Flash from File” and select the Twister OS image you downloaded.
- Next, click “Select Target” and select the SD card
- Click “Flash” to start writing the OS image to the SD card.
Eject the SD card from your PC and insert it into the PI when done. Connect all the peripheral devices and power up the Raspberry Pi.
Twister OS – first look!
This OS is relatively straightforward. It doesn’t require any configurations and doesn’t have a login screen. So, when you first boot the Raspberry Pi, you will be greeted with a Desktop interface similar to the image below. Pretty impressive, right?
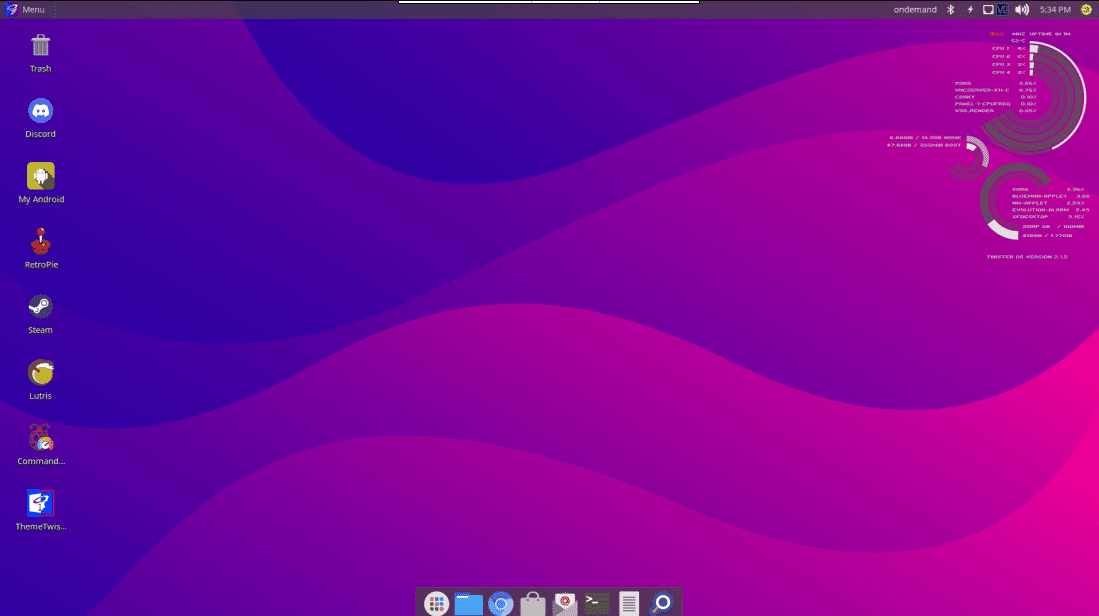
Twister OS
Twister OS comes pre-installed with several useful applications, including:
- Libre office
- Box 86 – Allows you to run x86 applications on the Raspberry Pi ARM architecture.
- Steam
- Gparted – It’s a powerful disk management utility used for creating, resizing, deleting, and formatting partitions.
- My Android – This application is based on the scrcpy tool that allows you to access your Phone screen on your Raspberry Pi. You will need to enable USB debugging on your phone to use this app.
- Kodi – A powerful, free, and open-source media player.
- Chromium web browser
- Commander Pi – This utility allows you to overclock your Raspberry pi with much ease.
- PiKISS – This app comes with many scripts that simplify things while working with the Pi. You can install applications, and games, tweak the system, and even set up your Pi as a server.
- Theme Twister – This is the most potent application on Twister OS. It allows you to switch themes with a single click.
- GIMP – A free and open-source photo editor. It’s one of the best alternatives to the commercial Adobe photoshop.
- ThonnyIDE – A powerful IDE for Python programming.
- RetroPie – This application allows you to bring retro gaming to your Raspberry pi.
And so many other apps.

Twister OS Apps
Using the theme Twister
Now, this is where you get the real thrill about Twister OS. With a few clicks, you can make your Raspberry Pi look like Windows 10, Windows XP, macOS, and more. We will look at how you can turn your Raspberry Pi into a Windows PC or macOS PC.
Give your Raspberry Pi a Windows PC look
Launch the Theme Twister application and select any of these themes if you wish to bring the Windows look and feel to the Raspberry Pi.
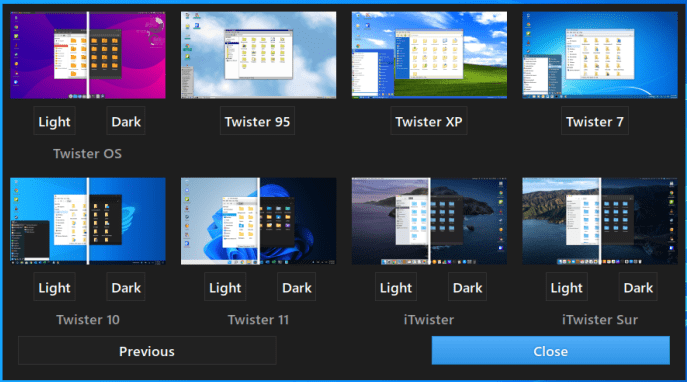
Twister Themes
- Twister 95: Gives your Pi a Windows 95 look.
- Twister XP: Gives your Pi a Windows XP look.
- Twister 7: Gives your Pi a Windows 7 look.
- Twister 10: Gives your Pi a Windows 10 look.
- Twister 11: Gives your Pi a Windows 11 look.
When writing this post, Twister OS does not support Windows 8 theme.
Note: After selecting a Theme, you need to reboot the Raspberry Pi to apply the changes.
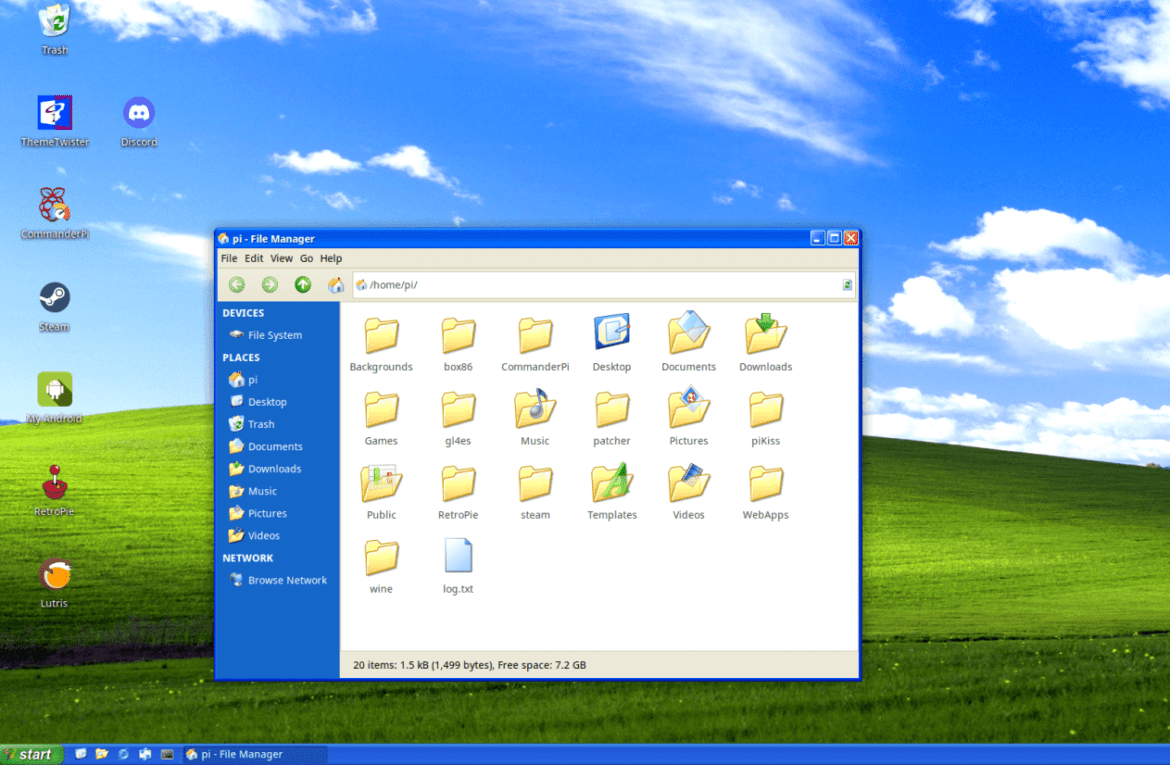
Below is an image showing our Desktop after selecting Windows XP. You can see the OS looks precisely like a Windows XP PC. Everything from the Start Menu, file manager, and background.
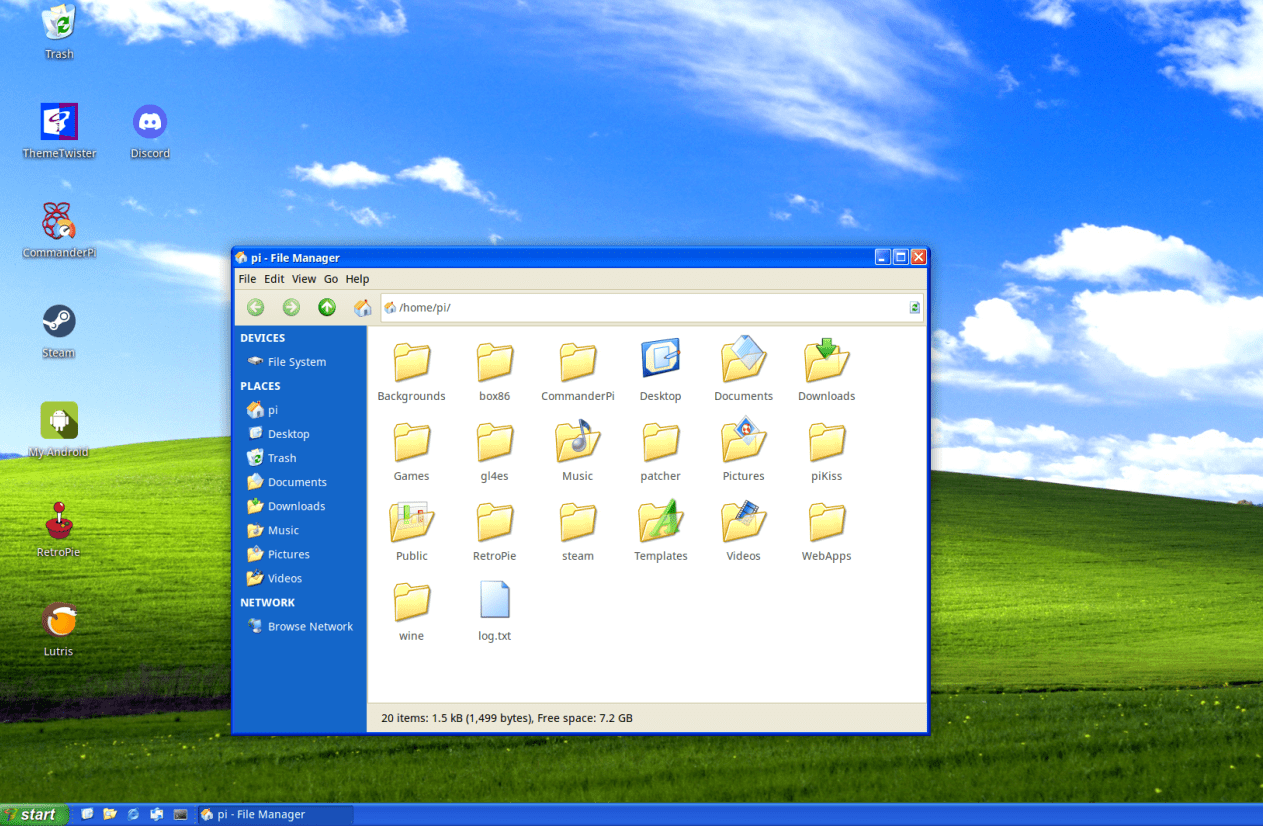
Windows XP
Alternatively, you can also try out the Windows 10 look by enabling Twister 10 theme. For this post, we achieved the look below on our Raspberry Pi. It would need a lot of convincing for someone to accept this is a Linux distribution. Everything from the Taskbar, status bar, file manager, and the Desktop interface looks like Windows 10.
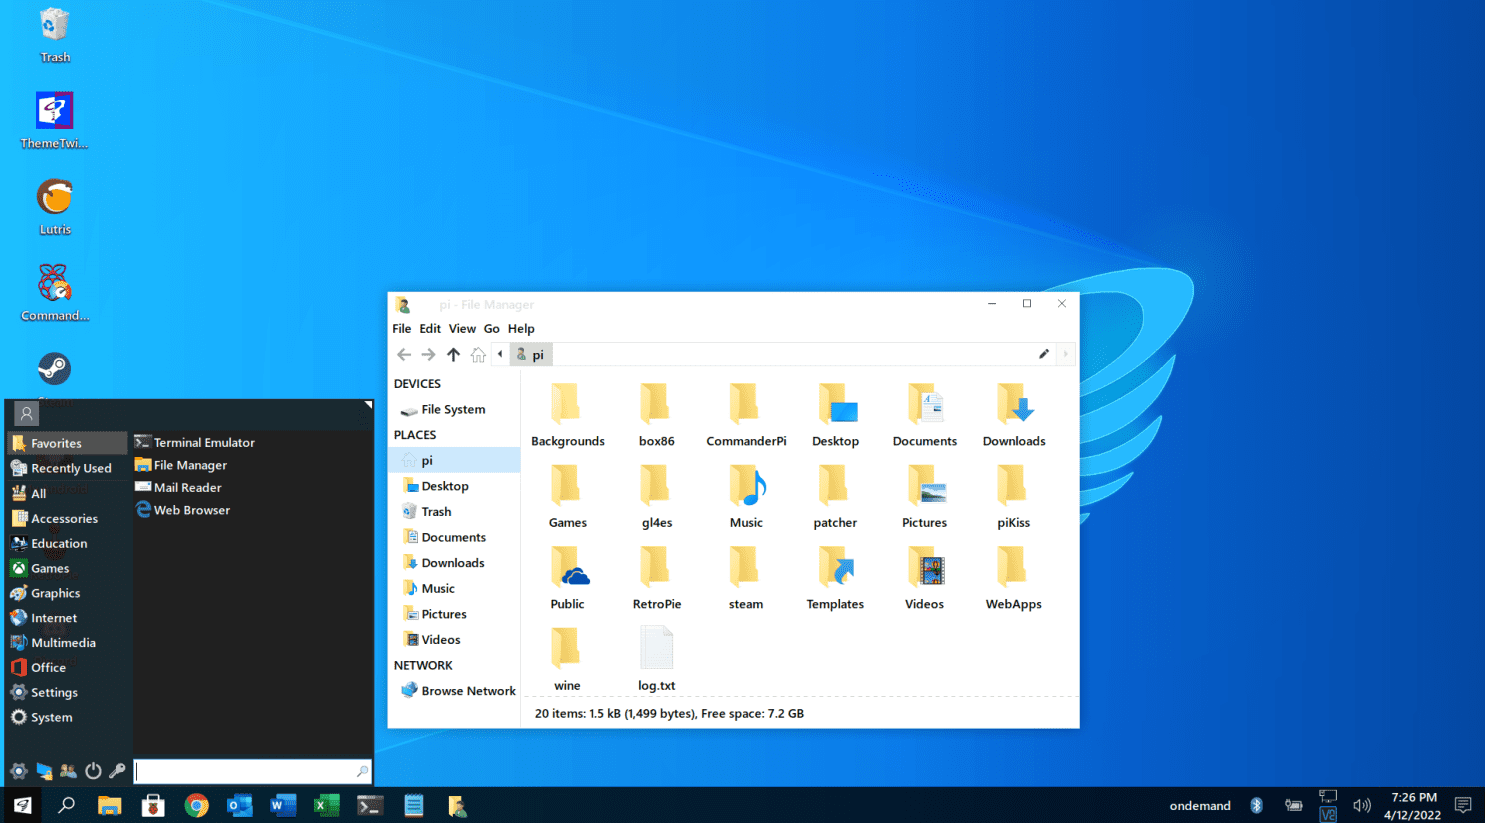
Windows 10
Feel free to try the other Windows themes and share your thoughts in the comments below.
Give your Raspberry Pi a macOS look
To set a macOS theme on your Raspberry Pi, launch the Theme Twister application and select any of these themes below:
- iTwister
- Twister-sur
You also have an option to select between Light and Dark themes. Below is an image showing our Desktop after enabling Twsiter-Sur. You can see the UI looks exactly like the macOS BigSur.
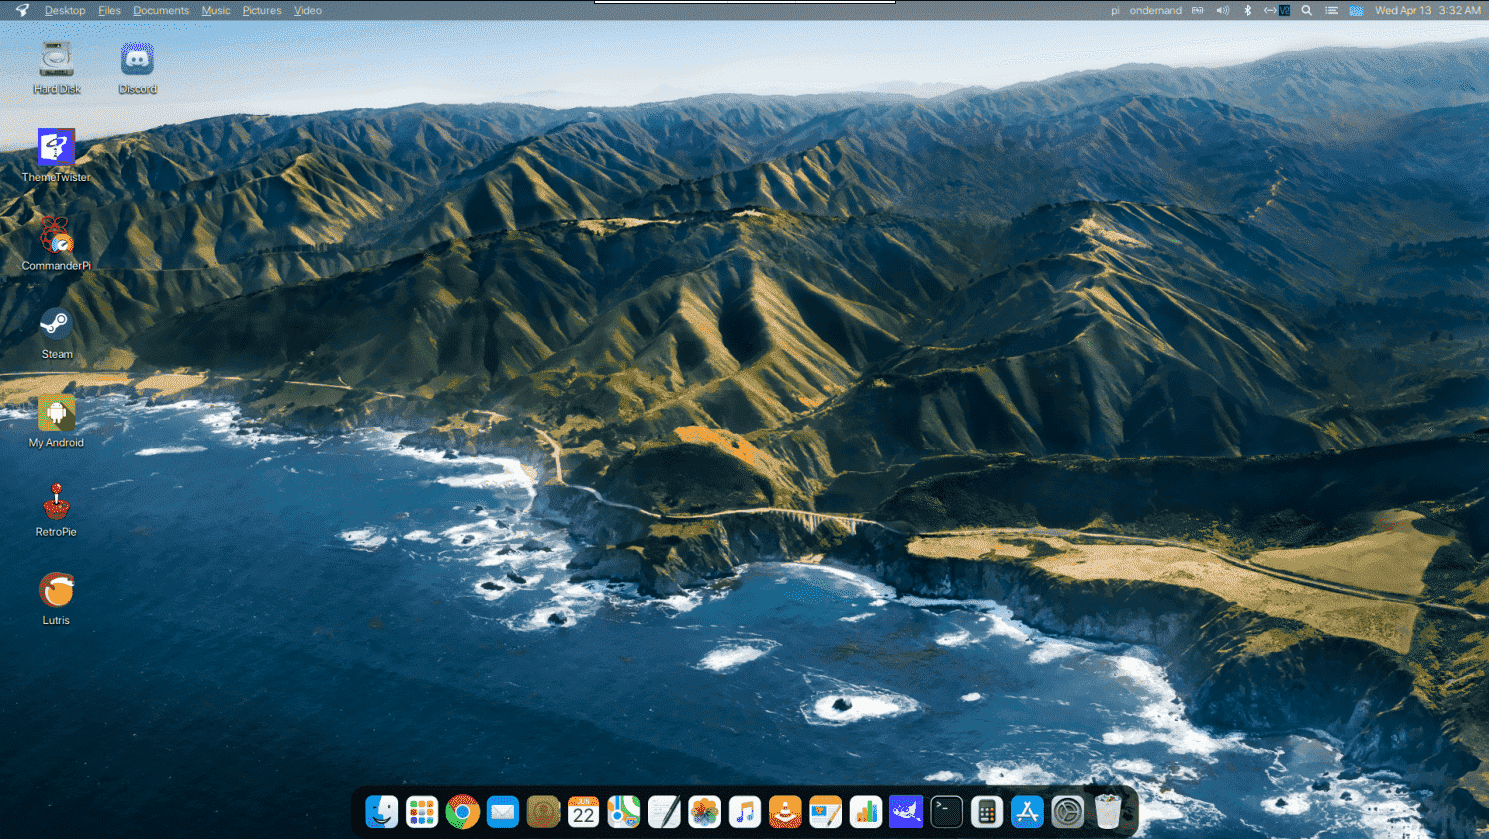
macOS Big Sur
Wrapping up
Up to this point, I believe you now have Twister OS running on your Raspberry Pi. Feel free to explore the different applications, especially PiKISS and Theme Twister. These two applications will enable you to turn your Pi into anything you wish. What do you like most about Twister OS? Please share your thoughts with our readers in the comments below.
1 comment
Twister OS is still only 32 bit at the moment.