
The Intel x86 CPU architecture is a CISC (Complex Instruction Set Computing) compatible with the x86 instruction set. This processor can run on any device, including laptops, desktops, servers, notebooks, and even Supercomputers.
The power demand for these processors is also high. On the other hand, ARM is RISC (Reduced Instruction Set Computing) based, and the power demand is relatively low. This architecture is primarily utilized in small devices like phones and Small Board Computers such as Raspberry Pi, Odroid, etc.
What is Box86?
Have you heard of people using software like Bluestacks or Nox to run Android applications on Windows 10? Well, Box86 also gives you similar capabilities. It enables you to run x86 applications for the x86 CPU architecture on your Raspberry Pi. Therefore, you can efficiently run an application like Zoom or a game like World of Goo without glitches or errors.
Box86 was developed by ptitsSeb developers, who are also the developers of Box64. Box64 is an application that enables you to run x64 applications on your Raspberry Pi. There is only one drawback with the Box86 application – you can only install it on a 32-bit operating system. If you are running a 64-bit OS, you will need to perform some extra steps for Box86 to install on your system successfully.
Running a 32-bit app on a Raspberry Pi using Box86
This post will give you a detailed guide on running x86 applications on the Raspberry, which runs on an ARM CPU architecture.
Requirements
The requirements might differ depending on which application you wish to run. However, the standard requirements include:
- Any Raspberry Pi board
- A 32-bit Raspberry Pi OS
- An active internet connection
- Reliable power supply
Other optional requirements include:
- A display monitor/ screen
- A keyboard and mouse
Once you have everything set, follow the steps below.
Step 1. Setup the Raspberry Pi
Note: We highly recommend installing Box86 on a 32-bit operating system, as stated above. To confirm which OS you are running, execute the command below on the Terminal. However, if you want to use an x64 bit operating system, you need to execute some additional commands shown in Step 3.
uname -m

Check CPU Architecture
You run a 32-bit operating system if you get an output like armv7l. However, if you get a result like aarch64, then you are running a 64-bit OS.
You can download the official 32-but Raspberry Pi OS from their official website. To flash the image on the SD card, please check out our post, “How to install Raspbia on the Raspberry Pi.” It will give you a step-by-step guide on formatting your SD card and using software like Balena Etcher to burn the image on the SD card.
After successfully installing the OS on your Raspberry PI, connect all the peripherals and boot it up. You can either use a display monitor to access and manage it or opt for SSH/ VNC. If you decide to settle for the latter, please check out our post, “Connecting to Wi-Fi & Enabling SSH Without Monitor on Raspberry Pi.” After a successful boot, launch the Terminal and execute the commands below to update the system.
sudo apt update
sudo apt upgrade
When done, execute the command below to install the necessary packages required to build and compile Box86 on your system.
sudo apt install git build-essential cmake
- Git: This package will enable us to clone the Box86 repository on our system.
- Build-essentials: These are meta-packages necessary for compiling applications on Linux systems.
- Cmake: This package will enable us to generate the necessary build files used during the compilation process.
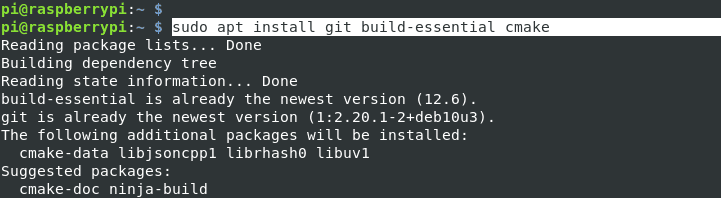
Install Packages
Step 2. Install Box86
To install Box86 on our system, we must clone the official Box86 Github repository.
Tip: We will clone the version “v.0.2.2” tagged release for this post. Of course, this is not the latest release, but it’s the most stable. We encountered several errors when trying to install the newest release.
Execute the command below.
git clone --branch "v0.2.2" https://github.com/ptitSeb/box86

Clone Box86 Repository
Alternatively, execute the command below if you wish to download the latest release.
git clone https://github.com/ptitSeb/box86
Step 3. Extra Steps for x64 Bit OS
If you are running a 64-bit operating system, there are a few steps you need to do before installing Box86 on our system.
Note: Skip this step if you are running a 32-bit operating system.
Add the 32-bit ARM (armhf) architecture to our system using the command below.
sudo dpkg --add-architecture armhf
Update the repositories using the update command
sudo apt update
Install the necessary packages required to install Box86 on a multi-arch system. These packages are essential for compiling 32-bit instructions on an ARM 64-bit architecture.
sudo apt install gcc-arm-linux-gnueabihf libc6:armhf libncurses5:armhf libstdc++6:armhf
Step 4. Compile and install Box86
To get started with the compilation process, first change your working directory to the newly cloned Box86 folder.
cd box86/
Next, we need to create a directory where we will store the generated build files. We will use the name “build” to keep things conventional. Also, remember to change your working directory to this newly created “build” folder.
mkdir build
cd build
We need to generate the build files using the CMake package we installed earlier. The command syntax is different for every Raspberry Pi board. Execute the specific command for your Pi build from the commands listed below.
Raspberry Pi 4 (32-bit)
cmake .. -DRPI4=1 -DCMAKE_BUILD_TYPE=RelWithDebInfo
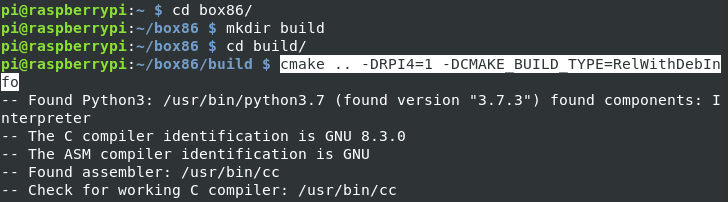
Generate build files
Raspberry Pi 4 (64-bit)
cmake .. -DRPI4ARM64=1 -DCMAKE_BUILD_TYPE=RelWithDebInfo
Raspberry Pi 3
cmake .. -DRPI3=1 -DCMAKE_BUILD_TYPE=RelWithDebInfo
Raspberry Pi 2
cmake .. -DRPI2=1 -DCMAKE_BUILD_TYPE=RelWithDebInfo
When done, you can now proceed to compile Box86 by executing the command below.
make -j$(nproc)
The -j parameter tells the Pi to use multiple processors to compile the application, while the nproc parameter tells the Pi to use all the available cores in the system. This process might take quite some time; please be patient.
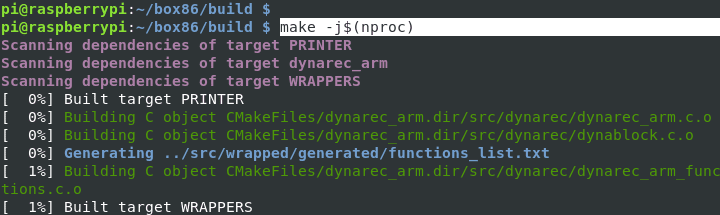
Compile Box86
When done, you can proceed to install Box86 on your Raspberry using the command below.
sudo make install
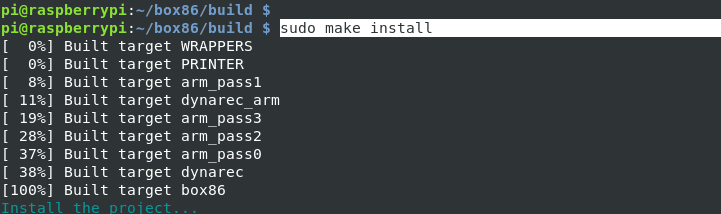
Install Box86
To wrap up everything, restart the systemd-binfmt service, which tells your system to use Box86 to run any x86 applications. Use the command below.
sudo systemctl restart systemd-binfmt
If you encounter any errors executing the command, reboot your Raspberry Pi.
sudo reboot now
Testing Box86 on the Raspberry Pi
Up to this point, we have successfully installed Box86 on our system. We will try to run an x86 application on our Raspberry Pi to ensure everything is perfect. We will use Zoom for this particular post.
Execute the command below to install the x86 zoom application for 32-bit Linux systems. Alternatively, you can navigate to the official Zoom download page and select download Zoom Client for Linux. Under Linux type, select Other Linux OS, and under OS architecture, choose 32 bit.
wget https://zoom.us/client/5.4.53391.1108/zoom_i686.tar.xz
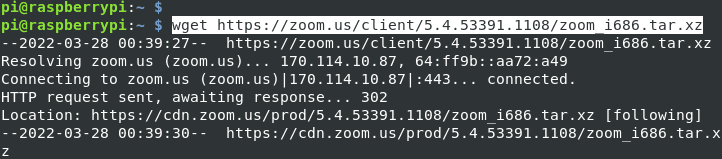
Download Zoom x86 for Linux
When you execute the ls command, you will notice that the downloaded file is compressed in a tar.xz format. Extract the files using the syntax below.
tar xvf [file_name]
e.g
tar xvf zoom_i686.tar.xz
Use the cd command to navigate to the newly-created directory.
cd zoom
Before running Zoom, we need to install one package that isn’t available on the Raspberry Pi. Run the command below.
sudo apt-get install libxcb-xtest0
When done, launch Zoom using the command below.
./zoom
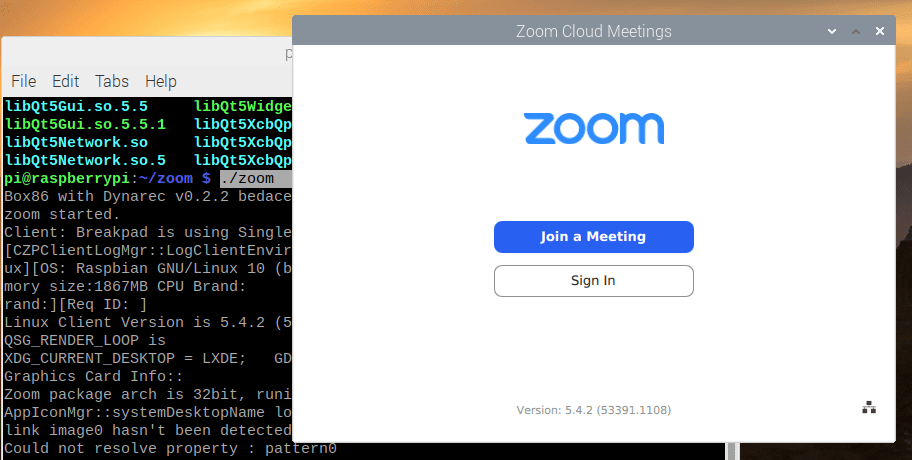
Run Zoom
Conclusion
That’s it! We have successfully installed and tested Box86 on our Raspberry Pi. Did you encounter any errors during the installation? If yes, please let us know in the comments below. However, if you experience any errors when running an application with Box86, please don’t hesitate to let the ptitSeb team know on their GitHub issues page.