VMware is generally a virtual machine software that allows one to run multiple Operating Systems from within an operating system. This, therefore, means that we can test Raspberry Pi without its hardware designed and optimized to run in the Raspberry Pi Module. This handy feature helps many people, especially developers or anyone who loves exploring other OSs and doesn’t have a Pi module.
Raspberry Pi, formerly known as Raspbian, comes with software for programming, education, and general use. With it comes Python, Sonic Pi, Java, Scratch, and more. In addition, it is a Debian-based stable OS just like Ubuntu. This, therefore, means that if you are familiar with Ubuntu, then Raspberry Pi should be friendly to you.
Installing VMware
Before proceeding with our article on installing Raspberry Pi on Windows VMware, we will quickly rush through the installation steps of the VMware Workstation. VMware is a lovely virtual tool to run and test apps you don’t need in the host machine. This helps users explore more and evaluate the new releases of the operating systems without altering their host PCs.
Step 1: VMware Official page
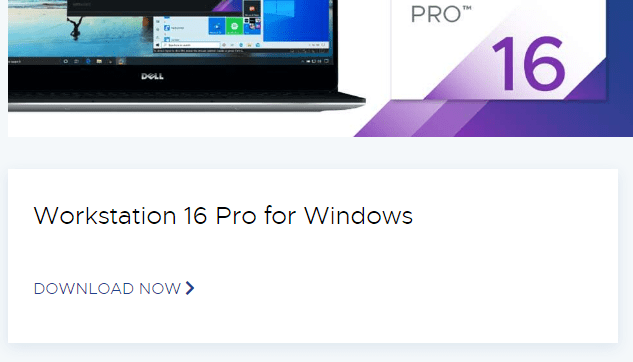
In this section, we will visit the VMware workstation official download page to download the VMware workstation.
Step 2: Download the program
Click on the download now link under the workstation 16 Pro for Windows section on the VMware website. After that, choose a location to save the installer file, for instance (download, desktop, etc.) that will be used to install the tool on your machine.
download the workstation
Step 3: Initiate the setup wizard
Upon downloading, locate and double-click the workstation file you previously downloaded. Once double-clicked, a prompt asking, “Do you want to allow this app to make changes to your device?” will appear. Here, you will click yes.
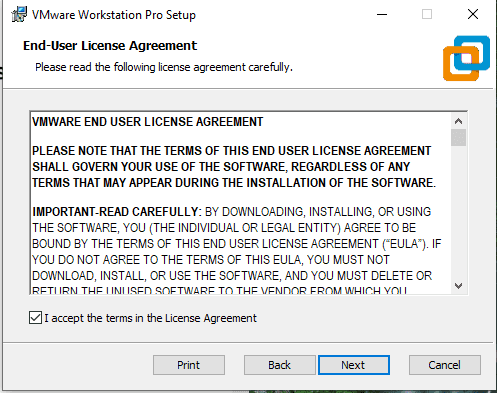
Step 4: Agreeing to the license terms
On the next window (welcome wizard), click on Next, where you will see an End-User License Agreement. In this section, you will check the box behind (“I accept the terms in the License Agreement”) and click “Next.”
End-user license
Step 5: Choosing Keyboard efficiency (optional)
On the next window, check the Enhanced Keyboard Driver box and click Next.

custom setup
This ensures that the keystrokes and special key combinations such as Alt+Ctrl+Delete works correctly and interchangeably for the host and the virtual machine. Nonetheless, you can leave the box unchecked as it won’t make any noticeable difference while in action.
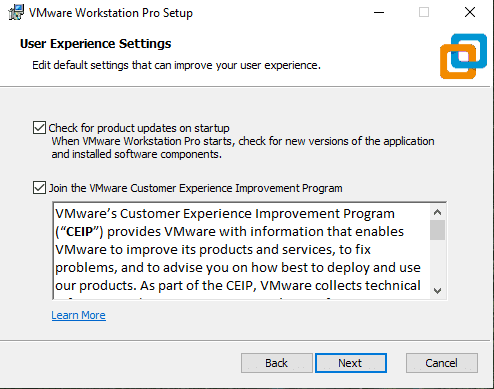
Step 6: Configuring User experience settings
The next window will allow you to configure user experience settings. However, we highly recommend leaving the “Check for product updates on startup” and the “Join VMware customer experience improvement” boxes checked.
user experience
The first option will be performing an online check for any available program update. In contrast, the subsequent option will allow the VMware station to send anonymous data about the program from your PC to the VMware team.
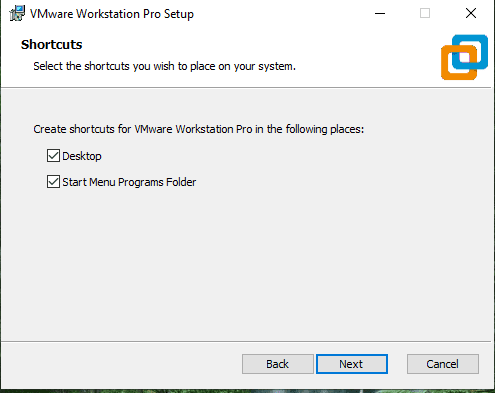
Step 7: Manage shortcuts
In this step, we recommend leaving the desktop and Start Menu Programs Folder checked on the shortcuts window and click next. These options place the workstation shortcuts on the desktop screen and in the start menu after installation completion.
Managing shortcuts
Step 8: Initiate the installation
Here, you will click the Install button on the Ready to install VMware Workstation window. Upon hitting the install button, give your PC some time to install.
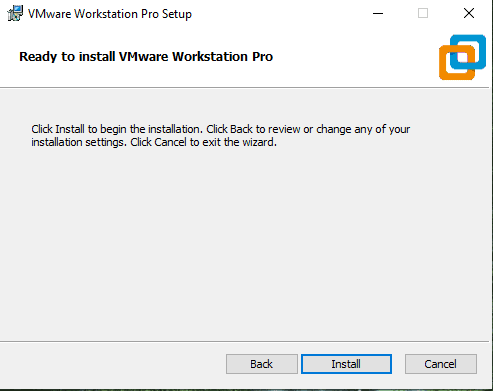
ready to install
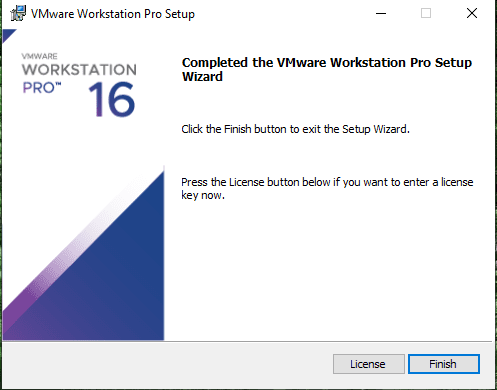
Step 9: Finish
Once the installation is over, a window will appear; click the finish
button
and a prompt asking whether to restart now or not will appear; we suggest you select “Yes,” and you are done with VMware installation.

restart option
How to Install Raspberry Pi Desktop on Windows Using VMware
After that important info on VMware installation, let us go ahead and install Raspberry Pi Desktop on windows using VMware.
To this far, we believe you already downloaded the Raspberry Pi ISO file. If you have not, download the image before proceeding with the article. You will select the Raspberry Pi OS (32-bit) with desktop and recommended software on the download site. However, we highly recommend you go with the torrent file because the other files a times fail to complete downloading the whole ISO file.
Step 1: Creating a new VM in VMware workstation
The first step is selecting a New VMware workstation. After selecting a new VMware workstation,
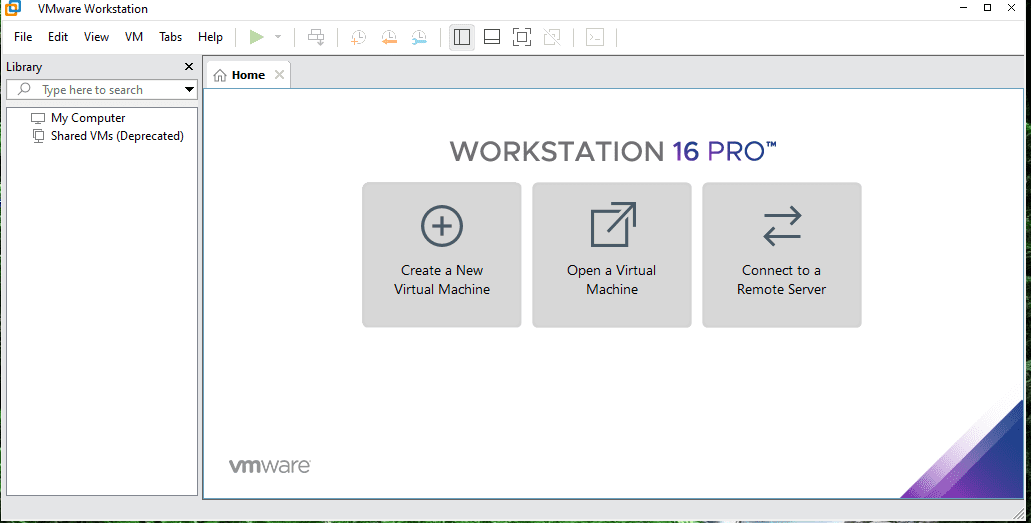
select create new virtual machine
a welcome wizard window will be displayed for you to select the type of installation. Here, you will select typical, which is the recommended version.

Step 2: Mounting the disc Image
In the next window, you will select the second option to select the ISO image file. After selecting the file, click Next.
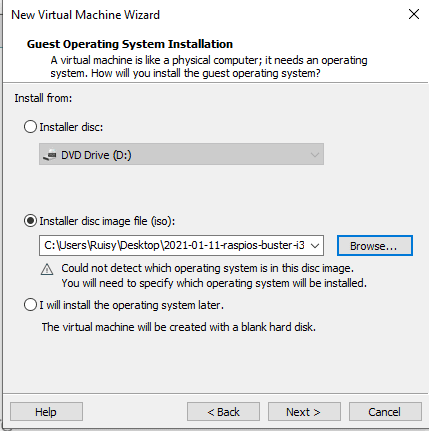
selecting the ISO file
Step 3: Select a Guest Operating system
In this step, you will select Linux as the guest OS and Debian 10x as the version
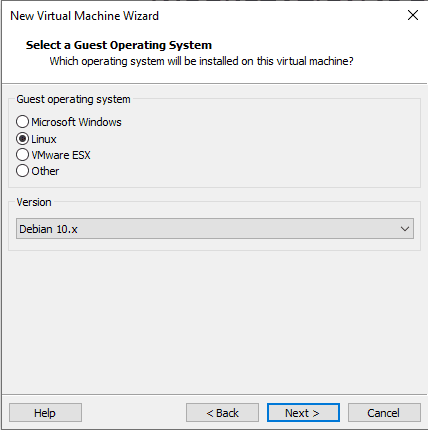
select a guest operating system,
Step 4: Naming the VM
In this section, you will name your machine to your preference. In our case, “Boardbytes.”

naming the virtual machine
Step 5: Disk capacity
Here, you will leave the disk capacity by default or increase depending on your needs on the machine.
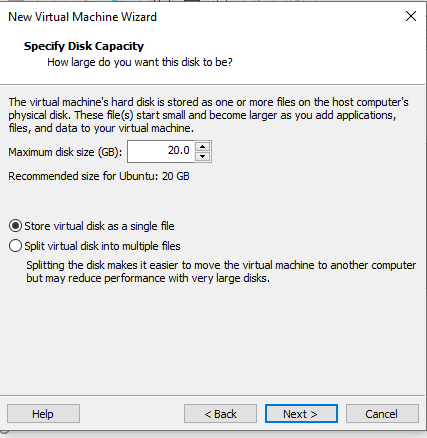
disk capacity specification
Below the specification of disks is two options(“Store virtual disk as a single file and Split virtual disk into multiple files”). We recommend going with the first option since the second option will reduce performance with huge disks.
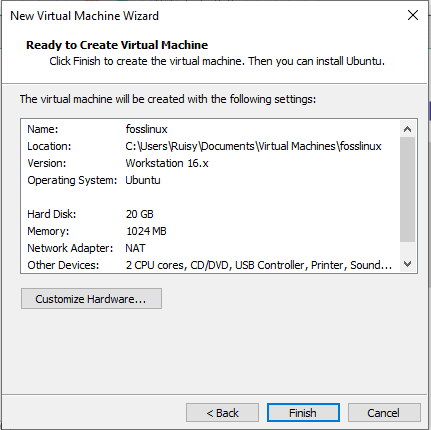
Step 6: Review and Finish
Here, you will click the finish button to restart the machine onto the next phase.
finish window
Once it auto-restarts or you power on the VM, an installer window will appear with many options.
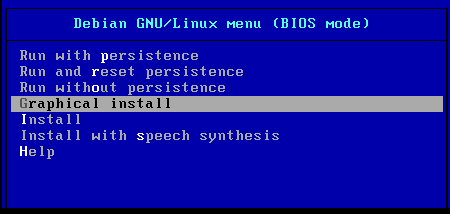
select the graphical install
Step 7: Select Graphical Install
In this section, select the Graphical install option that is the most user-friendly and allows you to use a mouse to select options.
Suppose you are wondering about the meaning of persistence in the Debian GNU -here is a quick dry run of the meanings.
Run with persistence- this means that the Raspberry Pi OS is run from the USB stick with a separate partition where data can be saved. You will not start from scratch each time you reboot your system.
Run and reset persistence wipes the persistence partition during the booting process, meaning you will have to start over.
Run without persistence would be great to boot and test Raspberry Pi OS on your hardware before installing.
Step 8: Keyboard configuration
In this section, you will configure the keyboard language of your choice; after that, click continue to start the installation wizard.
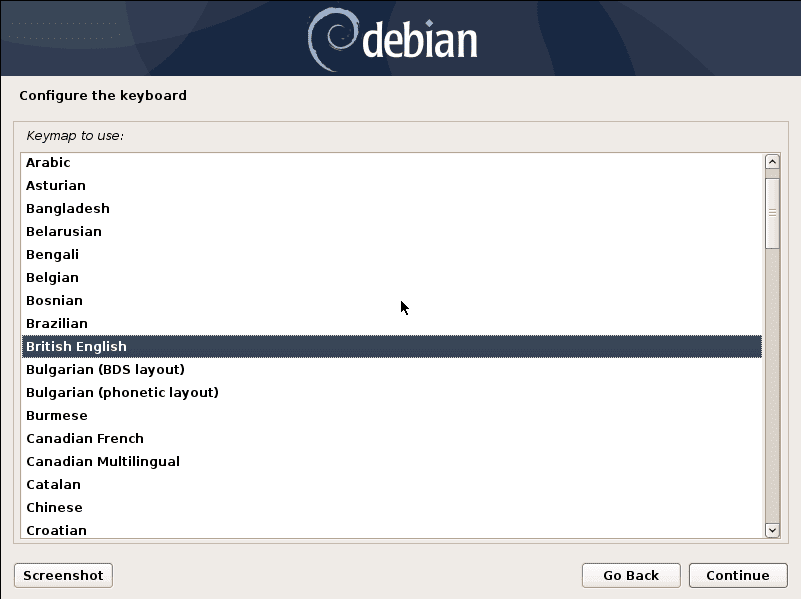
select British English
Step 9: Partition disks
Here, you will choose the guided partitioning for an entire disk; you will be asked which disk should be used; you will select “Guided- use the entire disk.”
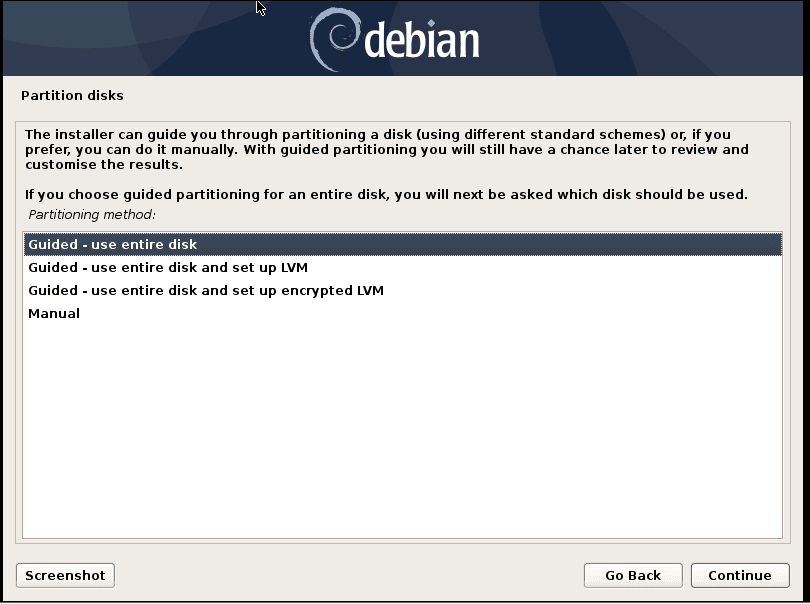
select use the entire disk
Step 10: Partitioning scheme
In this window, select all files in one partition recommended for new users. Thereafter click Next.
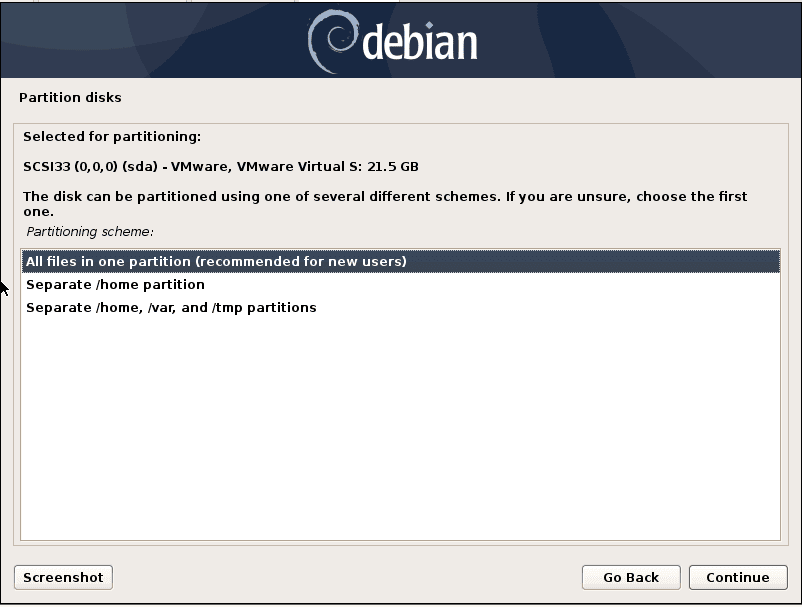
select the first option
Step 11: Finish partition
In the next window, select Finish partitioning and write changes to disk.
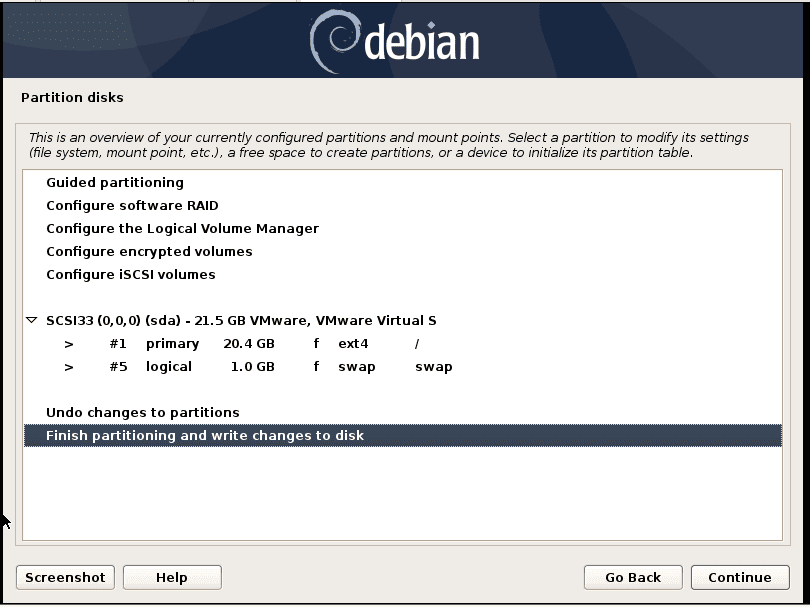
finish partition and write changes to disk
Step 12: Writing changes to disks
In this menu, select Yes to allow the writing of changes to the disks. Then, click “Continue” to proceed.
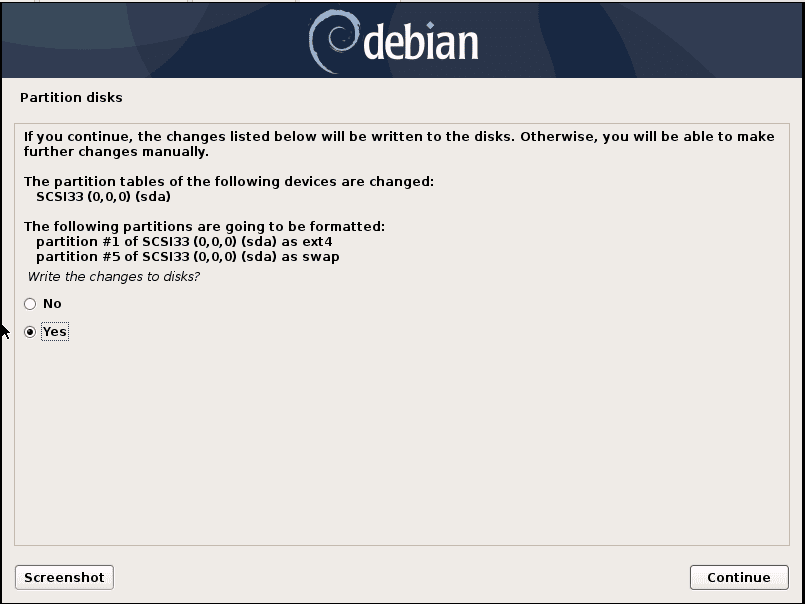
select yes in the write changes to disk
Step 12: Grub boot loader
Under the Grub boot loader to the master boot record, select yes. After that, select the /dev/sda, the second option, then click “Continue” to proceed
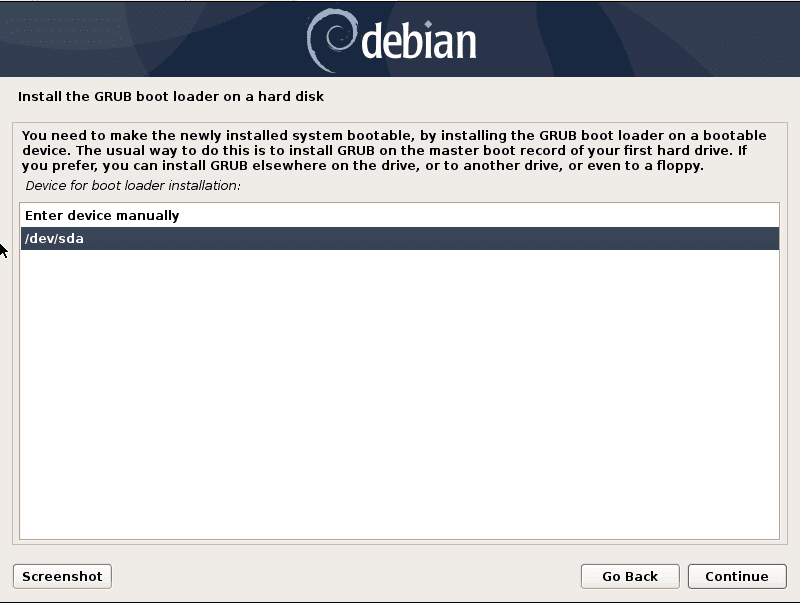
select the second option
Below is the snapshot progress of grub boot loader installing:
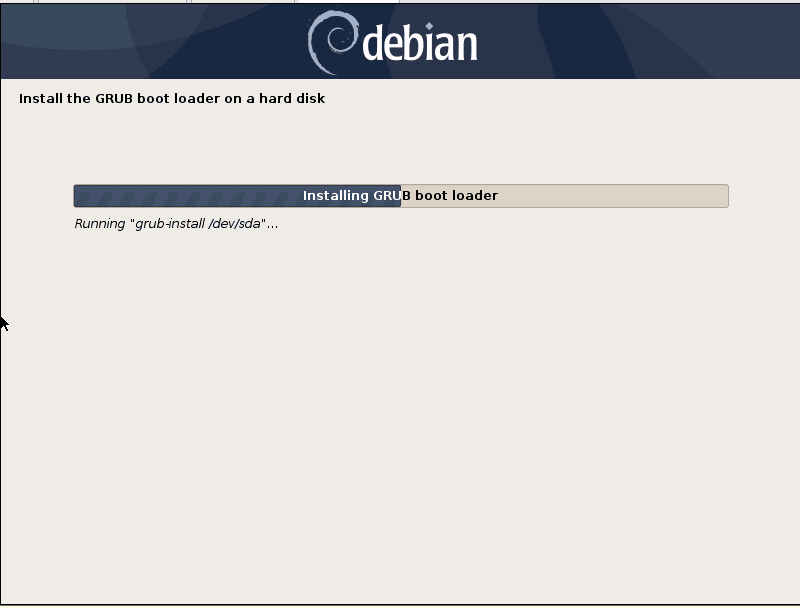
progress of grub boot loader
Step 13: System installation
once the grub boot loader has been installed, the installer wizard will install the base window to finalize the complete installation of Raspberry ISO.
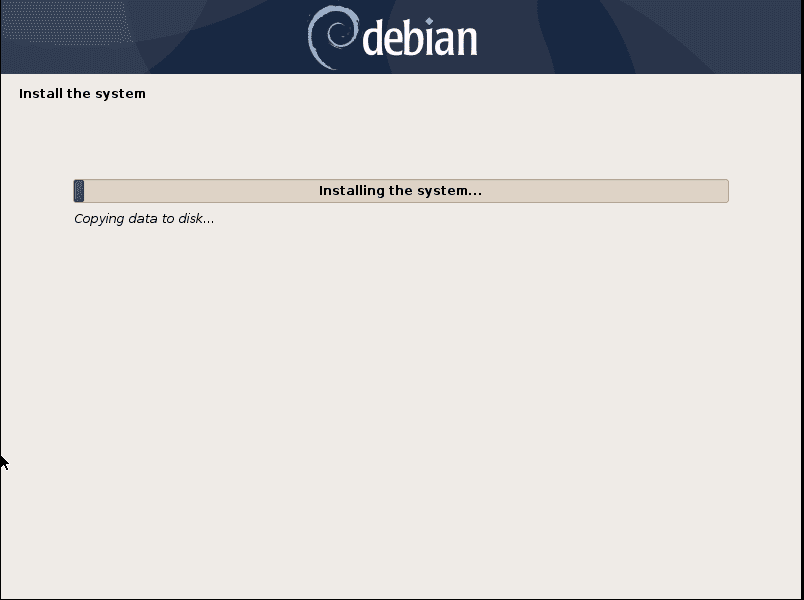
installing the system
Step 14: Finish window
At this point, we will be through with installing the ISO file; click continue to finalize the installation. After that, the VM will restart.
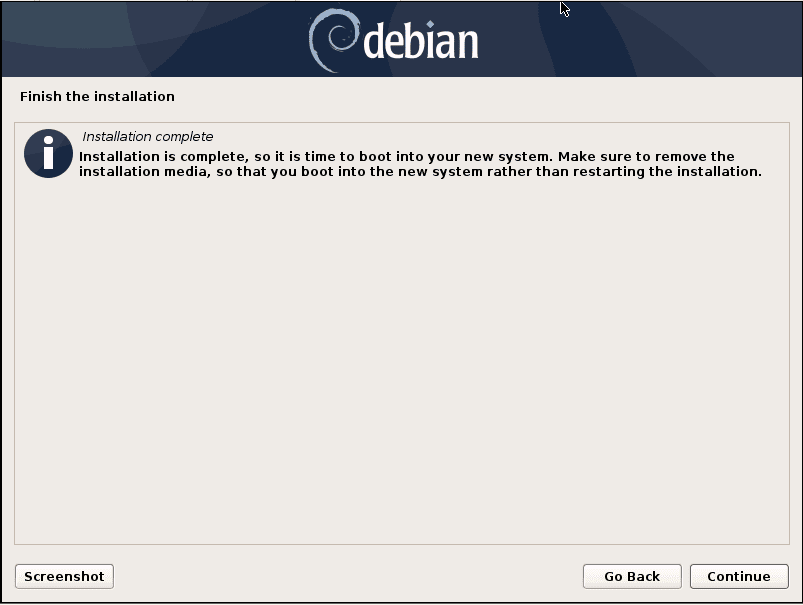
finished installation window
Step 15: Raspberry Pi OS in a VMware machine Initial setup
After the VM has restarted, you will see a Raspberry Pi Desktop with a welcome window wizard. Click “Next”
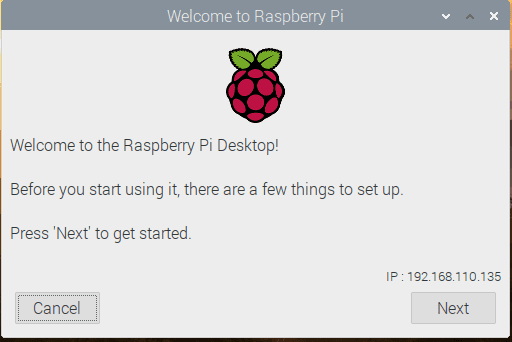
the welcome window
Step 16: Setting country, language, and time zone.
In this section, the settings will differ depending on your place’s country, language, and time zone. Click Next to proceed

set your Country, Language, and Timezone
Step 17: Password configuration
In this part, you will enter your preferred password for your machine. After that, click next to continue
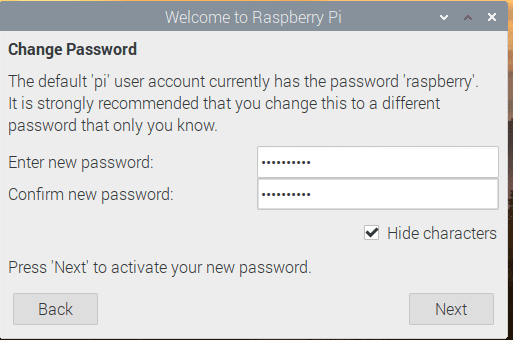
setting password
Step 18: Software Update
The following window will be requesting you to update the software.

updating software option
The update speed will also differ depending on the file you downloaded and your internet and machine speed. In our case, it took approximately 14 minutes.
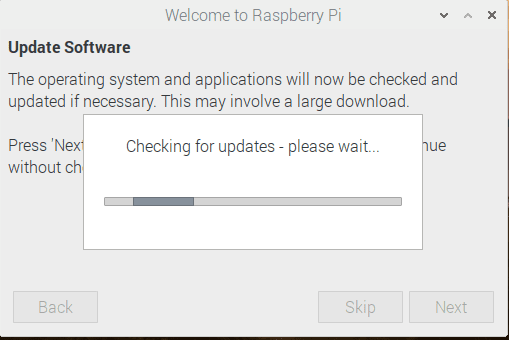
updates progress
Nonetheless, you can skip this section and update the OS later from the terminal using: “sudo apt update and sudo apt upgrade” commands.
Note: Before updating the software, ensure that your VM is connected to the internet.
After the update is through, go ahead and restart the system.
The final window of Raspberry Pi.
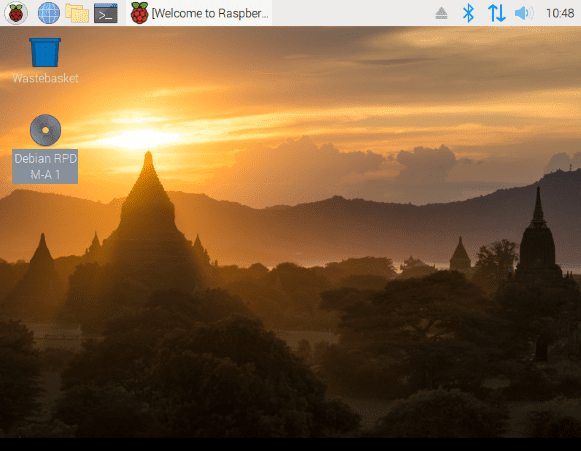
final window
Enjoy your VM machine.
Conclusion
To this far, the article has covered the introduction of Raspberry Pi before getting deep into all there is about installing a VMware workstation. The article broke down the procedure step-wise, making it easy for anyone to comprehend. We also stretched further to the article’s core part, installing the Raspberry Pi on our VMware workstation. This article has covered all the gaps in installing Raspberry Pi on VMware workstations on windows. Hopefully, you found this article helpful, and if you did, please share it with us in the comment section. For any inquiries or clarity, do not hesitate to ask. Thanks for reading.