
Minecraft is a fantastic game that supports both single and multi-player functionality. Mojang Studios ( the developer of Minecraft) has sold more than 100 million copies of the game worldwide. You will find many companies online that provide a cloud hosting platform to set up a Minecraft server. The only drawback about this is the cost and online security when it comes to kids.
You can’t really know who your child is interacting with when collaborating with other players to build big and better things.
Luckily, we have Good news! You can set up your own Minecraft server, thus saving the cloud hosting costs and ensuring your kids’ privacy when collaborating with friends. We will do this using a Raspberry Pi. Let’s dive in!
Installing Minecraft Server on a Raspberry Pi
What You Will Need
To create a personal Minecraft server using a Raspberry, you will need the items below;
- A Raspberry Pi board: I highly recommend Pi 3 or Pi 4 board for a better gaming experience.
- An Internet connection: Using an Ethernet cable would be better over wireless to ensure high speeds.
- A Micro SD Card: At least 8GB size.
With the above requirements, you can easily set up a Minecraft server via an SSH connection. However, if SSH isn’t an option, you will need to get the additional items below. Also, check our post on how to set up an SSH connection on your Raspberry Pi.
- A monitor or the Raspberry Pi screen.
- A USB mouse and keyboard.
- An HDMI cable. If the monitor only supports VGA, you can get the VGA to HDMI connector.
Ensure you connect these Peripheral devices before powering up your Pi.
Step 1: Install the Raspberry Pi OS and Configure Your Pi
There are several operating systems that you can run on your Raspberry Pi. However, we will use the official Raspberry Operating System – Raspberry Pi OS in this particular tutorial. You can get the latest link from the link below:
Alternatively, you can check out our post on How to install Raspberry Pi on Raspberry Pi. It will give you a step-by-step guide on the whole process.
Step 2: Enable SSH (Optional)
If you wish to configure the Minecraft server remotely, you will need to enable SSH on your Raspberry Pi. Luckily it’s not a hectic procedure.
Remove your SD card from the Raspberry Pi and insert it in any PC. In the boot partition on the SD card, create an empty text file called ssh. Remove any extensions like “.txt” and such. Insert the SD card back into the Raspberry Pi and boot it. Alternatively, feel free to check out our step-by-step guide on How to SSH into Raspberry Pi.
Step 3: Install Minecraft Server
Since Minecraft is a Java-based game, we will need to install the Java-jdk (Java development kit) first. Launch the Terminal and execute the command below:
sudo apt install default-jdk
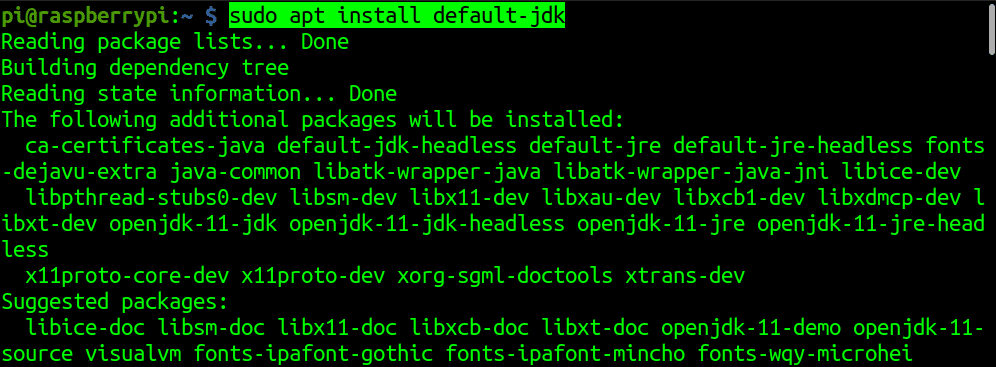
Install the default-jdk
Once the JDK is installed, we can proceed to download the Minecraft servers. Due to the popularity of the Minecraft game, there are several 3rd party java servers that you can download online. One of the most common includes Spigot. However, we would recommend is one from Minecraft themselves.
Navigate to https://www.minecraft.net/en-us/download/server website in your browser. You will see a statement like “Download minecraft_server.1.16.5.jar and run it with the following command.” Please note, depending on when you are reading this post, the version number might have changed. Right-click on the link and copy it to the clipboard. You will paste that link next to the wget command as shown below:
cd ~
mkdir MinecraftServer
cd MinecraftServer
wget https://launcher.mojang.com/v1/objects/1b557e7b033b583cd9f66746b7a9ab1ec1673ced/server.jar
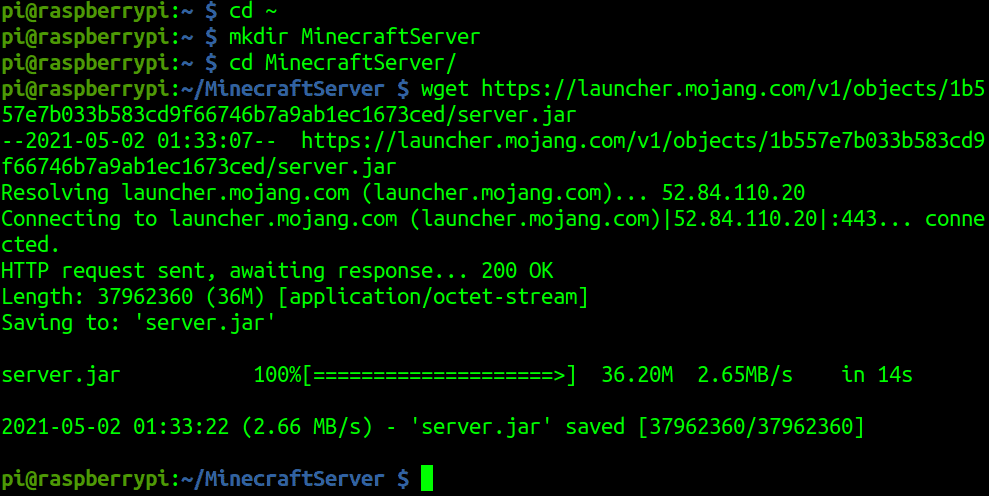
Download Minecraft server
Once the download completes, run the command shown on the website just below the link for downloading the Minecraft server.
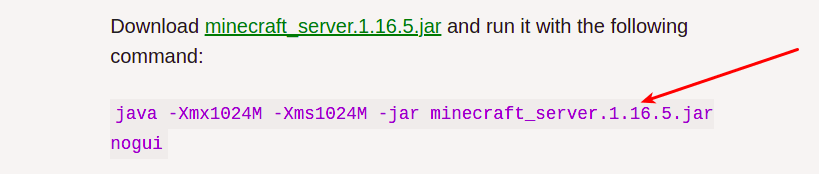
Run Minecraft server
java -Xmx1024M -Xms1024M -jar server.jar nogui
You will probably see a message like, “You need to agree to the EULA in order to run the server. Go to eula.txt for more info”. Run the command below and set eula=true.
nano eula.txt

Set eula to True
Save the file (Ctrl + O, then Enter) and exit (Ctrl + X). Run the command below once more now or use the “up arrow”.
java -Xmx1024M -Xms1024M -jar server.jar nogui
Tip: To make things easier and avoid typing that long command whenever you need to start a server, create a startserver.sh script with the nano editor.
Execute the command below:
nano startserver.sh
paste the java -Xmx1024M -Xms1024M -jar server.jar nogui command. Save the file (Ctrl + O, then Enter) and exit (Ctrl + X). Make the script executable with the command below:
chmod +x startserver.sh
Next time, type the command ./startserver.sh to start the server.
Step 4: Configure your Raspberry Pi Minecraft Server
Since the Raspberry is not powerful like a high-end PC, we will need to perform some changes. We will do so by editing the server.properties file inside our MinecraftServer directory. Execute the command below to open it with the nano editor.
nano server.properties
You can check out the Minecraft wiki for a list of properties you can tweak. However, there are some which we can modify here. They include:
max-players=10: This sets the maximum number of players who can connect to the server. 10 players would be ok for a Raspberry Pi 4 or 3 board. On older models, this number can be quite overwhelming to the Pi. Try setting a number like 5-6.pvp=on: This is for player vs. player action.difficulty=1: That option sets the game difficulty option with the easiest being 0 (zero).
That’s enough to get you started. Save the file (Ctrl + O, then Enter) and exit (Ctrl + X). Restart your Minecraft server using the command below or the script we just created.
java -Xmx1024M -Xms1024M -jar server.jar nogui
Step 5: Solve Performance issues with Complex worlds
I have been using a Raspberry Pi Minecraft server for quite a while now. If you are running a complex world, you will probably get an error like, [Server Watchdog/FATAL]: A single server tick took 60.00 seconds (should be max 0.05). One perfect solution that worked for me was overclocking my Raspberry Pi.
Note: Overclocking might cause your Raspberry to heat up. Having a fan would be really great.
Please read our guide on How to Overclock Raspberry Pi 4 to be on the safe side.
Step 6: Connect to the Raspberry Pi Minecraft Server
Now that we have our Raspberry Minecraft server running, we can connect it from our other device. First, ensure the server is accessible by using the ping command on its IP address (the IP of the Raspberry Pi). If you get a response, then proceed to connect to it with the Steps below:
- Launch Minecraft on your device.
- On the main menu, select Multiplayer.
- Select “Add Server”.
- Give a name for your server in the Server Name field.
- Ensure the port number is the same as the one listed on the server.properties file.
- Click Done.
- Select the server you just created and click Join Server.
Conclusion
That’s it! You now have a Minecraft server running on your Raspberry Pi. You can also leave it ON for as long as you like since the Pi consumes much less power compared to your Desktop. If you have any issues carrying out any of the steps above, leave a comment below.