Are you thinking of setting up a media server to be accessed within or outside your network? Well, you have just landed at the right place. This tutorial will guide you through all the steps for turning your Raspberry Pi into an excellent Plex media server.
What’s a Plex media server?
A Plex Media Server is a client-server setup running on the freemium Plex Media Server application on a computer (in this case, a Raspberry Pi). The media server enables media files such as movies, music, and photos to be accessible over a network. It centrally organizes media files, which multiple devices can then access at a go.
Once you have the Plex Media Server set up, proceed to download the Plex Client that will enable you to stream media from the server. The Plex client is supported by many devices, including Windows, Apple, Android, Amazon Fire TV, Chromecast, Xbox, PlayStation, Linux, and so much more.
Equipment
To have a complete setup of a working Raspberry Pi Plex media server, you will need the following items.
- Raspberry Pi 2, 3, 4, or newer
- At least 8B Micro SD Card
- An image file of the official Raspbian OS
- A Reliable power supply
- An active internet connection
- A USB storage device or external hard drive
Optional requirements
If you are well versed with Linux systems, you can set up a Plex media server over SSH. You don’t necessarily need items like:
- USB Keyboard
- USB Mouse
- An HDMI monitor/Screen
However, you will need to enable SSH on your Raspbian OS before booting up your Raspberry Pi. Read our post on Connecting to a WI-FI network and enabling SSH on a headless Raspberry Pi (without a monitor).
Setting up a Raspberry Pi Plex media server
Once you have all the requirements, start by flashing the Raspbian OS onto the SD card. I highly recommend using the Balena Etcher tool for this process.
Balena Etcher
It is available for both Linux, Windows, and macOS. If you want to run a lighter version of the Raspbian OS, download the Raspbian Lite image. Our post – How to install Raspbian OS on a Raspberry Pi give you a step-by-step guide of this process. When done flashing the SD card, insert the SD into the PI and follow the steps below.
Step 1: Update the Raspbian OS
Even though you might have downloaded the latest Raspbian image, it’s worth double-checking. That way, we will avoid errors that arise due to outdated or deprecated packages. Execute the commands below on the Terminal.
sudo apt-get update
sudo apt-get upgrade
Step 2: Enable HTTPS transfer during downloads
Most of the latest operating systems come with the apt-transport-https package installed. However, it won’t hurt to confirm that it is in place. apt-transport-https enables the APT package manager to retrieve packages over HTTPS. In this case, Plex packages are only available via the HTTPS protocol. Execute the command below to install apt-transport-https.
sudo apt-get install apt-transport-https
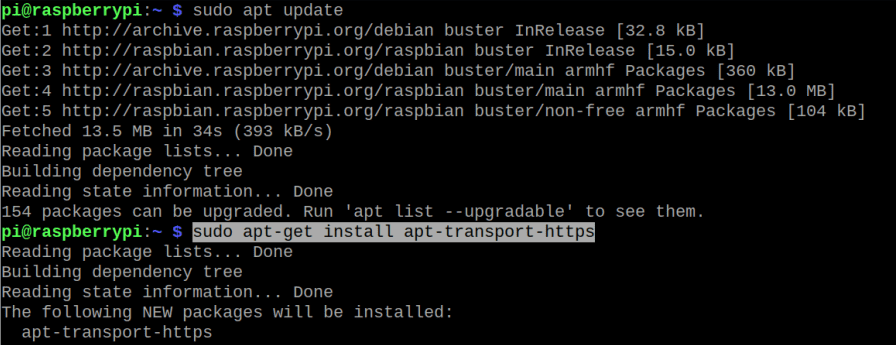
Install apt-transport-https
Step 3: Add the dev2day Repository
First, we will need to download and add the keychain required for accessing the repository. Execute the command below.
curl https://downloads.plex.tv/plex-keys/PlexSign.key | sudo apt-key add -
Once the process completes, execute the command below to add the dev2day repository to the sources.list file.
echo "deb https://dev2day.de/pms/ stretch main" | sudo tee /etc/apt/sources.list.d/pms.list
To wrap up, update the system packages.
sudo apt update
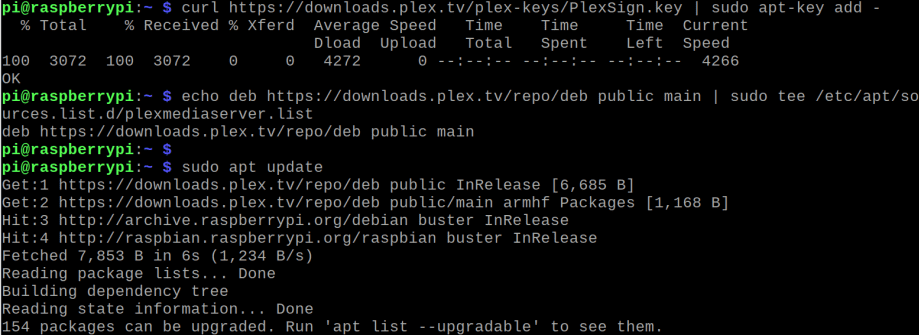
Add dev2day repo
Step 4: Install the Plex media server on your Raspberry Pi
Now that we have the dev2day repository added to our system, we can install the Plex Media Server-installer. Execute the command below.
sudo apt install plexmediaserver

Install plexmediaserver
The Plex Media server’s installation will make a few changes to your system. It will create a new user and group called plex. Therefore, the Media Server won’t run under the default user ‘Pi’ but will use plex. The Plex installer will also set up two directories. The /var/lib/plexmediaserver/tmp_transcoding directory/folder where Plex will store temporary media files before transcoding. The other directory is: /var/lib/plexmediaserver/Library/Application Support which stores all the metadata from your media.
Step 5: Setting a static IP address for your Plex server
Once we have Plex installed on our Raspberry, we will need to set up a Static IP address. That ensures the Plex media server will always be available at the same address. To get started, we need to know the currently assigned IP address. Execute the command below.
hostname -I
Hostname command
We will need to add this command’s output in the cmdline.txt boot folder’s file. Execute the command below to open the cmdline.txt file with nano editor.
sudo nano /boot/cmdline.txt
Add the following line at the bottom of the file (without parentheses).
ip="Your IP address."
Note: Replace “Your IP address” with the output of the hostname -I command (your real IP address)

Set a static IP
Restart your Pi with the command below:
sudo reboot
Your Raspberry will always run on a static IP address ensuring ease of access by media clients. You can also set this on the router by adding the Pi’s MAC-address.
The Raspberry Pi Plex media server is fully set up to this point. Clients can start connecting to stream media. However, you might want to go through some of the basics below.
Storing Media on Your Raspberry Pi
There are several ways through which you can store your media files. You can use a USB drive or an external Hard drive or SSD if you plan to store large files. Another cool option would be to set up the PI as a Network Attached Storage (NAS). That way, you don’t have to disconnect your hard drive with a NAS whenever you want to add or transfer new files from your PC. Our post – How to Build a Raspberry Pi NAS will give you a clear guide on this topic.
Fix file permission issue
One of the most common problems you will encounter with the Raspberry Pi Plex Media Server is being unable to access your files on the storage media. That is mainly due to incorrect permissions assigned to your drive. Follow the steps below to correctly mount your external drives on the Raspberry Pi.
1. Identify the disk that you want to mount. Use the df command below.
df -h
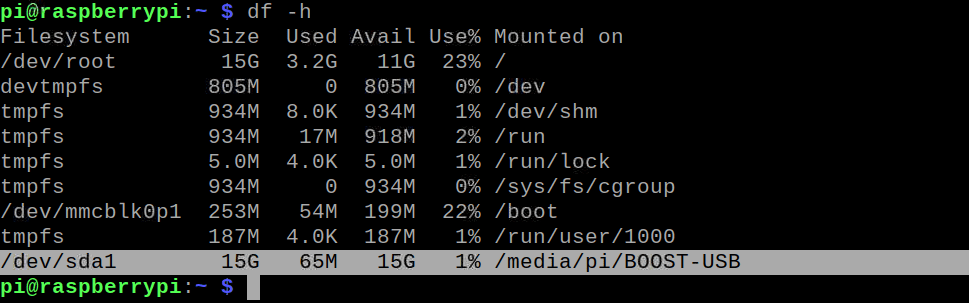
Identify the storage drive
From the image above, you can see the number of devices connected to my PI system. My target drive is the one at the bottom /dev/sda1.
2. Next, we will need to know the UUID (Universal Unique Identifier) and the Type of drive we are using. Execute the command below.
sudo blkid /dev/sda1
Note: Replace /dev/sda1 with your drive’s filesystem name as shown by the df -h command.

Get UUID and DisK Type
3. Depending on the type of drive, you will need to install some additional drivers.
NTFS:
sudo apt install ntfs-3g
exFAT
sudo apt install exfat-fuse
sudo apt install exfat-utils
4. Create a directory to mount your external drive. I will create mine in the /mnt directory and name it as Storage1. Execute the command below.
sudo mkdir -p /mnt/Storage1
5. Now, give the current user ‘pi‘ ownership of this folder with the command below.
sudo chown -R pi:pi /mnt/Storage1

Create Mount Point
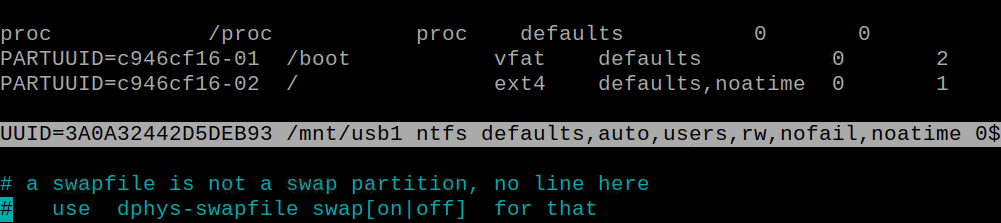
6. Next, we will add our external drive to the fstab file. Execute the command below to open the fstab file with a nano editor.
sudo nano /etc/fstab
Add the following newline.
UUID=[UUID] /mnt/usb1 [TYPE] defaults,auto,users,rw,nofail,noatime 0 0
Note: Remember to replace the UUID and TYPE from the output of the blkid command. Save the file (Ctrl + O, then Enter) and Exit (Ctrl + X).
Fstab file
7. Unmount and re-mount the drive with the commands below:
sudo umount /dev/sda1
sudo mount -a
8. Reboot the Pi for configurations to take effect.
sudo reboot
9. Give ownership of the mount directory to the user plex. Execute the command below;
chown -R plex:plex /mnt/Storage1
10. Set permissions for the files and directories on the drive with the commands below:
sudo find /mnt/Storage1/ -type d -exec chmod 755 {} \;
sudo find /mnt/Storage1/ -type f -exec chmod 644 {} \;

Set Permissions
That’s it! Media files on your external drive can now be accessed on the Plex web client.
Accessing files on your Raspberry Pi Plex media server
First, ensure your client device is on the same network as the Raspberry Pi. To access the Plex media server over a browser, enter the following URL in the address bar.
"Pi's static IP":32400/web/

e.g

192.168.1.35:32400/web/
You will need to log in with your Plex account. Sign up or sign in if you already have an account. Click on the Plus sign (+) next to your server name to add a new library.
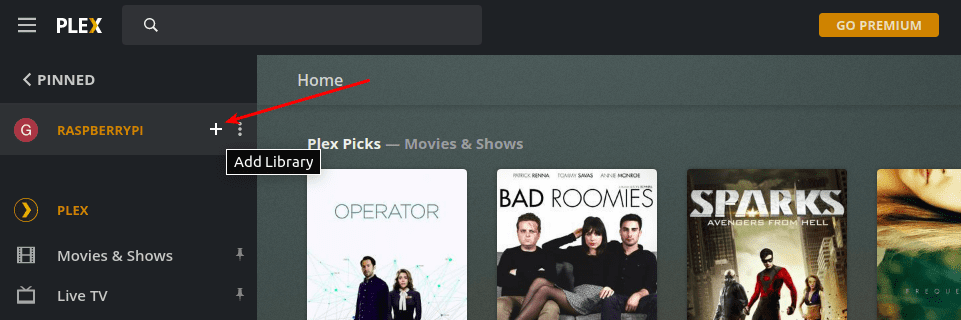
Add Library
You will see a window where you will need to select the library type. Click on any that you wish and click Next.
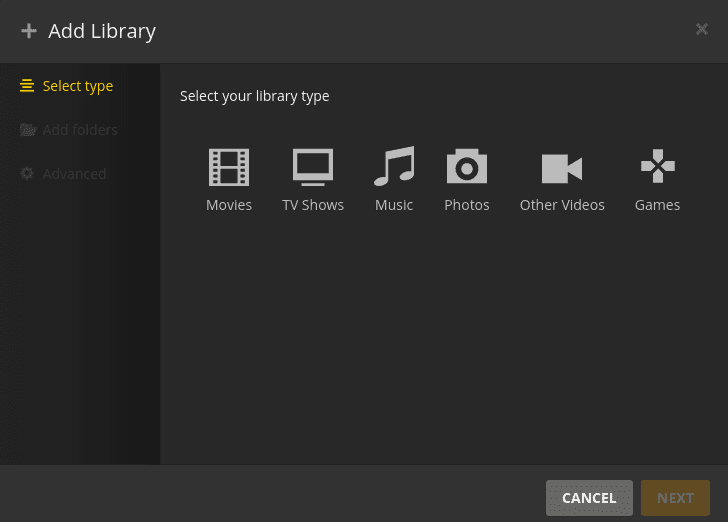
Select Library Type
You will be required to select the folder containing your media files. In my case, it’s Storage1. Click Add.
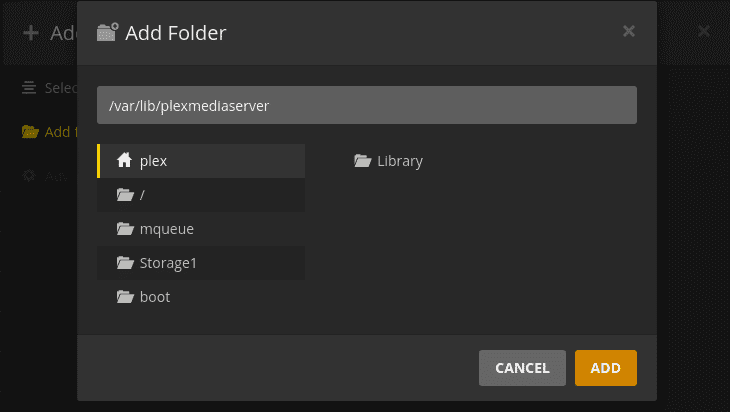
Select Media Folder
Plex will scan for the media files in your drive and arrange them neatly on your screen when done.
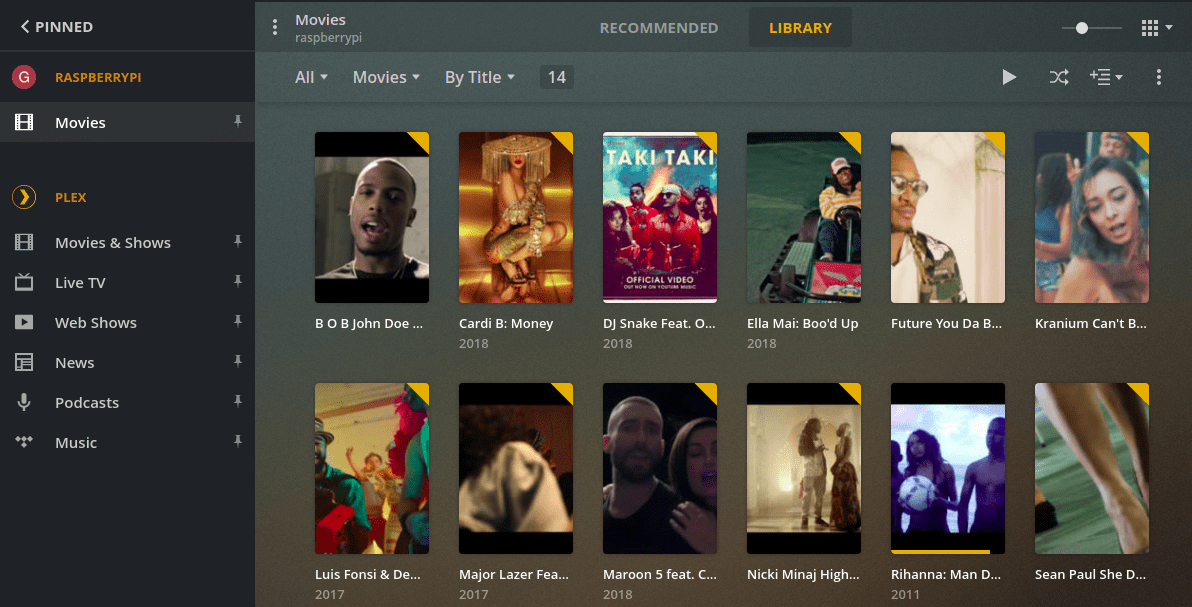
My Library
Conclusion
I believe this post has given you a straightforward guide on how to set up a Plex media server using a Raspberry Pi board. In case you get the error “This site can’t be reached” while trying to open the Plex client web page, you will need to open port 32400 on the firewall or check if another application is using this port. If you have any problem carrying out any of the steps above, hit the comments below.
3 comments
Encountering an error at this step: sudo mount -a
Error says that the mount point does not exist?
I know nothing about the permissions issue other than what you’ve written here, and it’s been helpful.
But the line you add to the fstab file confuses me:
UUID=[UUID] /mnt/usb1 [TYPE] defaults,auto,users,rw,nofail,noatime 0 0
Shouldn’t that be /mnt/Storage1? If not, can you explain why?
Thanks!
@Tony: I had the same thought. Changed it to Storage1 and it ran